Compaq S4100 Owner’s Guide
Move your cursor into the Preview window and click with the left mouse button. The image enlarges. To reduce the view size, press the Shift or Alt key and click in the Preview window.
Frame tool – Lets you select the portion of the image displayed in the Preview window you want scanned in the final scan step.
You can size the selection frame by clicking on the Frame tool and placing your cursor over one of the four edges of the frame (which changes the cursor shape to a
You can also move a selected frame by positioning the cursor inside the frame (which changes the cursor shape to a
Move tool – Lets you move an image in the Preview window so you can see portions that are not visible because the image is zoomed too large to display completely. Click on the Move tool. Put the cursor inside the Preview window (which changes the cursor shape to a hand). Scroll the image view by clicking and dragging the cursor.
Selecting the “Scan To” Device or Application
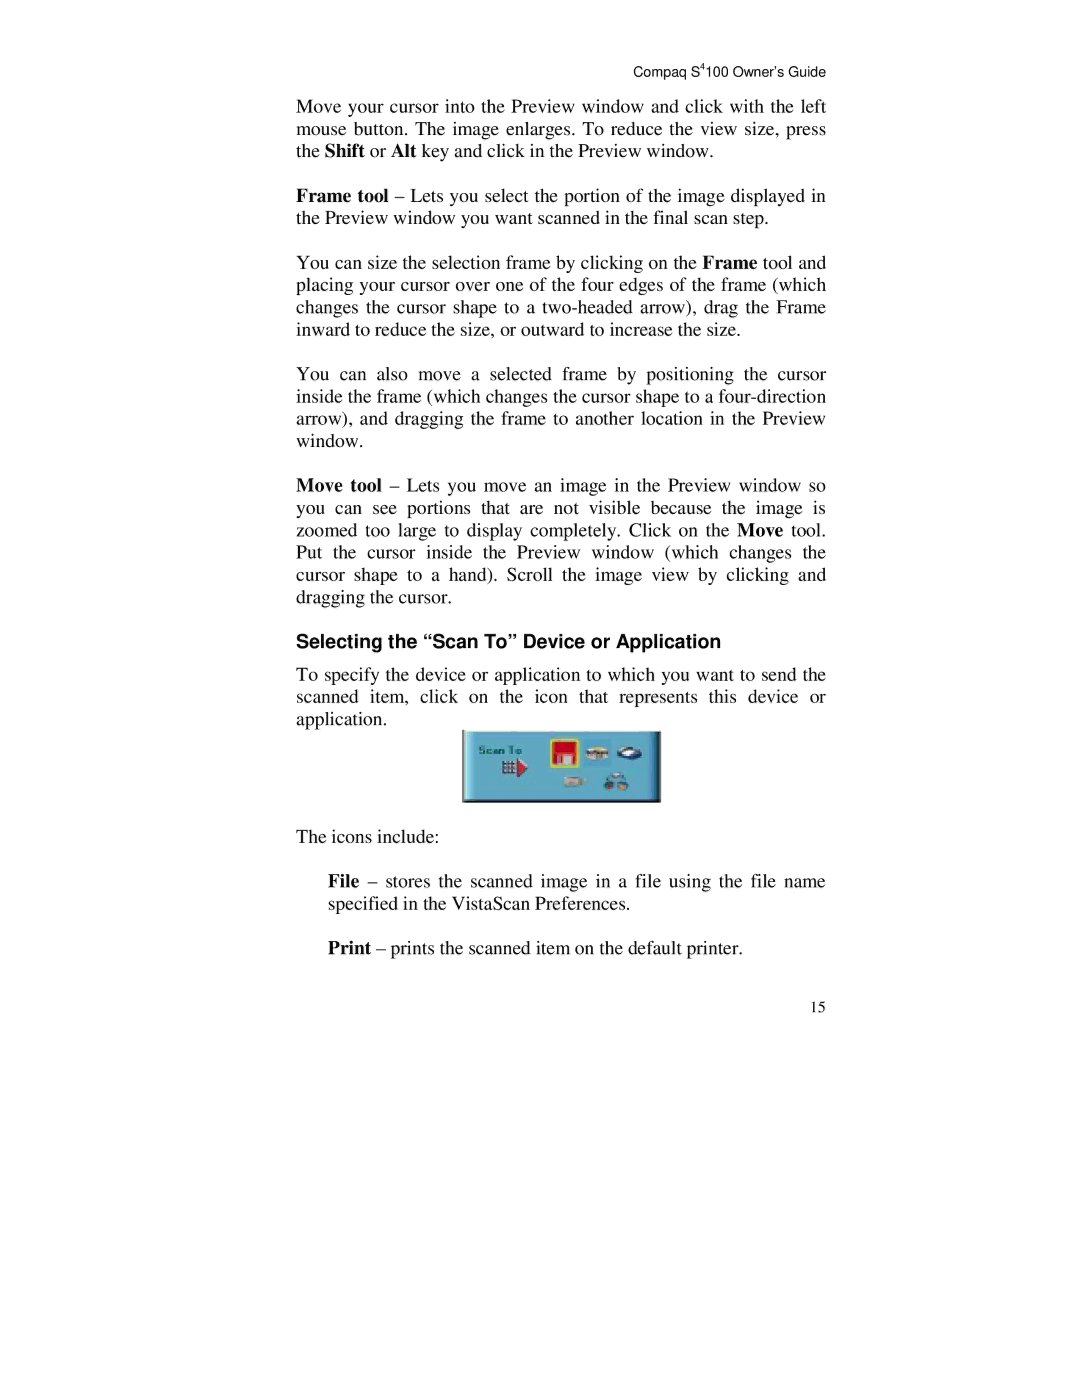
To specify the device or application to which you want to send the scanned item, click on the icon that represents this device or application.
The icons include:
File – stores the scanned image in a file using the file name specified in the VistaScan Preferences.
Print – prints the scanned item on the default printer.
15