Installing a Floppy Drive
1If you are installing a new drive:
a Use a small
b Remove the four shoulder screws from the
2If you are replacing an existing drive:
Remove the four shoulder screws from the existing drive.
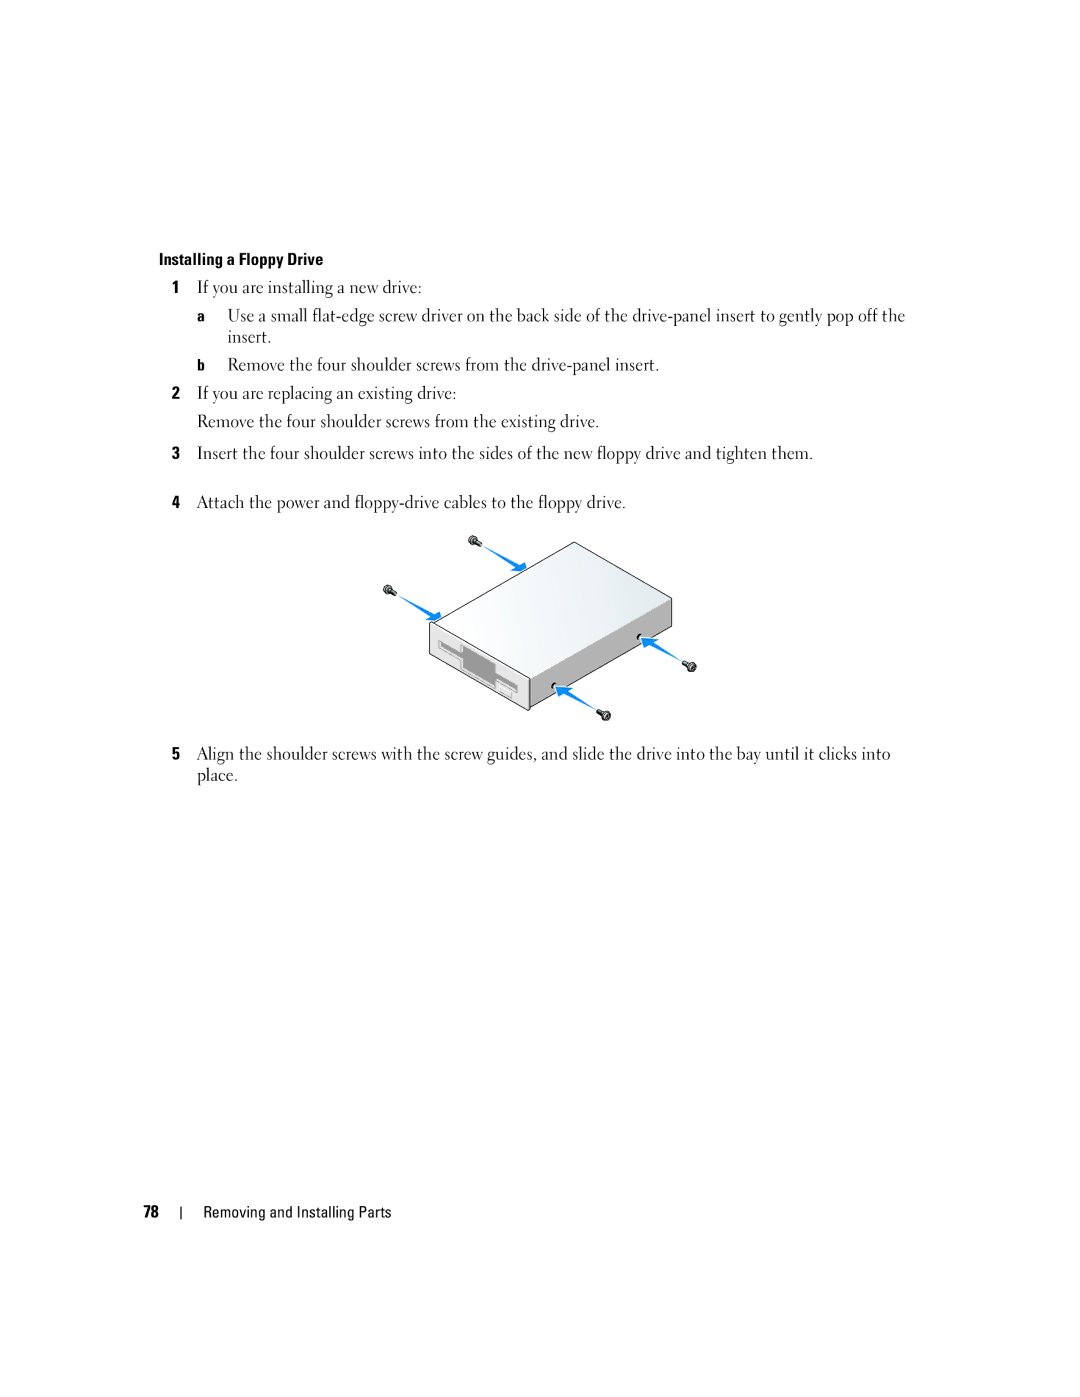
3Insert the four shoulder screws into the sides of the new floppy drive and tighten them.
4Attach the power and
5Align the shoulder screws with the screw guides, and slide the drive into the bay until it clicks into place.
78