Dukane 9060 user manual Link Mode Setting, Display a desired input signal on the master projector

Models: 9060

1 114
Download 114 pages 35.06 Kb
Page 67
Image 67

7. Setting Up for Double Stacking in Link Mode

x Adjusting and Registering Signals to Be

Projected

x-1. Display a desired input signal on the master projector.

x-2. Make adjustment to the signal, then save (register) adjust- ments on the master projector by pressing and holding CTL and pressing ENTRY LIST button on the remote control.

x-3. Repeat steps x-1 and x-2 for all signals you want to project. Display all the signals you registered and check.To check, select [Source Select] [Entry List].

x-4 Transferring Signal Data in the Entry List

x-4-1. Transfer the data from the master projector to the slave projector so that both the projectors have the same data in memory.

x-4-2. Select [Projector Options] [Link Mode] on the mas- ter projector.

x-4-3.Select [Entry List Copy] and press the ENTER button. The following will be displayed.

x-4-4.Select [OK] and press the ENTER button.

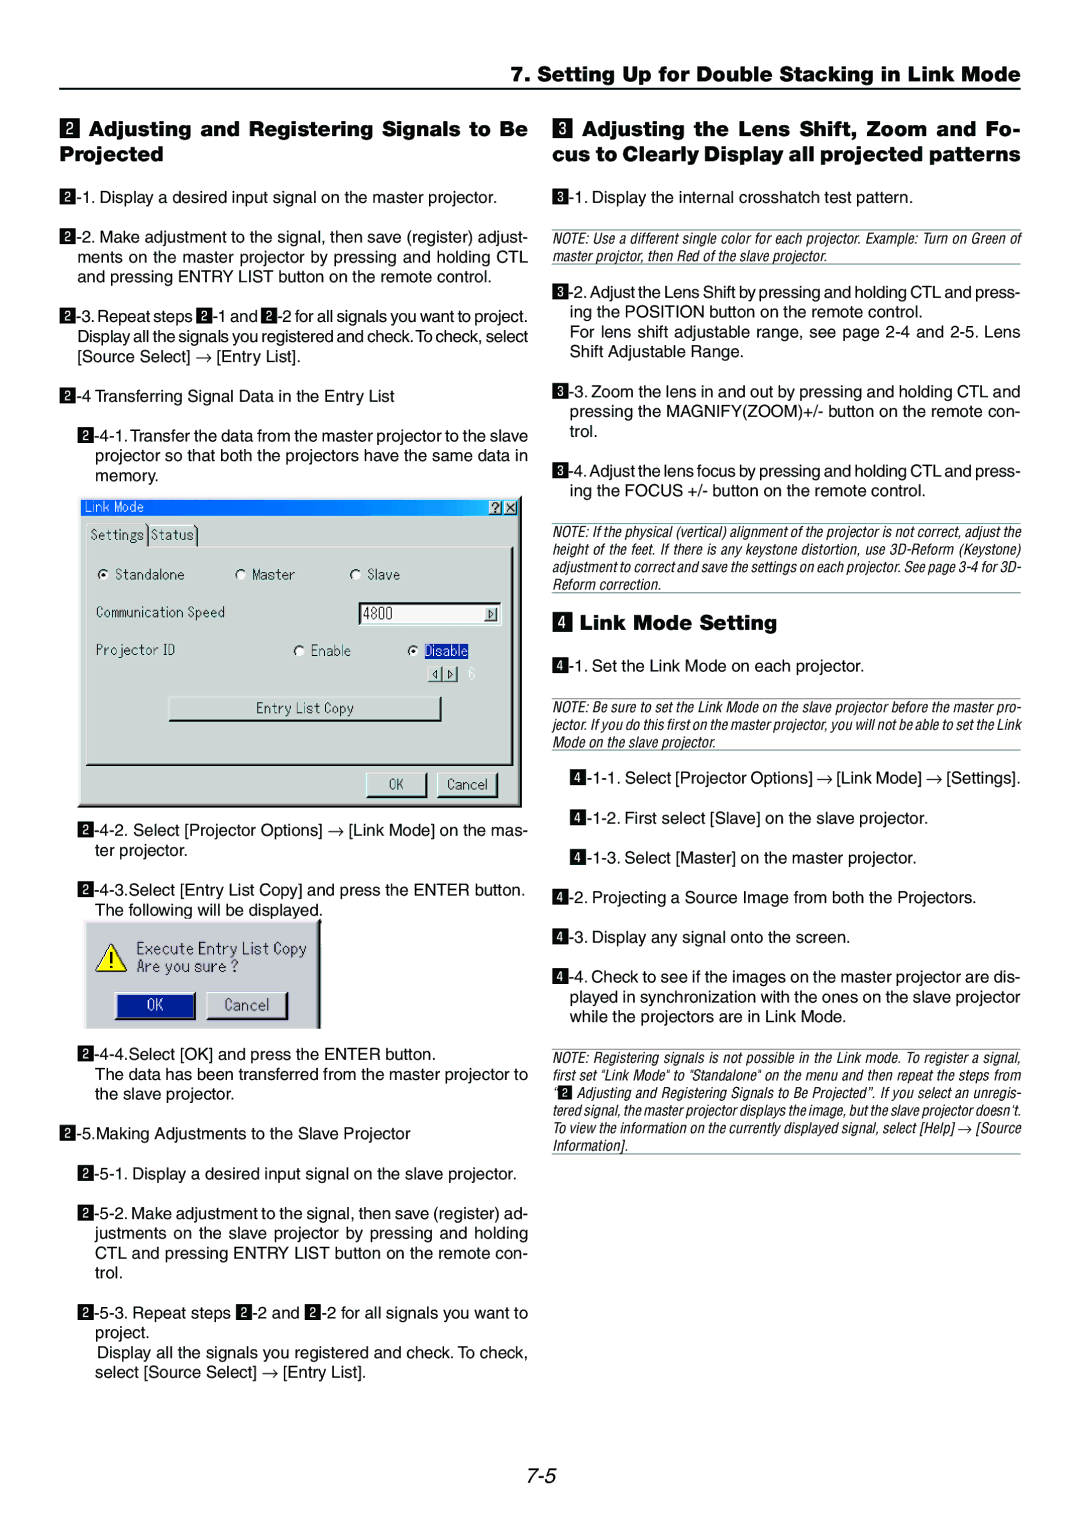
The data has been transferred from the master projector to the slave projector.

x-5.Making Adjustments to the Slave Projector

x-5-1. Display a desired input signal on the slave projector.

x-5-2. Make adjustment to the signal, then save (register) ad- justments on the slave projector by pressing and holding CTL and pressing ENTRY LIST button on the remote con- trol.

x-5-3. Repeat steps x-2 and x-2 for all signals you want to project.

Display all the signals you registered and check. To check, select [Source Select] [Entry List].

c Adjusting the Lens Shift, Zoom and Fo- cus to Clearly Display all projected patterns

c-1. Display the internal crosshatch test pattern.

NOTE: Use a different single color for each projector. Example: Turn on Green of master projctor, then Red of the slave projector.

c-2. Adjust the Lens Shift by pressing and holding CTL and press- ing the POSITION button on the remote control.

For lens shift adjustable range, see page 2-4 and 2-5. Lens Shift Adjustable Range.

c-3. Zoom the lens in and out by pressing and holding CTL and pressing the MAGNIFY(ZOOM)+/- button on the remote con- trol.

c-4. Adjust the lens focus by pressing and holding CTL and press- ing the FOCUS +/- button on the remote control.

NOTE: If the physical (vertical) alignment of the projector is not correct, adjust the height of the feet. If there is any keystone distortion, use 3D-Reform (Keystone) adjustment to correct and save the settings on each projector. See page 3-4 for 3D- Reform correction.

v Link Mode Setting

v-1. Set the Link Mode on each projector.

NOTE: Be sure to set the Link Mode on the slave projector before the master pro- jector. If you do this first on the master projector, you will not be able to set the Link Mode on the slave projector.

v-1-1. Select [Projector Options] [Link Mode] [Settings].

v-1-2. First select [Slave] on the slave projector.

v-1-3. Select [Master] on the master projector.

v-2. Projecting a Source Image from both the Projectors.

v-3. Display any signal onto the screen.

v-4. Check to see if the images on the master projector are dis- played in synchronization with the ones on the slave projector while the projectors are in Link Mode.

NOTE: Registering signals is not possible in the Link mode. To register a signal, first set "Link Mode" to "Standalone" on the menu and then repeat the steps from “x Adjusting and Registering Signals to Be Projected”. If you select an unregis- tered signal, the master projector displays the image, but the slave projector doesn't. To view the information on the currently displayed signal, select [Help] [Source Information].

7-5

Page 67
Image 67
Dukane 9060 user manual Link Mode Setting, Display a desired input signal on the master projector