Hardware Preparation and Installation


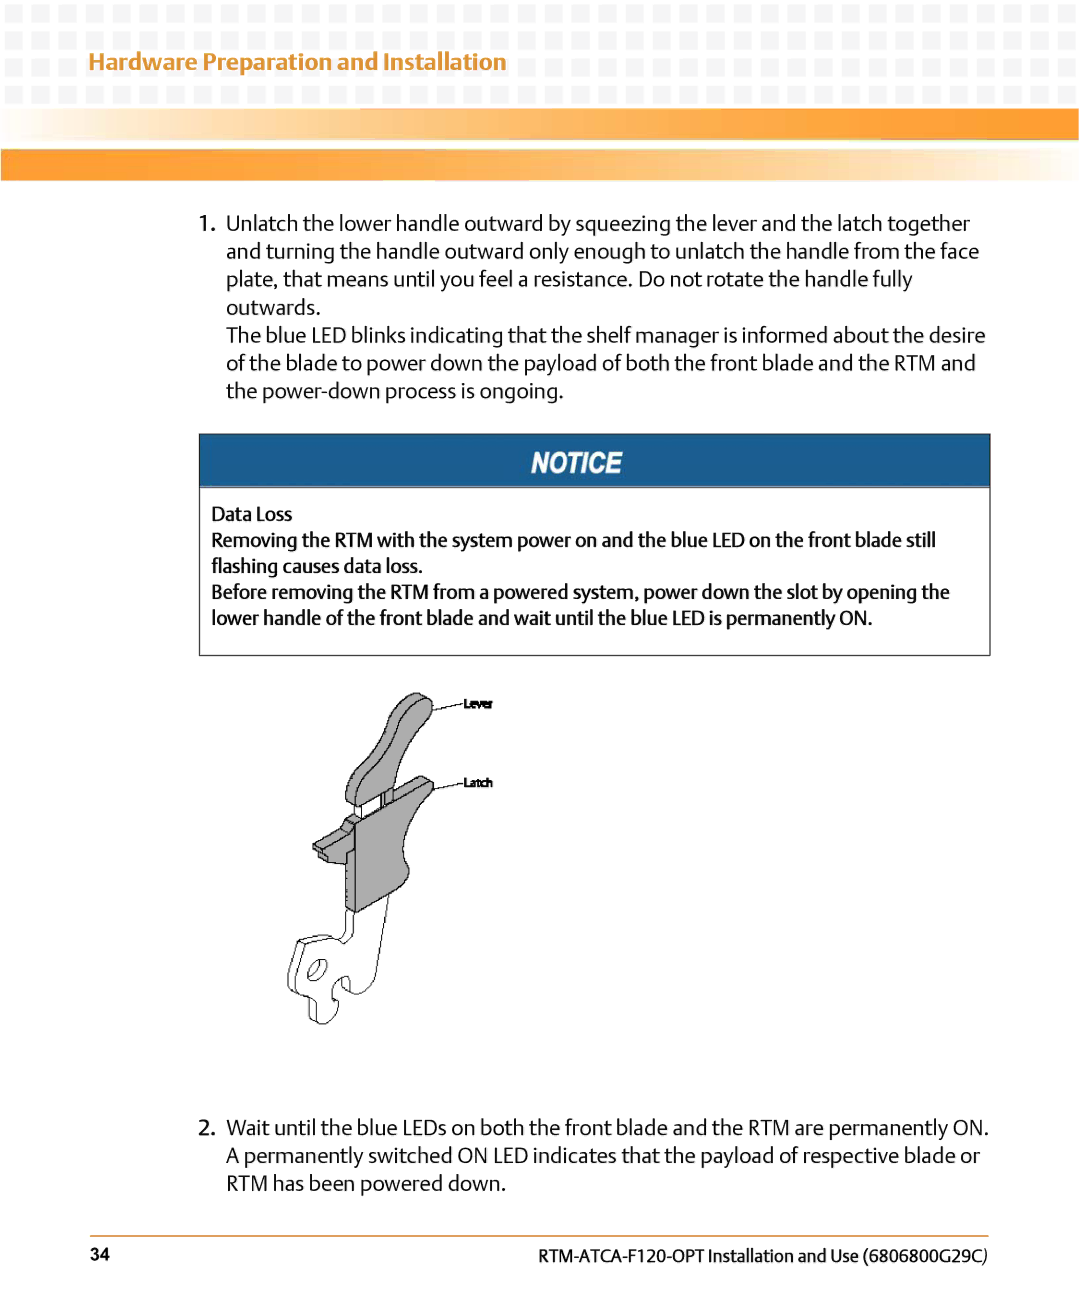
1.Unlatch the lower handle outward by squeezing the lever and the latch together and turning the handle outward only enough to unlatch the handle from the face plate, that means until you feel a resistance. Do not rotate the handle fully outwards.
The blue LED blinks indicating that the shelf manager is informed about the desire of the blade to power down the payload of both the front blade and the RTM and the
Data Loss
Removing the RTM with the system power on and the blue LED on the front blade still flashing causes data loss.
Before removing the RTM from a powered system, power down the slot by opening the lower handle of the front blade and wait until the blue LED is permanently ON.
2.Wait until the blue LEDs on both the front blade and the RTM are permanently ON. A permanently switched ON LED indicates that the payload of respective blade or RTM has been powered down.
34 |