Operation, cont’d
As a secondary function on HVA models, the Esc button increments the audio level of the selected input. In audio adjust mode, the Esc LED indicates a positive (+) gain value. A more detailed explanation of audio level adjustment is included in Viewing and adjusting the input audio level (HVA models only) on page
I/O controls
When creating or viewing a configuration, you must specify whether the configuration applies to video, audio, or both. This is done with the RGBHV ( 7 ) and Audio ( 8 ) buttons.
Although present, the Audio button has no function on HV models.
7RGBHV button and LED — The RGBHV button selects and deselects video for a configuration being created or viewed. The RGBHV LED lights to indicate that video is available for configuration or viewing.
8Audio button and LED — The Audio button selects and deselects audio for a configuration that is being created or viewed. The Audio LED lights to indicate that the audio configuration follows the video configuration. The Audio LED blinks to indicate that the audio configuration is broken away from the video configuration.
As a secondary function, the Audio button selects the audio level display/ adjust mode. Press and hold the Audio button until the Audio LED begins to blink. If the RGBHV LED was lit, it turns off. Select an input. The current audio level setting for the selected input is displayed in the output LEDs. The audio level for the selected input can be incremented and decremented by pressing the View ( 5 ) and Esc ( 6 ) buttons. A more detailed explanation of audio level adjustment is included in Viewing and adjusting the input audio level (HVA models only) on page
Front panel I/O label windows
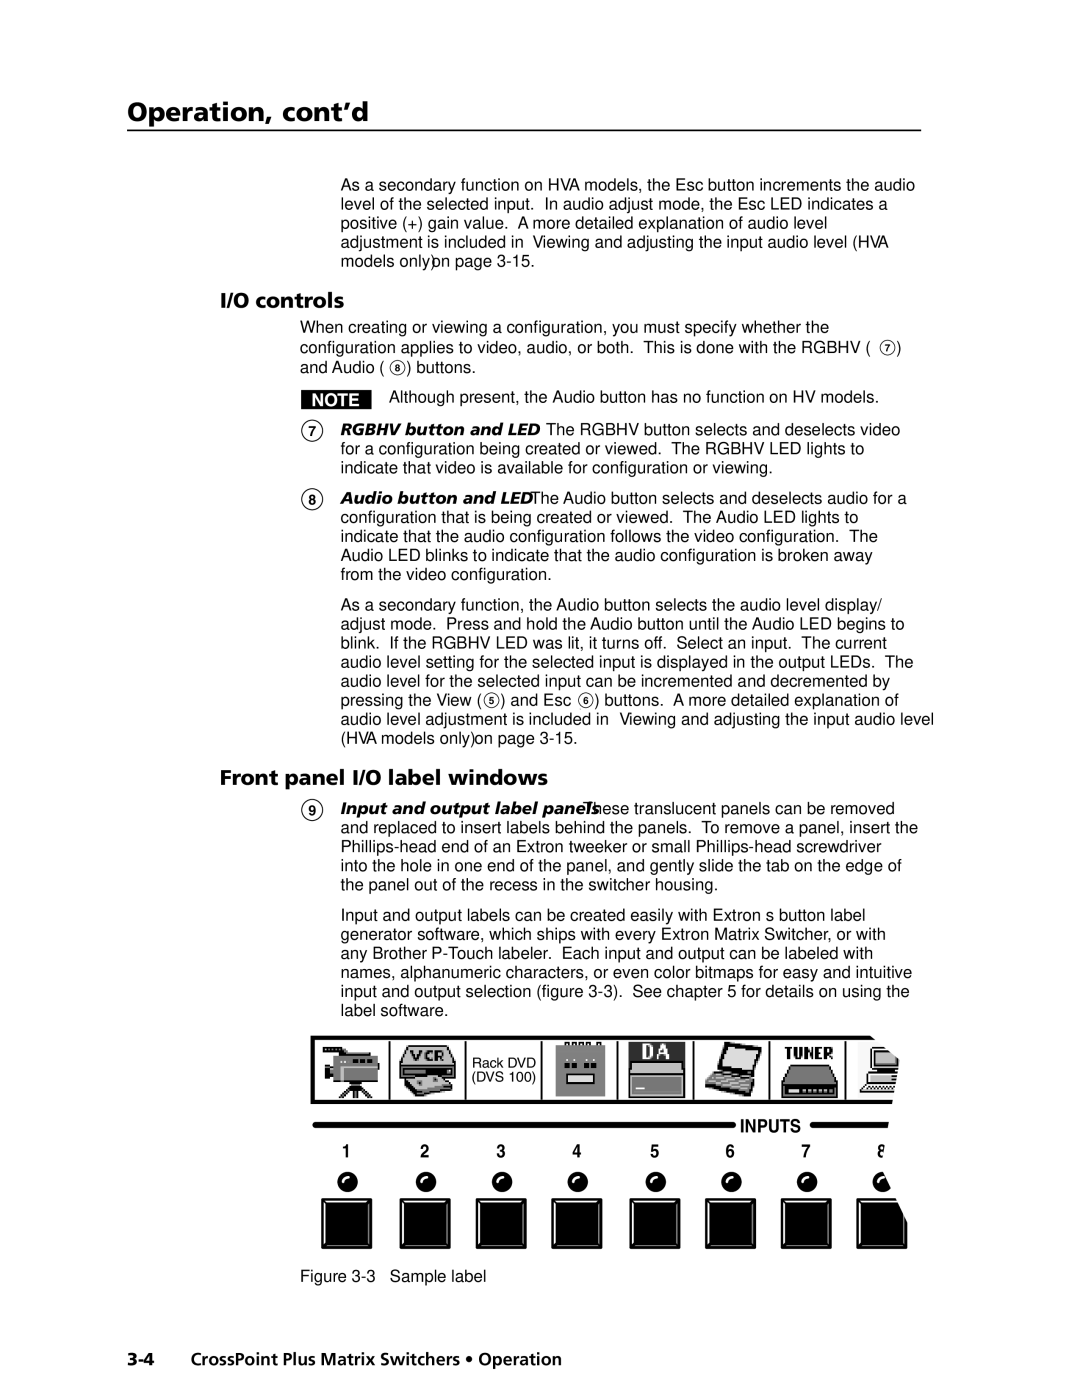
9Input and output label panels — These translucent panels can be removed and replaced to insert labels behind the panels. To remove a panel, insert the
Input and output labels can be created easily with Extron’s button label generator software, which ships with every Extron Matrix Switcher, or with any Brother
Rack DVD (DVS 100)
INPUTS
1 | 2 | 3 | 4 | 5 | 6 | 7 | ||||||
|
|
|
|
|
|
|
|
|
|
|
|
|
|
|
|
|
|
|
|
|
|
|
|
|
|