U s e r I n s t a l l a b l e F e a t u r e s
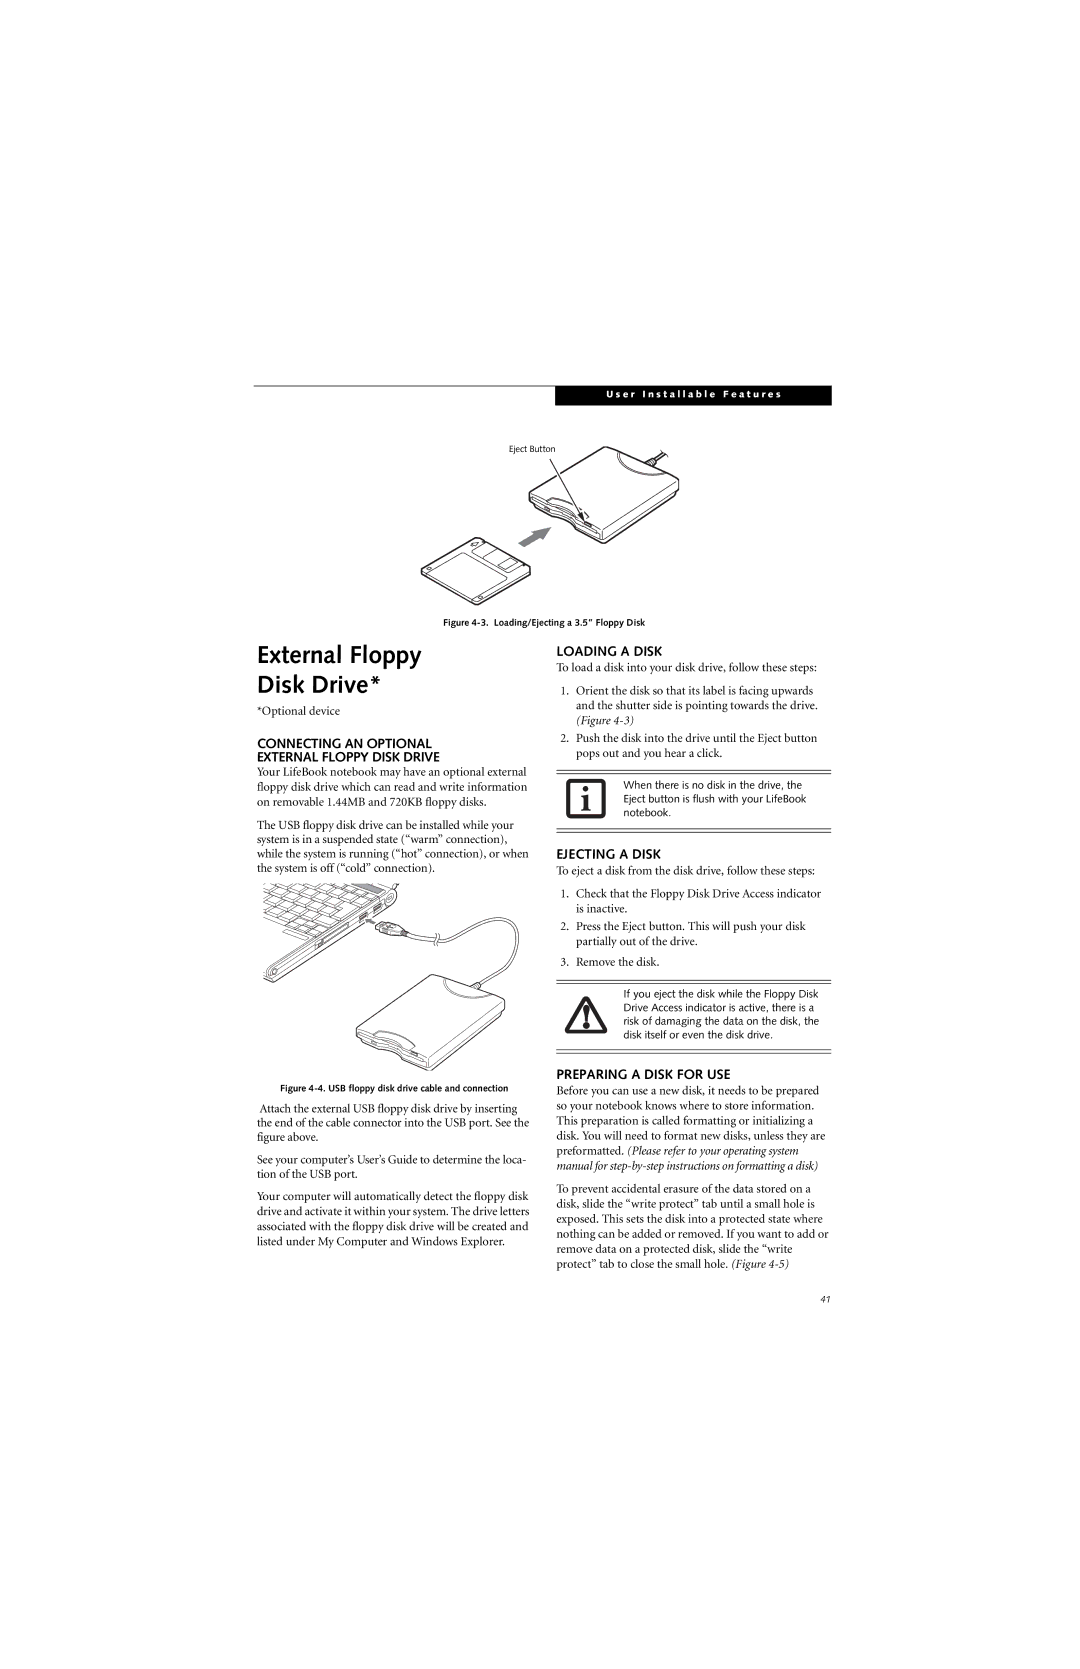
Eject Button
Figure 4-3. Loading/Ejecting a 3.5” Floppy Disk
External Floppy
Disk Drive*
*Optional device
CONNECTING AN OPTIONAL
EXTERNAL FLOPPY DISK DRIVE
Your LifeBook notebook may have an optional external floppy disk drive which can read and write information on removable 1.44MB and 720KB floppy disks.
LOADING A DISK
To load a disk into your disk drive, follow these steps:
1.Orient the disk so that its label is facing upwards and the shutter side is pointing towards the drive. (Figure
2.Push the disk into the drive until the Eject button pops out and you hear a click.
When there is no disk in the drive, the Eject button is flush with your LifeBook notebook.
The USB floppy disk drive can be installed while your system is in a suspended state (“warm” connection), while the system is running (“hot” connection), or when the system is off (“cold” connection).
Figure 4-4. USB floppy disk drive cable and connection
Attach the external USB floppy disk drive by inserting the end of the cable connector into the USB port. See the figure above.
See your computer’s User’s Guide to determine the loca- tion of the USB port.
Your computer will automatically detect the floppy disk drive and activate it within your system. The drive letters associated with the floppy disk drive will be created and listed under My Computer and Windows Explorer.
EJECTING A DISK
To eject a disk from the disk drive, follow these steps:
1.Check that the Floppy Disk Drive Access indicator is inactive.
2.Press the Eject button. This will push your disk partially out of the drive.
3.Remove the disk.
If you eject the disk while the Floppy Disk Drive Access indicator is active, there is a risk of damaging the data on the disk, the disk itself or even the disk drive.
PREPARING A DISK FOR USE
Before you can use a new disk, it needs to be prepared so your notebook knows where to store information. This preparation is called formatting or initializing a disk. You will need to format new disks, unless they are preformatted. (Please refer to your operating system manual for
To prevent accidental erasure of the data stored on a disk, slide the “write protect” tab until a small hole is exposed. This sets the disk into a protected state where nothing can be added or removed. If you want to add or remove data on a protected disk, slide the “write protect” tab to close the small hole. (Figure
41