11.Connect the AC power cable (from the junction box) to the AC adapter. To do so, bring the keyboard tray assembly close to the cradle plate that is already mounted on the wall.
12.Attach the keyboard tray assembly to the mounting plate as shown in Figure
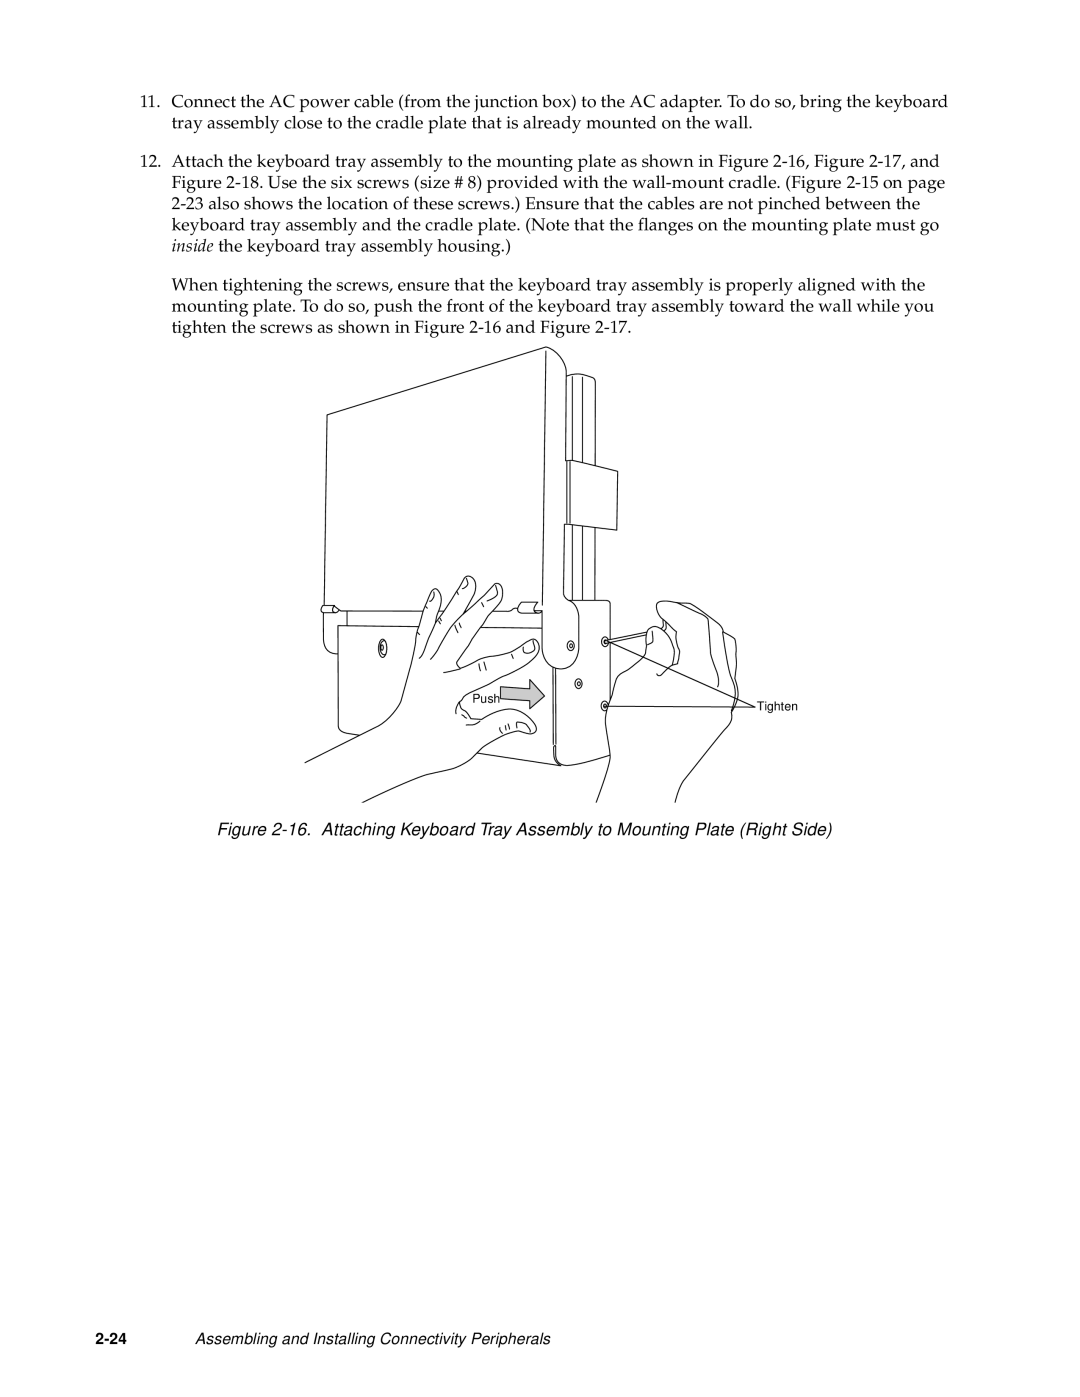
When tightening the screws, ensure that the keyboard tray assembly is properly aligned with the mounting plate. To do so, push the front of the keyboard tray assembly toward the wall while you tighten the screws as shown in Figure
Push | Tighten |
|
Figure 2-16. Attaching Keyboard Tray Assembly to Mounting Plate (Right Side)
Assembling and Installing Connectivity Peripherals |