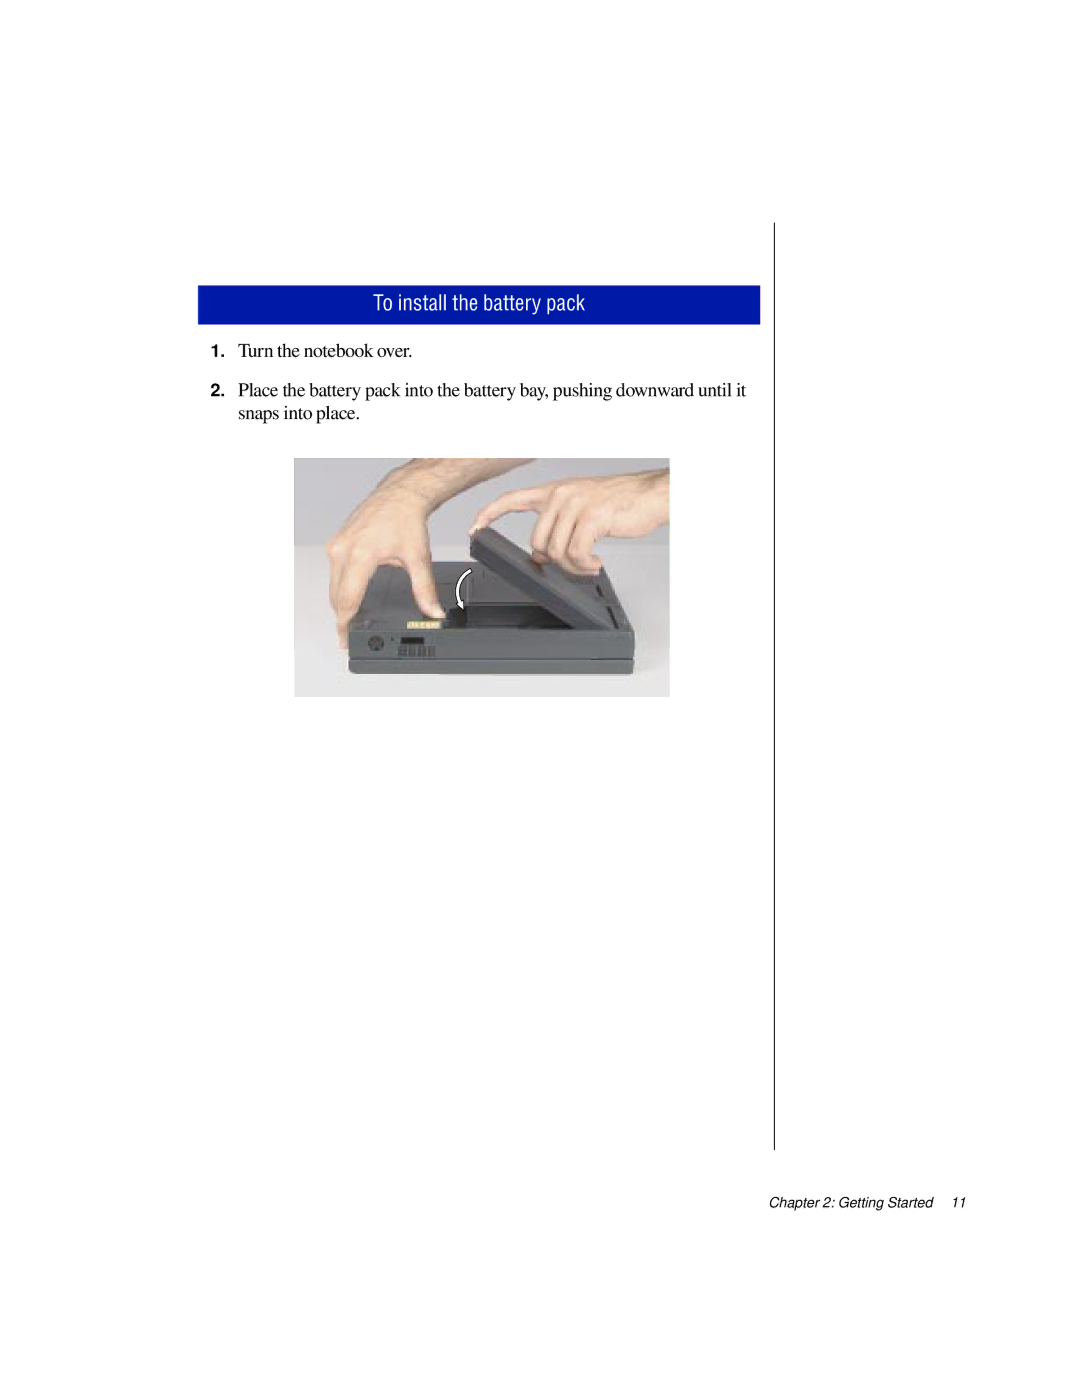
To install the battery pack
1.Turn the notebook over.
2.Place the battery pack into the battery bay, pushing downward until it snaps into place.
1.Turn the notebook over.
2.Place the battery pack into the battery bay, pushing downward until it snaps into place.