Chapter 5
Print photos
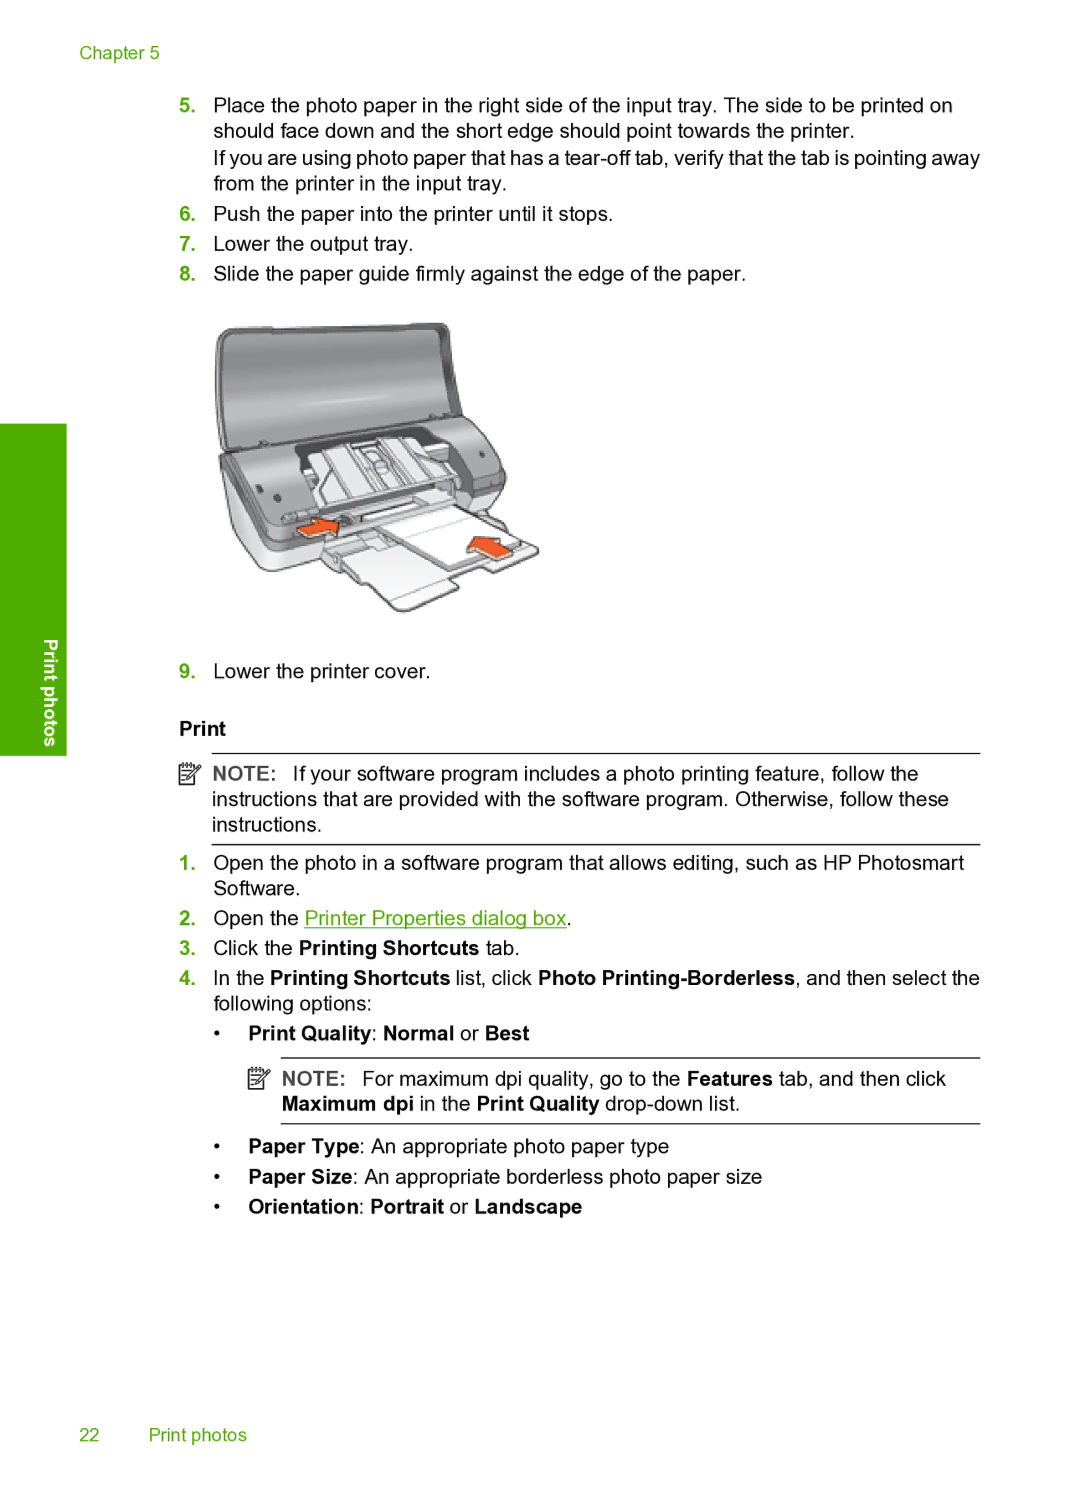
5.Place the photo paper in the right side of the input tray. The side to be printed on should face down and the short edge should point towards the printer.
If you are using photo paper that has a
6.Push the paper into the printer until it stops.
7.Lower the output tray.
8.Slide the paper guide firmly against the edge of the paper.
9.Lower the printer cover.
![]() NOTE: If your software program includes a photo printing feature, follow the instructions that are provided with the software program. Otherwise, follow these instructions.
NOTE: If your software program includes a photo printing feature, follow the instructions that are provided with the software program. Otherwise, follow these instructions.
1.Open the photo in a software program that allows editing, such as HP Photosmart Software.
2.Open the Printer Properties dialog box.
3.Click the Printing Shortcuts tab.
4.In the Printing Shortcuts list, click Photo
•Print Quality: Normal or Best
![]() NOTE: For maximum dpi quality, go to the Features tab, and then click Maximum dpi in the Print Quality
NOTE: For maximum dpi quality, go to the Features tab, and then click Maximum dpi in the Print Quality
•Paper Type: An appropriate photo paper type
•Paper Size: An appropriate borderless photo paper size
•Orientation: Portrait or Landscape
22 Print photos