Screen refresh when clicking tabs or links:
Screens with long lists of systems, applications, or packages take more time to refresh. If a screen appears to be empty when you first click to it, please wait a few seconds for the refresh to complete.
See also:
•“Other controls available from
Set general visibility
First and foremost, visibility of systems and applications depends on the permissions a user has for each managed system and application. Users can see only those systems and applications in Application Discovery tables that they already have permission to access or view.
That said, for those applications for which you have permission to view, you can further alter application visibility by changing this configuration.
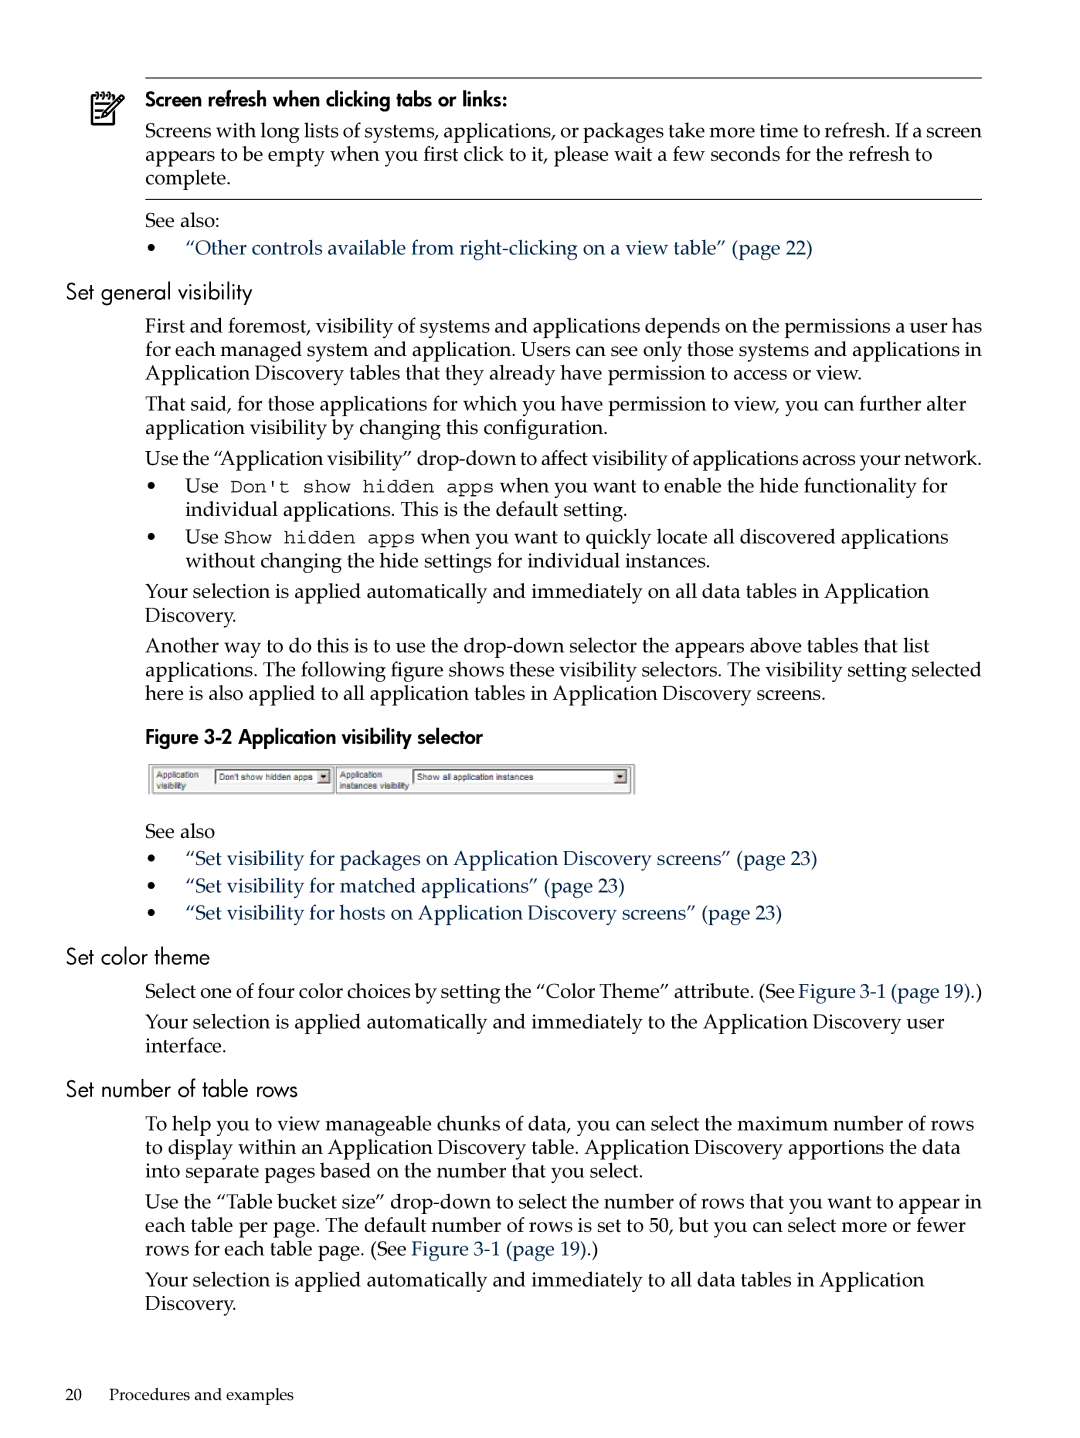
Use the “Application visibility”
•Use Don't show hidden apps when you want to enable the hide functionality for individual applications. This is the default setting.
•Use Show hidden apps when you want to quickly locate all discovered applications without changing the hide settings for individual instances.
Your selection is applied automatically and immediately on all data tables in Application Discovery.
Another way to do this is to use the
Figure 3-2 Application visibility selector
See also
•“Set visibility for packages on Application Discovery screens” (page 23)
•“Set visibility for matched applications” (page 23)
•“Set visibility for hosts on Application Discovery screens” (page 23)
Set color theme
Select one of four color choices by setting the “Color Theme” attribute. (See Figure
Your selection is applied automatically and immediately to the Application Discovery user interface.
Set number of table rows
To help you to view manageable chunks of data, you can select the maximum number of rows to display within an Application Discovery table. Application Discovery apportions the data into separate pages based on the number that you select.
Use the “Table bucket size”
Your selection is applied automatically and immediately to all data tables in Application Discovery.
20 Procedures and examples