Print Server Administration User’s Guide
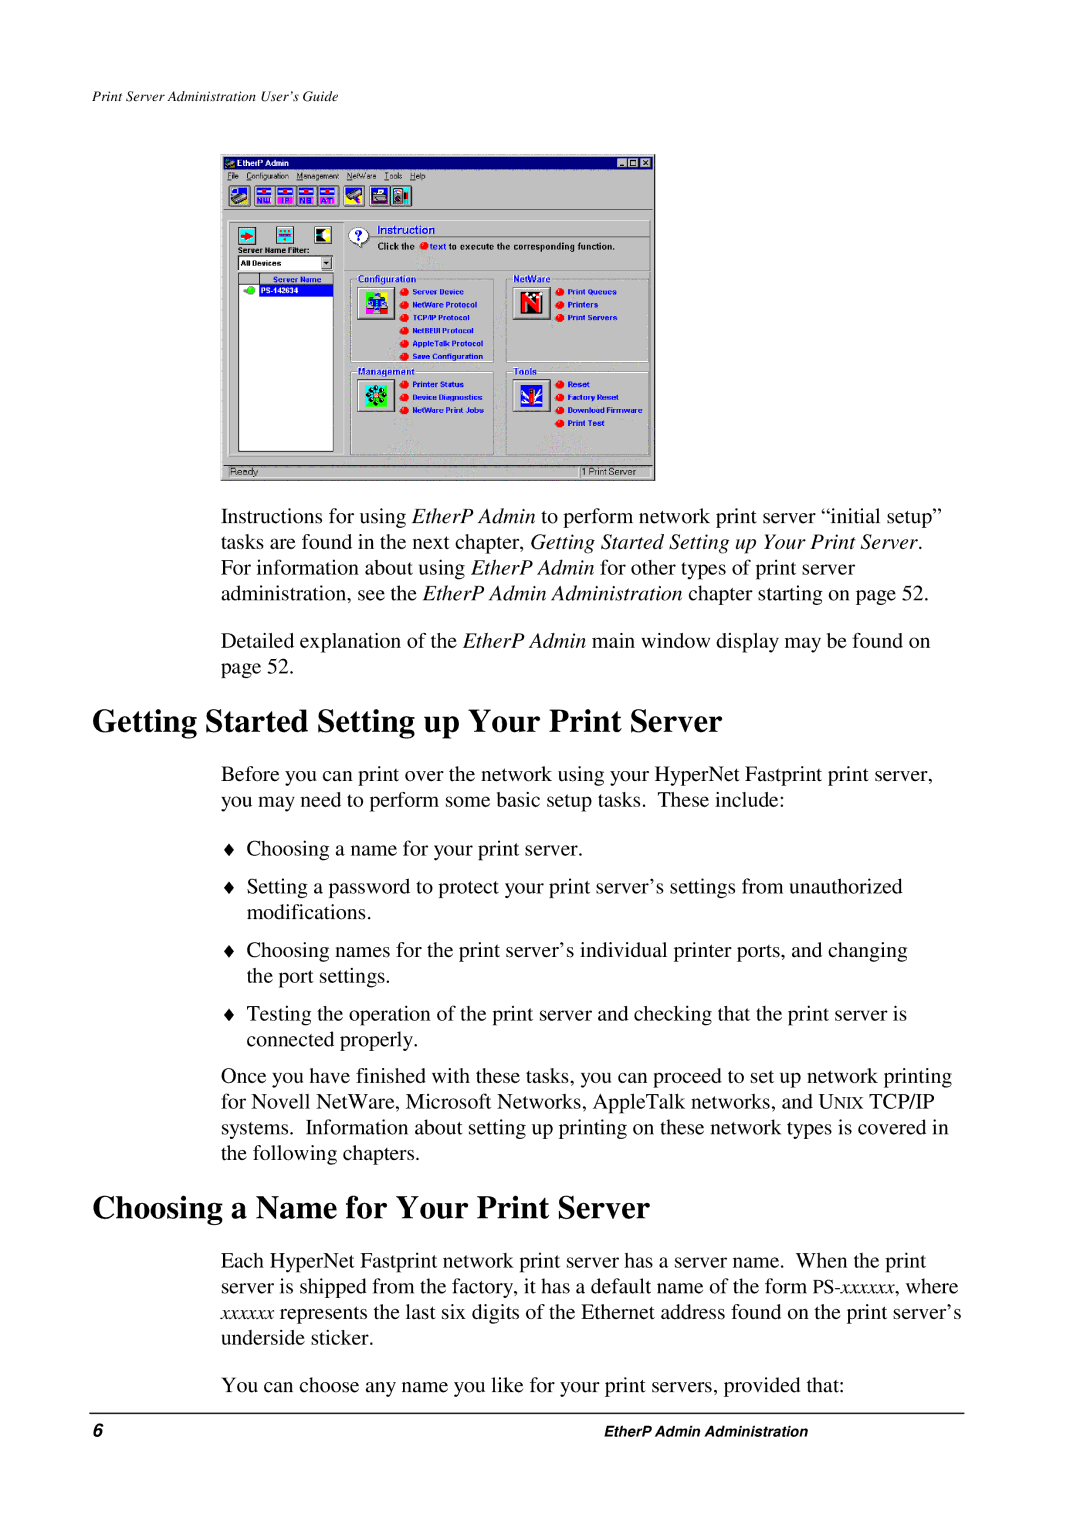
Instructions for using EtherP Admin to perform network print server “initial setup” tasks are found in the next chapter, Getting Started Setting up Your Print Server. For information about using EtherP Admin for other types of print server administration, see the EtherP Admin Administration chapter starting on page 52.
Detailed explanation of the EtherP Admin main window display may be found on page 52.
Getting Started Setting up Your Print Server
Before you can print over the network using your HyperNet Fastprint print server, you may need to perform some basic setup tasks. These include:
♦Choosing a name for your print server.
♦Setting a password to protect your print server’s settings from unauthorized modifications.
♦Choosing names for the print server’s individual printer ports, and changing the port settings.
♦Testing the operation of the print server and checking that the print server is connected properly.
Once you have finished with these tasks, you can proceed to set up network printing for Novell NetWare, Microsoft Networks, AppleTalk networks, and UNIX TCP/IP systems. Information about setting up printing on these network types is covered in the following chapters.
Choosing a Name for Your Print Server
Each HyperNet Fastprint network print server has a server name. When the print server is shipped from the factory, it has a default name of the form
xxxxxxrepresents the last six digits of the Ethernet address found on the print server’s underside sticker.
You can choose any name you like for your print servers, provided that:
6 | EtherP Admin Administration |
