Print Server Administration User’s Guide
[Server Configuration] |
| |
1 | - Server Name | |
2 | - Location | <Central office> |
3 | - Admin Contact | <Benjamin Lin> |
4 | - Change Password |
|
0 | - Return to Main Menu |
|
Enter Selection:
2.To change the server name, location, or admin contact, choose the appropriate menu item. The print server will prompt for the new value.
If you are setting the server name, be sure to follow the recommendations described in the Choosing a Name for Your Print Server section on page 6 of this manual.
3.When you are done changing the server settings, choose 0 to return to the Main Menu.
4.Choose the Save Configuration menu item. The print server will ask for confirmation:
Do you really want to save the configuration? (y/n)
Answer Y to confirm the save. The telnet connection will drop, and the print server will reset itself, letting the new server configuration take effect.
Changing the Print Server Password
The print server password is used to protect the print server’s configuration from changes, either through the EtherP Admin program, or through the telnet interface.
To change the print server’s password,
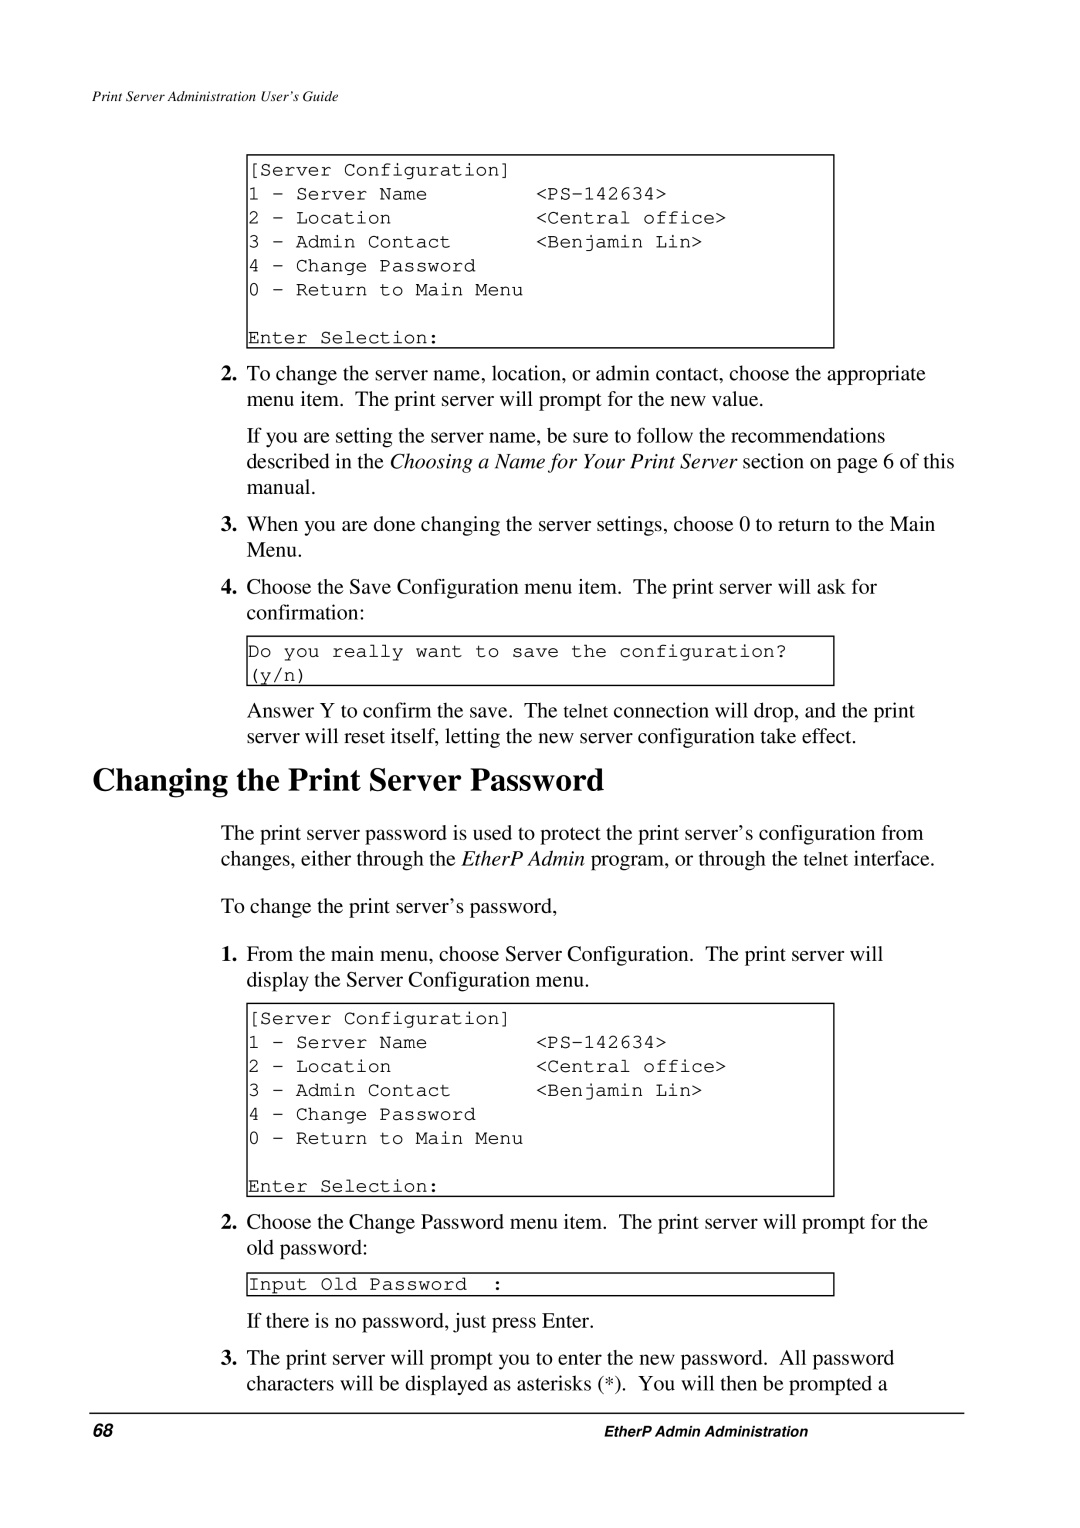
1.From the main menu, choose Server Configuration. The print server will display the Server Configuration menu.
[Server Configuration] |
| |
1 | - Server Name | |
2 | - Location | <Central office> |
3 | - Admin Contact | <Benjamin Lin> |
4 | - Change Password |
|
0 | - Return to Main Menu |
|
Enter Selection:
2.Choose the Change Password menu item. The print server will prompt for the old password:
Input Old Password :
If there is no password, just press Enter.
3.The print server will prompt you to enter the new password. All password characters will be displayed as asterisks (*). You will then be prompted a
68 | EtherP Admin Administration |