Print Server Administration User’s Guide
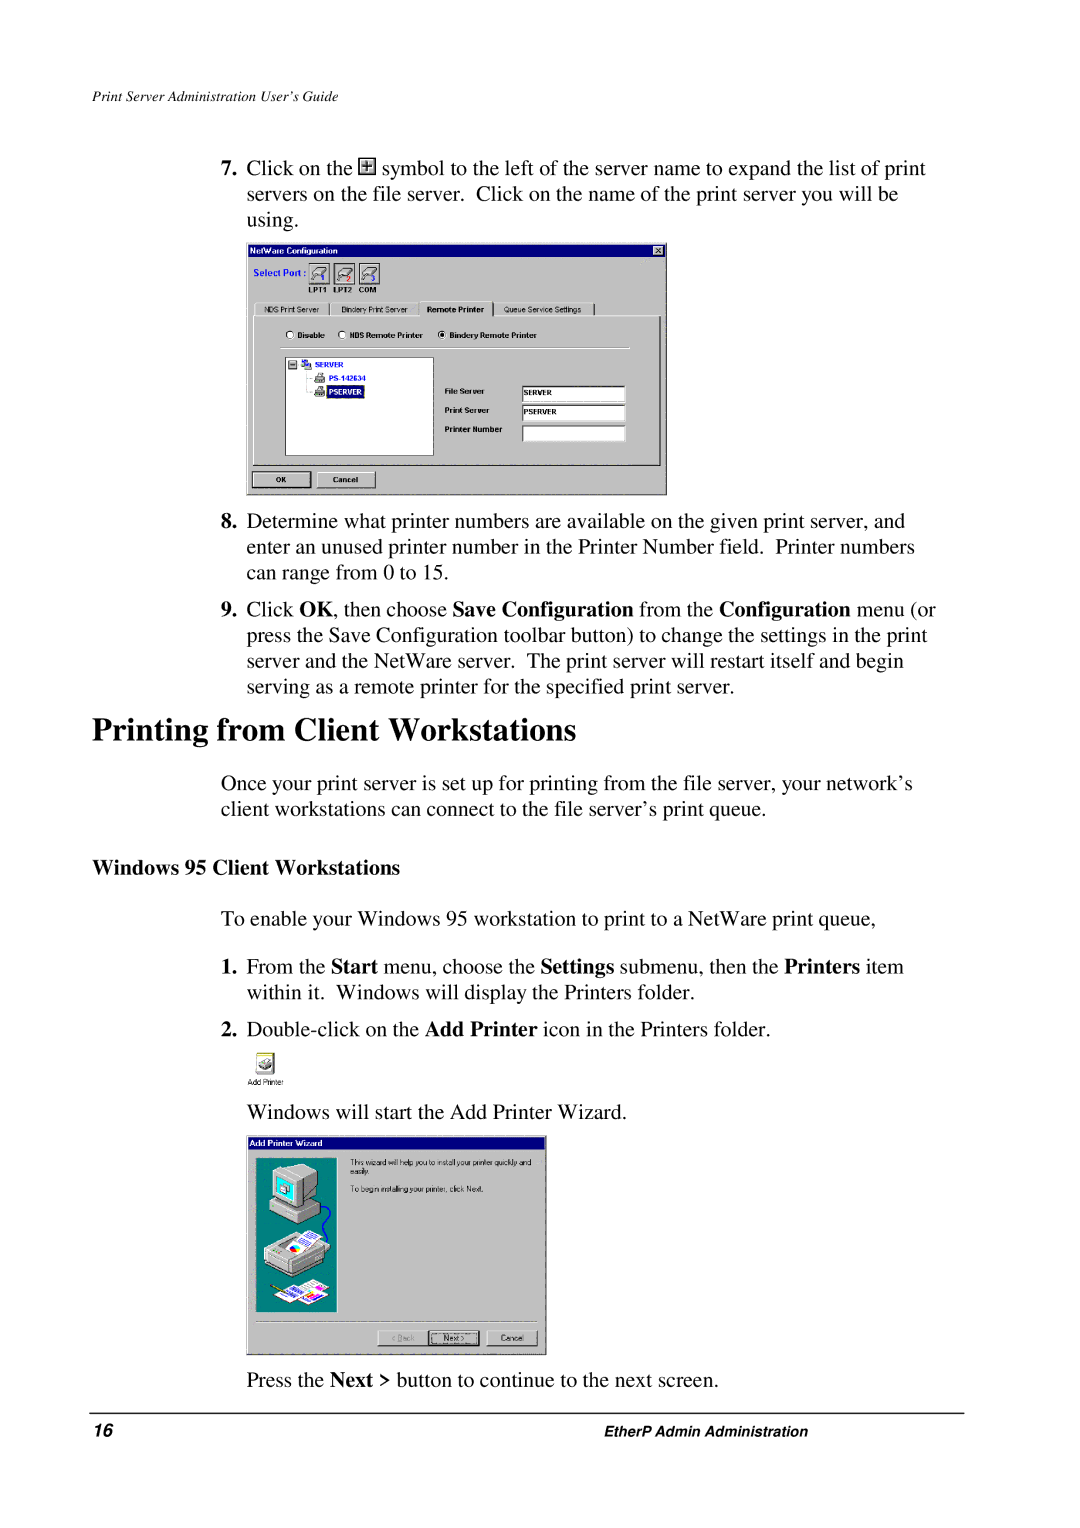
7.Click on the ![]() symbol to the left of the server name to expand the list of print servers on the file server. Click on the name of the print server you will be using.
symbol to the left of the server name to expand the list of print servers on the file server. Click on the name of the print server you will be using.
8.Determine what printer numbers are available on the given print server, and enter an unused printer number in the Printer Number field. Printer numbers can range from 0 to 15.
9.Click OK, then choose Save Configuration from the Configuration menu (or press the Save Configuration toolbar button) to change the settings in the print server and the NetWare server. The print server will restart itself and begin serving as a remote printer for the specified print server.
Printing from Client Workstations
Once your print server is set up for printing from the file server, your network’s client workstations can connect to the file server’s print queue.
Windows 95 Client Workstations
To enable your Windows 95 workstation to print to a NetWare print queue,
1.From the Start menu, choose the Settings submenu, then the Printers item within it. Windows will display the Printers folder.
2.
Windows will start the Add Printer Wizard.
Press the Next > button to continue to the next screen.
16 | EtherP Admin Administration |
