Print Server Administration User’s Guide
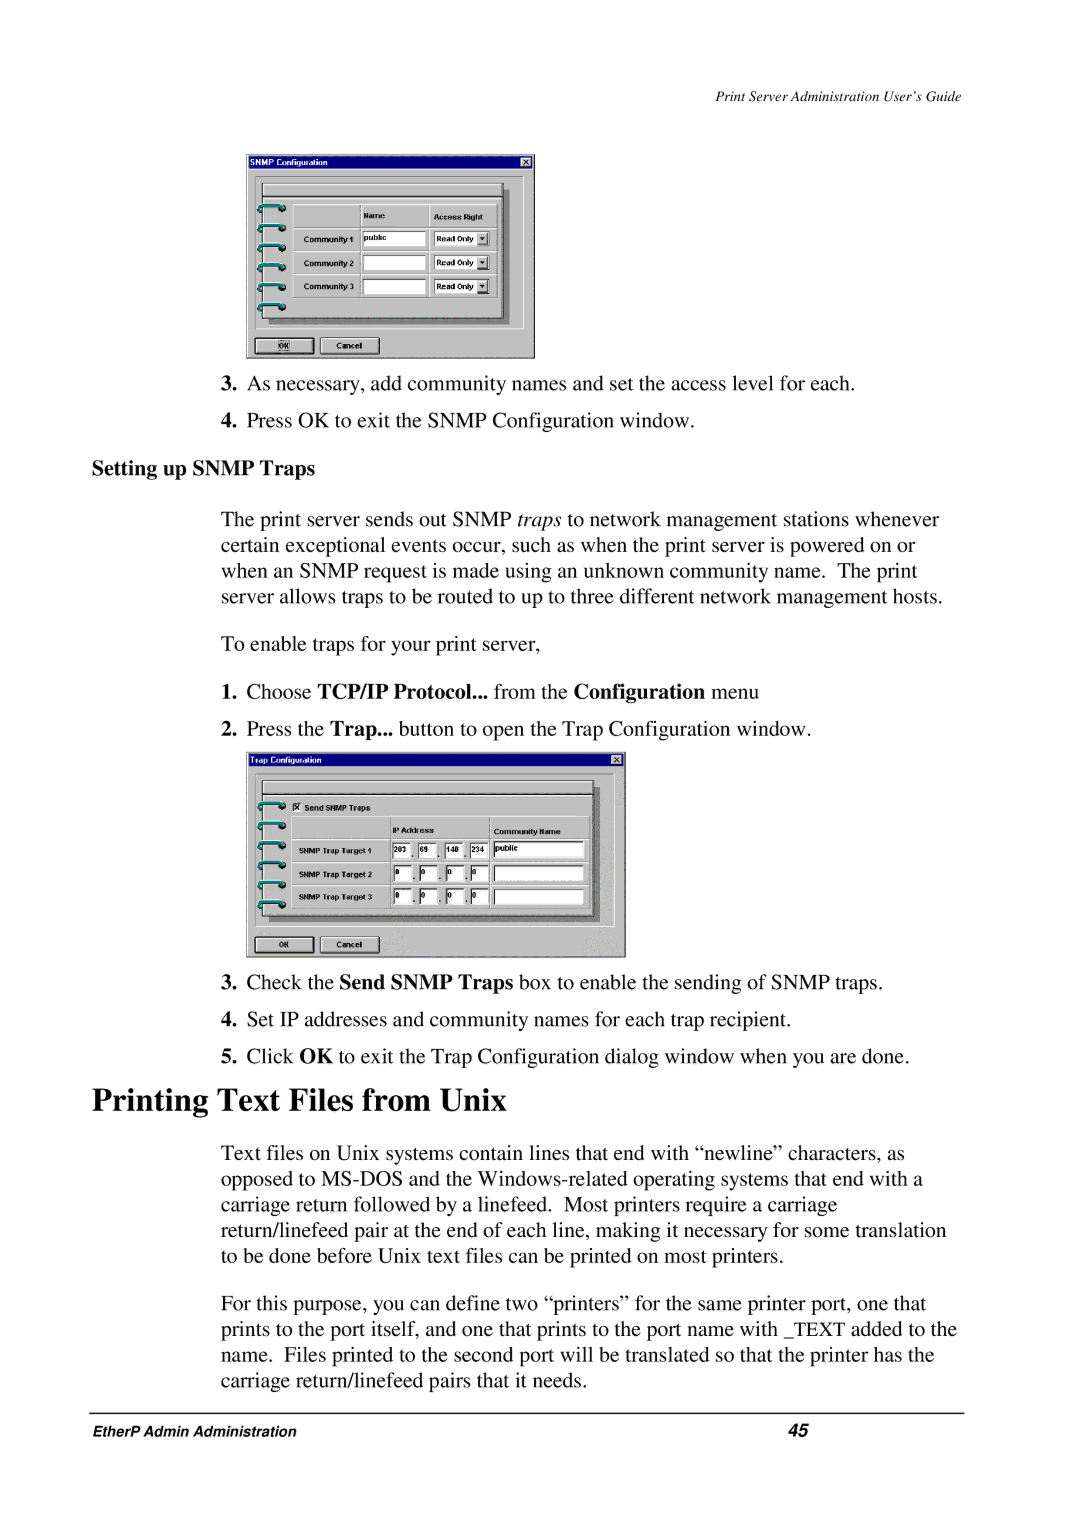
3.As necessary, add community names and set the access level for each.
4.Press OK to exit the SNMP Configuration window.
Setting up SNMP Traps
The print server sends out SNMP traps to network management stations whenever certain exceptional events occur, such as when the print server is powered on or when an SNMP request is made using an unknown community name. The print server allows traps to be routed to up to three different network management hosts.
To enable traps for your print server,
1.Choose TCP/IP Protocol... from the Configuration menu
2.Press the Trap... button to open the Trap Configuration window.
3.Check the Send SNMP Traps box to enable the sending of SNMP traps.
4.Set IP addresses and community names for each trap recipient.
5.Click OK to exit the Trap Configuration dialog window when you are done.
Printing Text Files from Unix
Text files on Unix systems contain lines that end with “newline” characters, as opposed to
For this purpose, you can define two “printers” for the same printer port, one that prints to the port itself, and one that prints to the port name with _TEXT added to the name. Files printed to the second port will be translated so that the printer has the carriage return/linefeed pairs that it needs.
EtherP Admin Administration | 45 |
