vScreen resolution of 1024 x 768 pixels required for DVD authoring functions
vAudio adapter supporting 44.1 or 48 kHz sampling rate
vOptional stereo speakers
Before you begin
Before you install the
Handling precautions
Use the following handling precautions to protect your drive:
vKeep the
vHandle the drive with care. Dropping or jarring the drive can damage the components inside the drive housing.
vDo not force insertion of the IDE or power cables. Doing so might damage the connector or the drive.
Drive controls and connectors
The following diagrams show the location and functions of the drive controls and connectors.
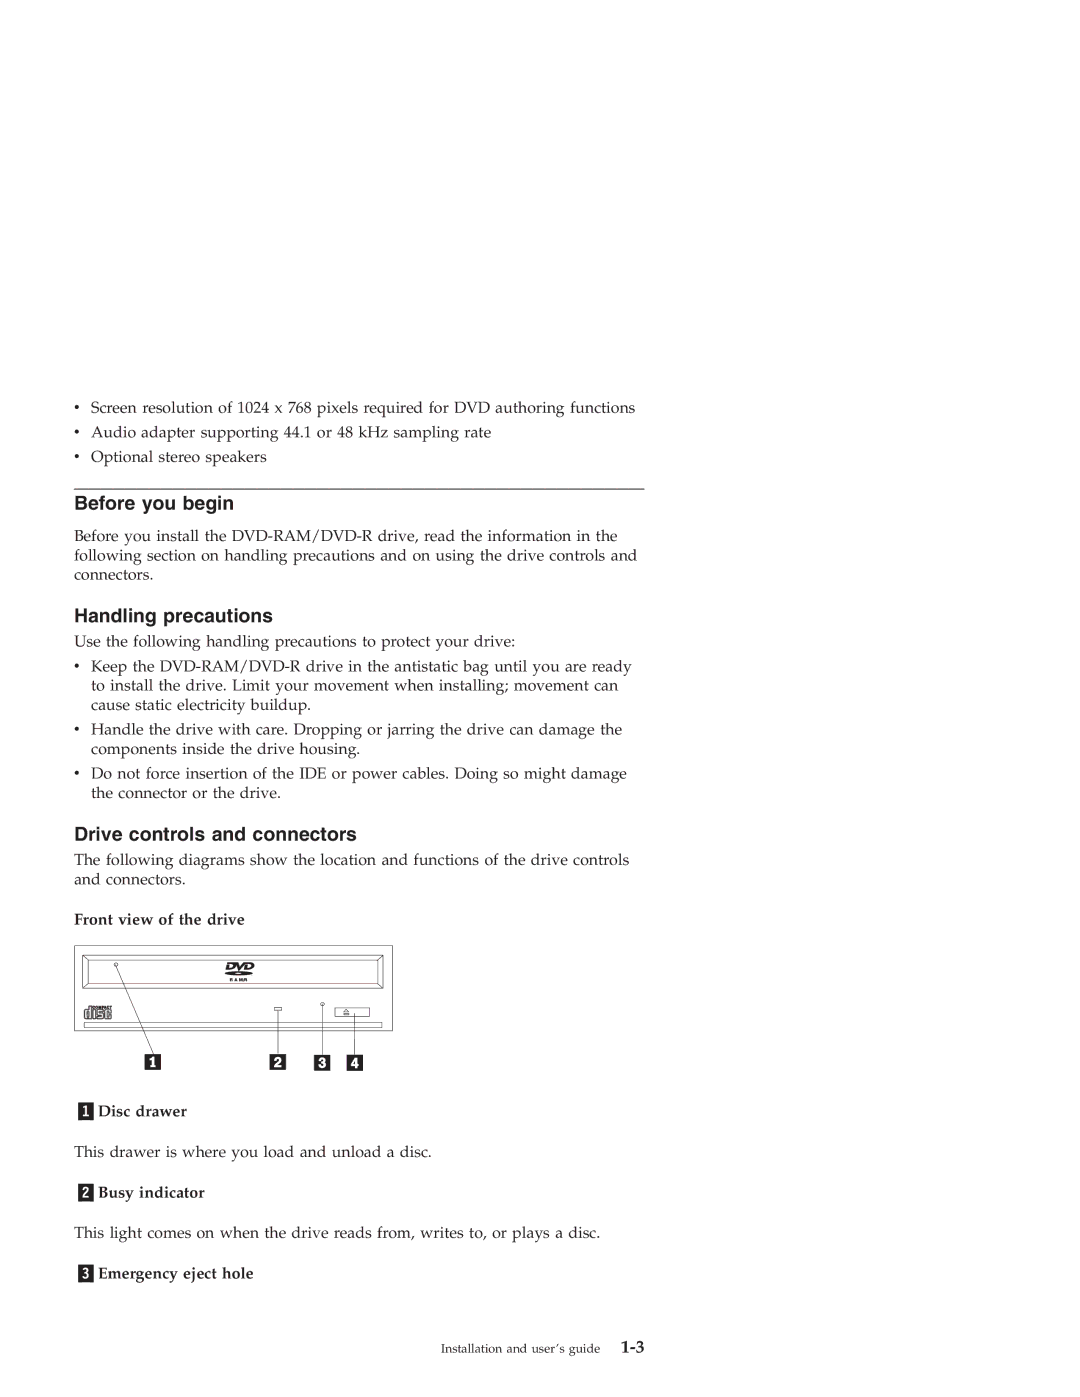
Front view of the drive
R A M/R
Disc drawer
This drawer is where you load and unload a disc.
Busy indicator
This light comes on when the drive reads from, writes to, or plays a disc.
Emergency eject hole
Installation and user’s guide |