HP StorageWorks SAN Switch installation guide
Furnishing, performance, or use of this material
Contents
Managing SAN Switches
Installing and configuring SAN Switches
Regulatory compliance and safety 113
Installing field-replaceable units
Boot Interpreting Post results Diagnostic tests
Electrostatic discharge 129
SAN Switch technical specifications 131
Supported HBAs
Glossary 147 Index 157
Figures
Tables
Page
Related documentation
Intended audience
Convention Element
Document conventions and symbols
This document follows the conventions in Table
Document conventions
Rack stability
HP technical support
Helpful web sites
HP authorized reseller
This chapter describes the following topics
4/16 SAN Switch models
4/16 SAN Switch features
Activating additional 4/8 and 4/16 SAN Switch ports
4/16 SAN Switch chassis
Portstart
Enabling EPorts on the 4/8 SAN Switch
SAN Switch licensing
SAN Switch features
SAN Switch models
SAN Switch chassis
SAN Switch port side
32 SAN Switch nonport side
Activating additional 4/32 and 4/32B SAN Switch ports
Portstart
24Overview
Shows the port side and identifies the components
64 SAN Switch port side
SAN Switch port numbering
Activating additional 4/64 SAN Switch ports
32B SAN Switch features
32B SAN Switch models
32B SAN Switch chassis
32B SAN Switch port side
Activating additional 4/32B SAN Switch ports
SAN Switch ISL Trunking groups
Optional SAN Switch features
Optional port licenses and hardware kits
SAN Switch optional port licenses and hardware
Option Part number
34Overview
Shipping carton contents
Installing and configuring SAN Switches
Number
SAN Switch shipping carton checklist
Number Description
Electrical considerations
Installation and safety considerations
Environmental considerations
Cooling considerations
Rack specifications
Installing the switch as a stand-alone device
Installing the switch using the SAN Switch Rack Mount Kit
Description
SAN Switch Rack Mount Kit hardware
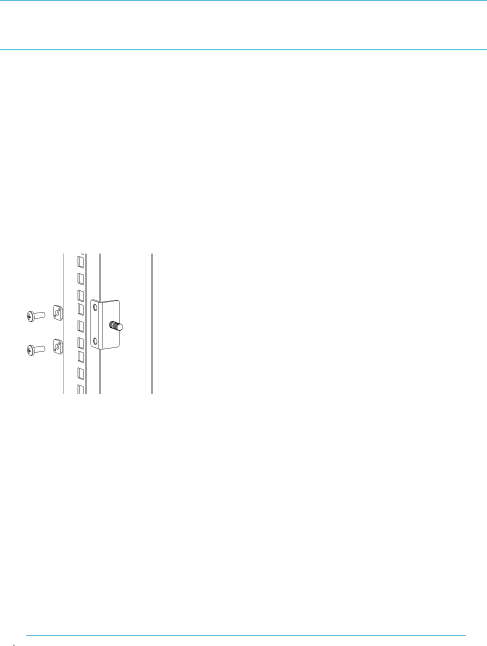
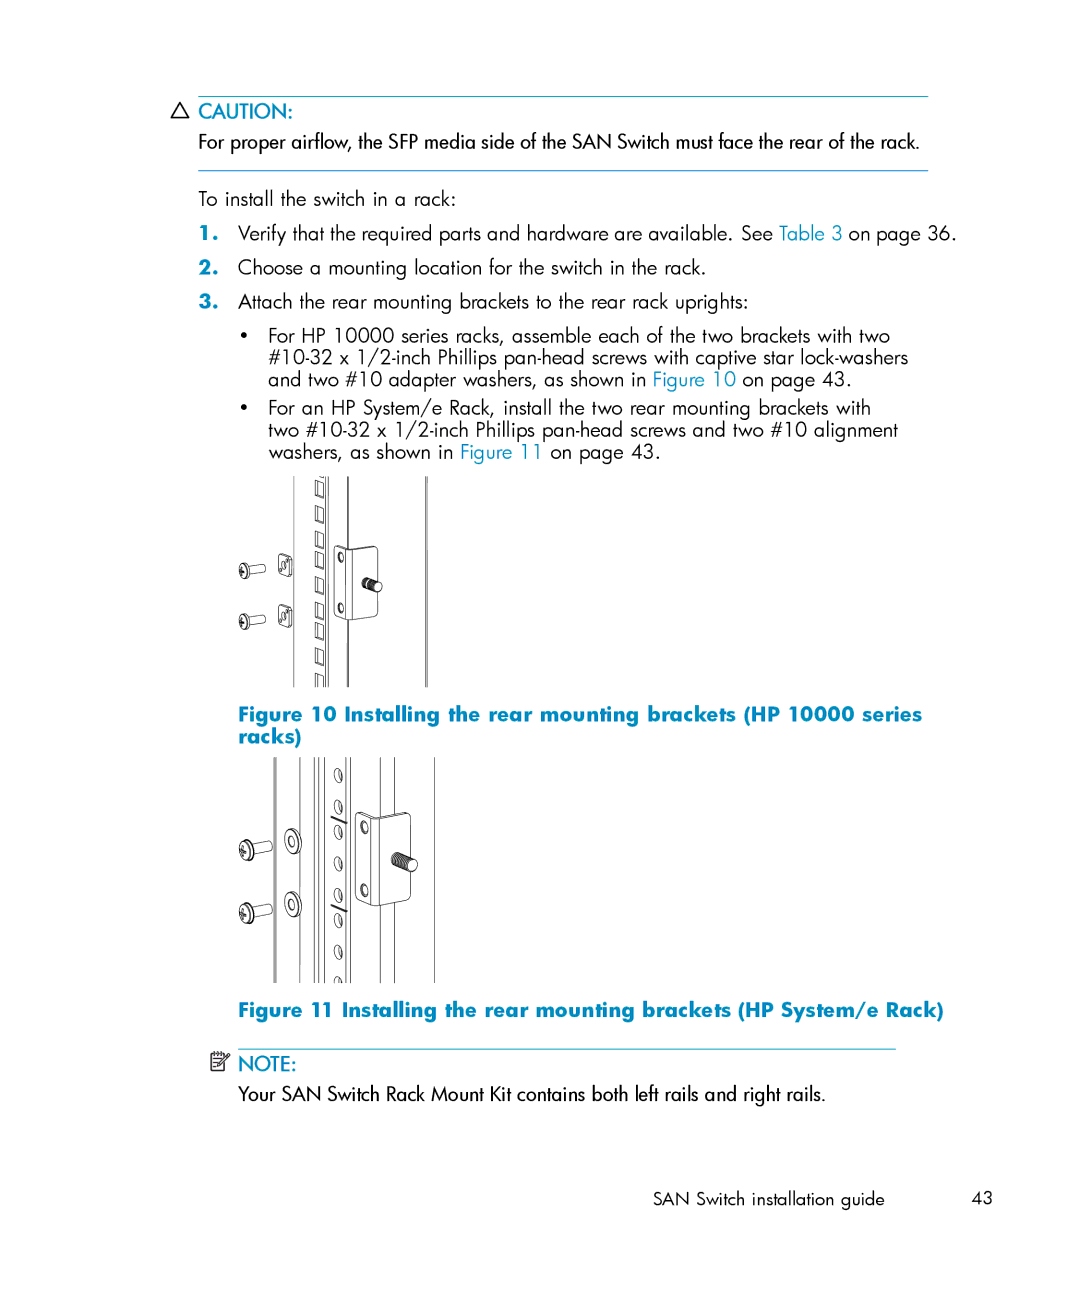
Installing the rear mounting brackets HP 10000 series racks
Installing the outer rails HP 10000 series racks
Assembling the outer rails HP 10000 series racks
Number of screws required to assemble the inner rails
Assembling the outer rails HP System/e Rack
Page
Attaching the inner rails to the 4/8 or 4/16 SAN Switch
Installing the Plenum if required
Attaching the Plenum to the 4/8 or 4/16 SAN Switch
Securing the switch to the outer rails
Securing the switch in an HP System/e rack
Recommendations for cable management
Cabling and configuring the SAN Switch
Obtain required items
Connecting the SAN Switch to the fabric
Make a serial connection
Connecting the serial cable
SAN Switch installation guide
Connecting the power cord
Apply power to the switch and log
Set the IP address
Create an Ethernet connection
Log in to the switch via Telnet, using the admin account
Modify the FC domain ID optional
To install the SFP transceivers
Install the SFP transceivers
At the Fabric Parameters prompt, enter y and press Enter
Back up the configuration
Verify the configuration
Connect the cables
Synchronize the local time with an external source
Set the switch date and time
Example
Set the time zone
Local time Tstimezone parameter
Time zone command values
Installing and configuring SAN Switches
Managing SAN Switches
4/16 SAN Switch models
Powering on and off
32, 4/32B and 4/64 SAN Switch models
Management tool Out-of-band support In-band support
SAN Switch management features
Managing SAN Switches from a single management station
Management tools
Fcip
Example of a set of gateway addresses
Interpreting LED activity
4/16 SAN Switch LEDs
LEDs are shown in Figure
8 and 4/16 SAN Switch LED patterns
4/16 SAN Switch LED patterns
Power Status LED patterns
System and power LED patterns are described in Table
System status LED patterns are described in Table
4/16 SAN Switch system Status LED patterns
System status LED patterns during normal operation
Port LED patterns during normal operation
4/16 SAN Switch port LED patterns
LED name LED color Hardware status Recommended action
Ethernet LED patterns
SAN Switch port side LEDs
4/16 SAN Switch Ethernet LED patterns
Each Ethernet port has two LEDs described in Table
32 SAN Switch port side LEDs
32 SAN Switch port side LED patterns
Describes the 4/32 SAN Switch port side LEDs
Portenable command
Shows the locations of the nonport side LEDs
SAN Switch nonport side LEDs
32 SAN Switch nonport side LED patterns
Describes the 4/32 SAN Switch nonport side LEDs
64 SAN Switch port side LEDs
64 SAN Switch port side LED patterns
SAN Switch nonport side LEDs
64 SAN Switch nonport side LEDs
Seconds Faulty and should be replaced
Identify the port side LEDs
32B SAN Switch LEDs
Or boot failed Booting is complete Steady green
PortEnable command
Boot
Post and boot specifications
Interpreting Post results
Diagnostic tests
Managing SAN Switches
Replacing the 4/32 SAN Switch power supply
Installing field-replaceable units
32 SAN Switch power supplies on the nonport side
Items required
32 SAN Switch Power Supply Status LEDs
LED color Meaning Corrective action
Installing the power supply in a 4/32 SAN Switch
Procedure
SAN Switch installation guide
32 SAN Switch fan assemblies on the nonport side
Replacing the 4/32 SAN Switch fan assembly
32 SAN Switch Fan Status LED behavior
Installing the fan assembly in a 4/32 SAN Switch
64 SAN Switch power supplies on the nonport side
Replacing the 4/64 SAN Switch power supply
100
SAN Switch installation guide 101
Installing the power supply in the 4/64 SAN Switch
64 SAN Switch fan assemblies on the nonport side
Replacing the 4/64 SAN Switch fan assembly
Fan Status LEDs
Inserting the fan assembly in a 4/64 SAN Switch
Identifies Power Supply/Fan Assembly Unit components
Power Supply/Fan Assembly overview
LED name LED color Description Action required Behavior
32B SAN Switch power supply/fan assembly unit status LED
Power Supply #1 is OK Power Supply #2 is OK
Items required
Replacing an SFP
SAN Switch installation guide 111
Installing the SFP
Regulatory compliance
Regulatory compliance and safety
Laser device
Regulatory compliance identification numbers
Canadian notice avis Canadien
International notices and statements
Bsmi notice
European Union notice
Japanese notice Korean notices
Battery replacement notice
Safety
Power cords
Taiwan battery recycling notice
Japanese power cord statement
English notice
Waste Electrical and Electronic Equipment directive
Dutch notice
Estonian notice
Czechoslovakian notice
French notice
Finnish notice
Greek notice
German notice
Italian notice
Hungarian notice
Lithuanian notice
Latvian notice
Portuguese notice
Polish notice
Slovenian notice
Slovakian notice
Swedish notice
Spanish notice
Grounding methods
How to prevent electrostatic discharge
This appendix provides the following information
130
SAN Switch technical specifications
Specification Description
General specifications
Lists general specifications for the SAN Switches
General specifications
4/16 SAN Switches Fabric initialization for
Facility requirements
Weight and physical dimensions
SAN Switch physical dimensions
Facility requirements
SAN Switch Cabinet space of 2U in a EIA 19 in cabinet
Environmental requirements
Environmental requirements
Condition Acceptable range during operation Non-operation
Data transmission ranges
Laser data transmission ranges for the 4/32 SAN Switch
Laser data transmission ranges for the 4/64 SAN Switch
Laser data transmission ranges for the 4/32B SAN Switch
FC port specifications
4/16 SAN Switch FC port specifications
4/64 SAN Switch FC port specifications
32B SAN Switch FC port specifications
Serial port specifications
Cabling pinouts
Pin Signal Description
Power supply specifications
Power supply specifications
Memory
8 and 4/16 SAN Switch memory specifications
32 and 4/64 SAN Switch memory specifications
32B SAN Switch memory specifications
Supported HBAs
146
Application programming interface. a defined protocol that
Allows applications to interface with a set of services
Command line interface. Interface that depends entirely on
Use of commands, such as through telnet or SNMP, and does
For a sequence to complete before initiating recovery. Can
Directory service See SNS
Available paths. Allows for recomputing of routes when an
Integer between 1 and 239. The default domain ID is usually
Fibre Channel Service Protocol. The common protocol for all
Is present and, if so, exchanges service parameters with it
Fibre Channel Service. a service that is defined by FC
Name Server, for example, is an FC service
See also Edtov
Loop master time-out value. The minimum time that the loop
A loop. It indicates either loop failure or the resetting
With device management, providing configuration and device
Node
Same loop and does not log in to the fabric
After it is powered on
Establish sessions with targets. See also Flogi
Private NLPort
Synchronous dynamic random access memory. The main
Can be delayed in the fabric and still be delivered
Resource recovery time-out value. The minimum time a target
Devices that communicate using FC protocols
Is not connected or has not yet assumed a specific function
Referred to as a directory service
On 850 mm lasers and supports link speeds up to 2 Gb/s
May also refer to the type of transceiver
SAN Switch installation guide 155
156Glossary
Index
158
SAN Switch installation guide 159

