Installation
For Simple Stack users
1.Press the MENU button on the remote control to display the menu on Set A.
2.Use the ▲/▼/◄/► buttons to open the TEMPLATE
dialog, then select STACK on the dialog. (Operating Guide → SCREEN menu)
3.Press the MENU button on Set B’s control panel to display the menu.
4.Use the ▲/▼/◄/► buttons to select PERFECT FIT from EASY MENU, or the SETUP menu of ADVANCED MENU. (Operating Guide → EASY MENU or SETUP menu)
PERFECT FIT dialog appears on screen.
Select the test pattern icon ![]() shown in the lower left of the dialog with the ◄/▼ buttons. When you press the ENTER or INPUT button, the test pattern appears or disappears.
shown in the lower left of the dialog with the ◄/▼ buttons. When you press the ENTER or INPUT button, the test pattern appears or disappears.
5.Using PERFECT FIT on Set B, adjust the image size and position of Set B to superimpose onto the image of Set A. We recommend the following adjustments:
(1)Roughly adjust the four corners in the order below. Top left → Top right → Bottom right → Bottom left
(2)Fine adjust the four corners in the same way.
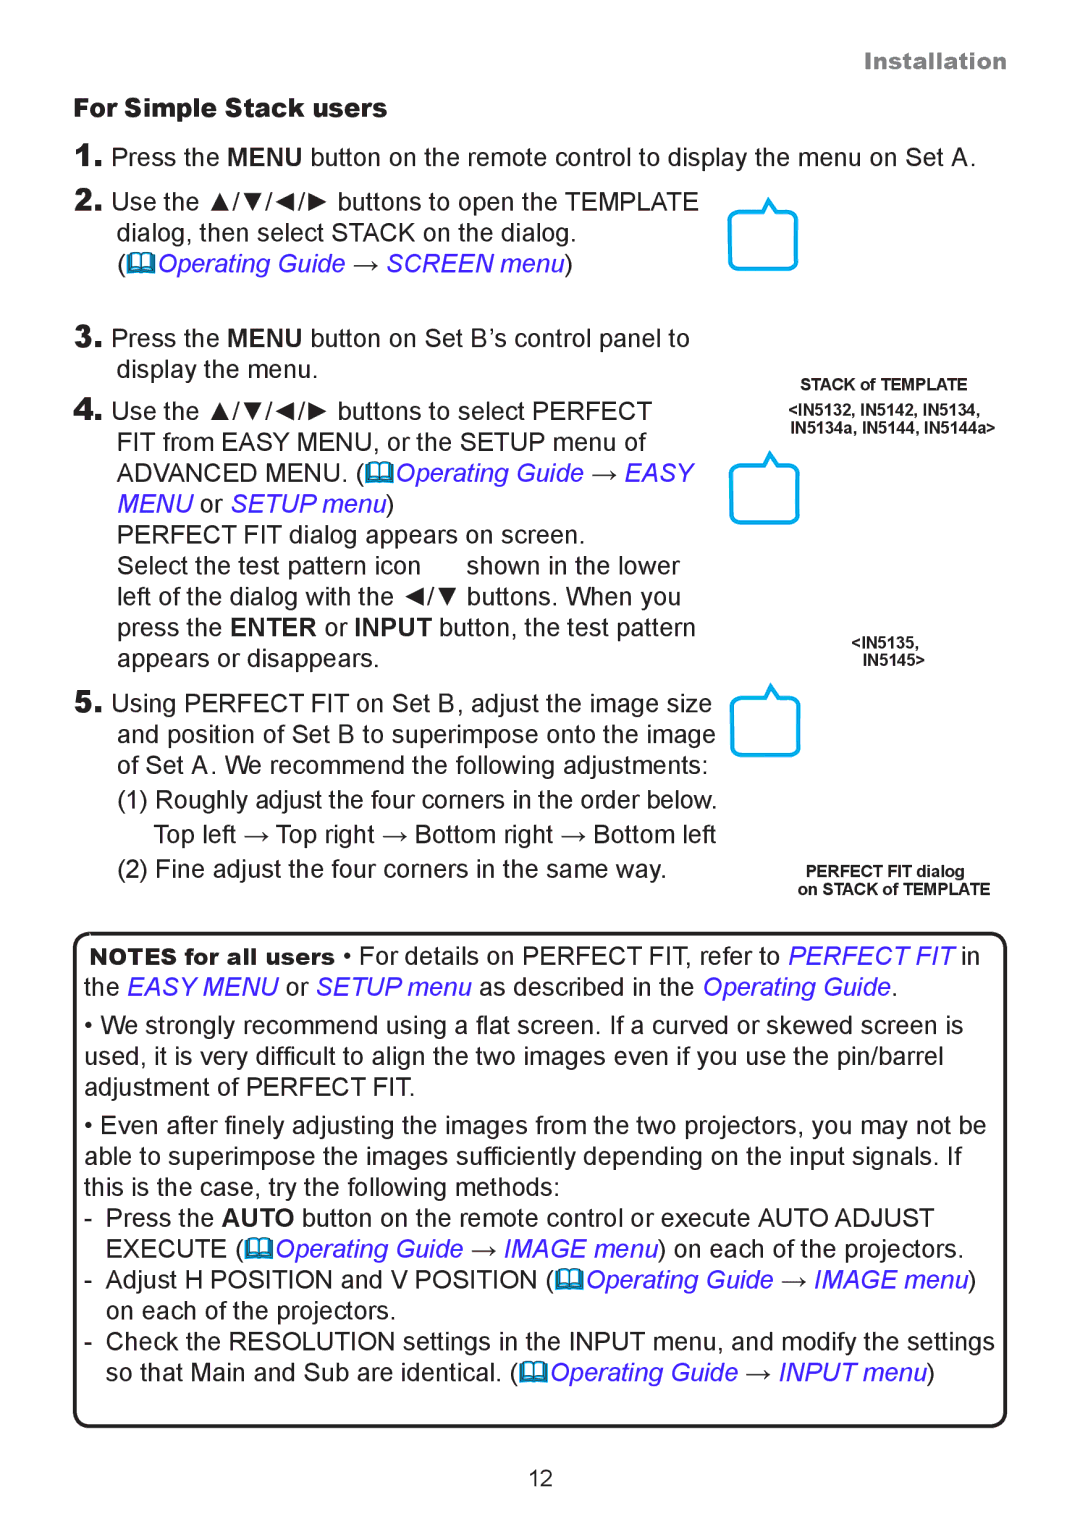
STACK of TEMPLATE
<IN5132, IN5142, IN5134,
IN5134a, IN5144, IN5144a>
<IN5135,
IN5145>
PERFECT FIT dialog on STACK of TEMPLATE
NOTES for all users • For details on PERFECT FIT, refer to PERFECT FIT in the EASY MENU or SETUP menu as described in the Operating Guide.
•We strongly recommend using a flat screen. If a curved or skewed screen is used, it is very difficult to align the two images even if you use the pin/barrel adjustment of PERFECT FIT.
•Even after finely adjusting the images from the two projectors, you may not be able to superimpose the images sufficiently depending on the input signals. If this is the case, try the following methods:
- Press the AUTO button on the remote control or execute AUTO ADJUST EXECUTE (Operating Guide → IMAGE menu) on each of the projectors.
- Adjust H POSITION and V POSITION (Operating Guide → IMAGE menu) on each of the projectors.
- Check the RESOLUTION settings in the INPUT menu, and modify the settings so that Main and Sub are identical. (Operating Guide → INPUT menu)
12