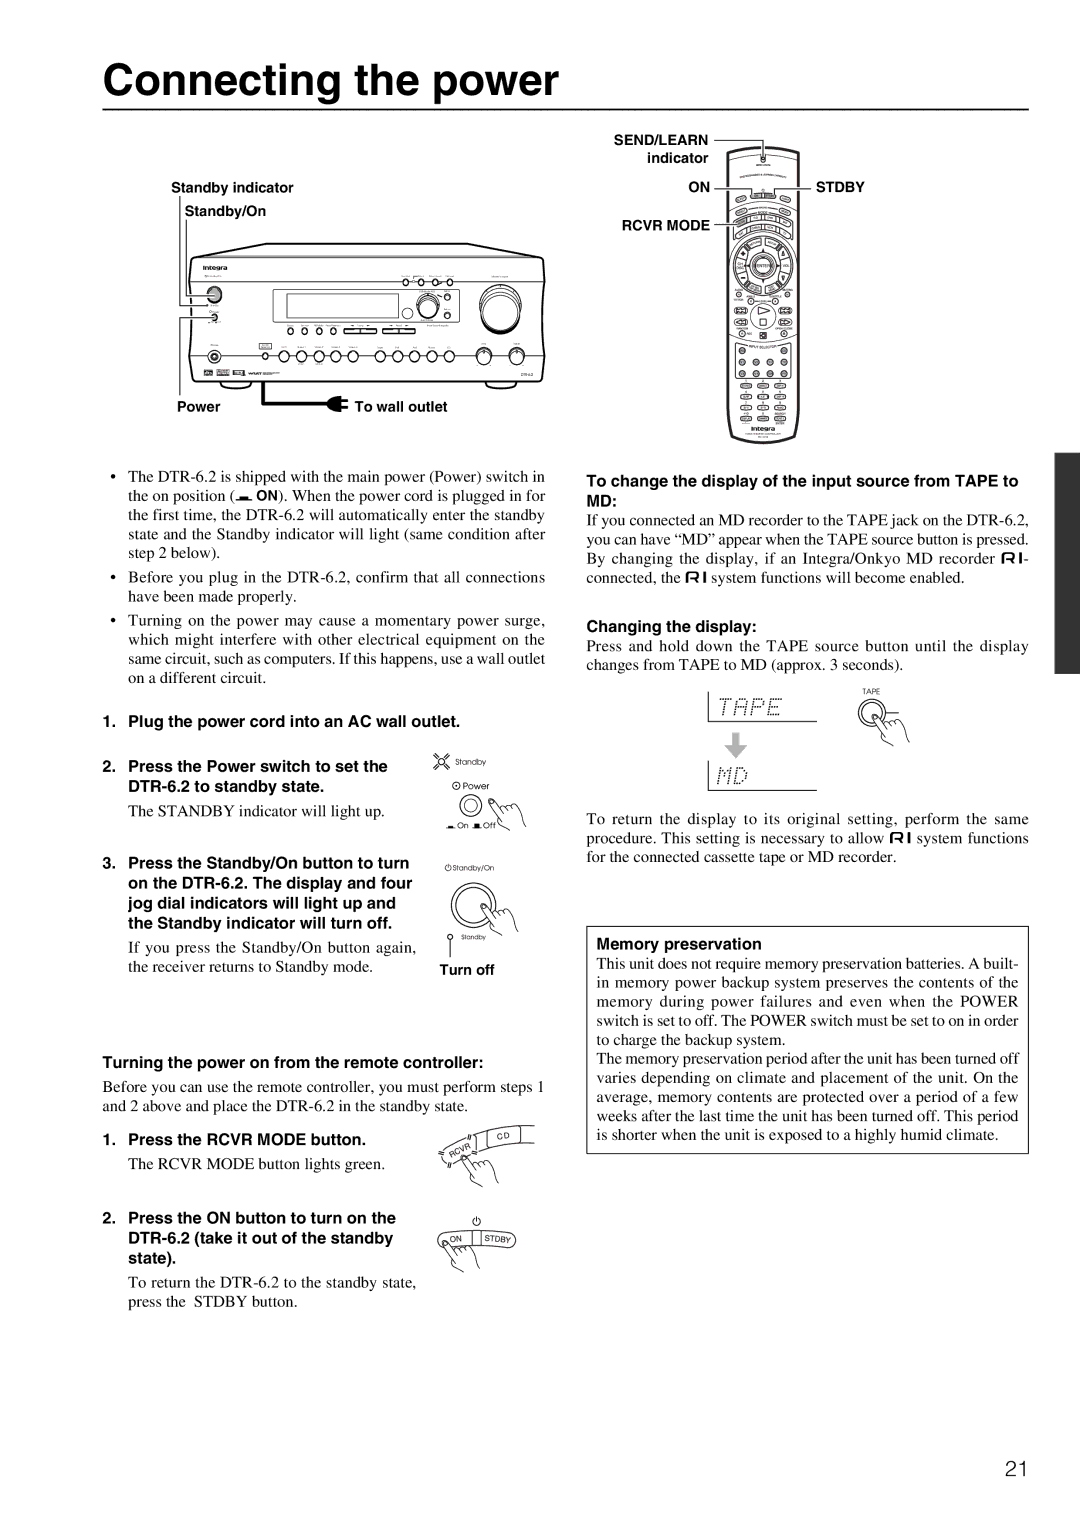
DTR-6.2 specifications
The Integra DTR-6.2 is a high-performance 9.2-channel AV receiver that brings a new level of audio and visual experience to your home theater. Engineered with audiophiles and home cinema enthusiasts in mind, this receiver combines advanced technology with an array of impressive features designed to elevate your entertainment setup.One of the standout characteristics of the DTR-6.2 is its support for 8K video resolution, making it future-proof for the latest high-definition content. With HDMI 2.1 inputs, it allows for 8K60 and 4K120 pass-through, providing a seamless connection to next-generation gaming consoles and ultra-high-definition displays. It also supports HDR formats such as HDR10+, Dolby Vision, and HLG, ensuring vibrant and lifelike images.
In terms of audio performance, the Integra DTR-6.2 supports advanced sound formats, including Dolby Atmos and DTS:X. These technologies enable object-based audio, allowing sound to be placed and moved in a three-dimensional space, enhancing the immersion of your viewing experience. The receiver is also equipped with Dirac Live room correction technology, which automates the calibration of your sound setup, compensating for the acoustic characteristics of your room and delivering optimal audio fidelity.
The DTR-6.2 is powered by high-current amplifiers, capable of delivering 100 watts per channel, ensuring dynamic and powerful audio output for even the most demanding movie and music playback. The receiver offers multi-zone capabilities, allowing users to distribute audio and video signals to different areas of their home, making it a versatile choice for comprehensive home entertainment.
Streaming capabilities are abundant, with built-in support for popular platforms like Spotify, TIDAL, and Pandora. Additionally, the receiver features Bluetooth and Wi-Fi connectivity, permitting easy access to your favorite content from various devices. The Integra DTR-6.2 also integrates with smart home systems, offering seamless voice control compatibility with Amazon Alexa and Google Assistant.
With its robust construction, advanced feature set, and user-friendly interface, the Integra DTR-6.2 stands out as a premier choice for those seeking to design a sophisticated home theater system. Whether you're an avid movie watcher, a gamer, or a music lover, this AV receiver delivers exceptional audio and video quality, ensuring an immersive and engaging entertainment experience.