Using a mouse with WinBIOS setup
WinBIOS Setup can be accessed via keyboard, mouse, or pen. The mouse click functions are:
![]()
![]() single click to change or select both global and current fields
single click to change or select both global and current fields ![]()
![]() double click to perform an operation in the selected field
double click to perform an operation in the selected field
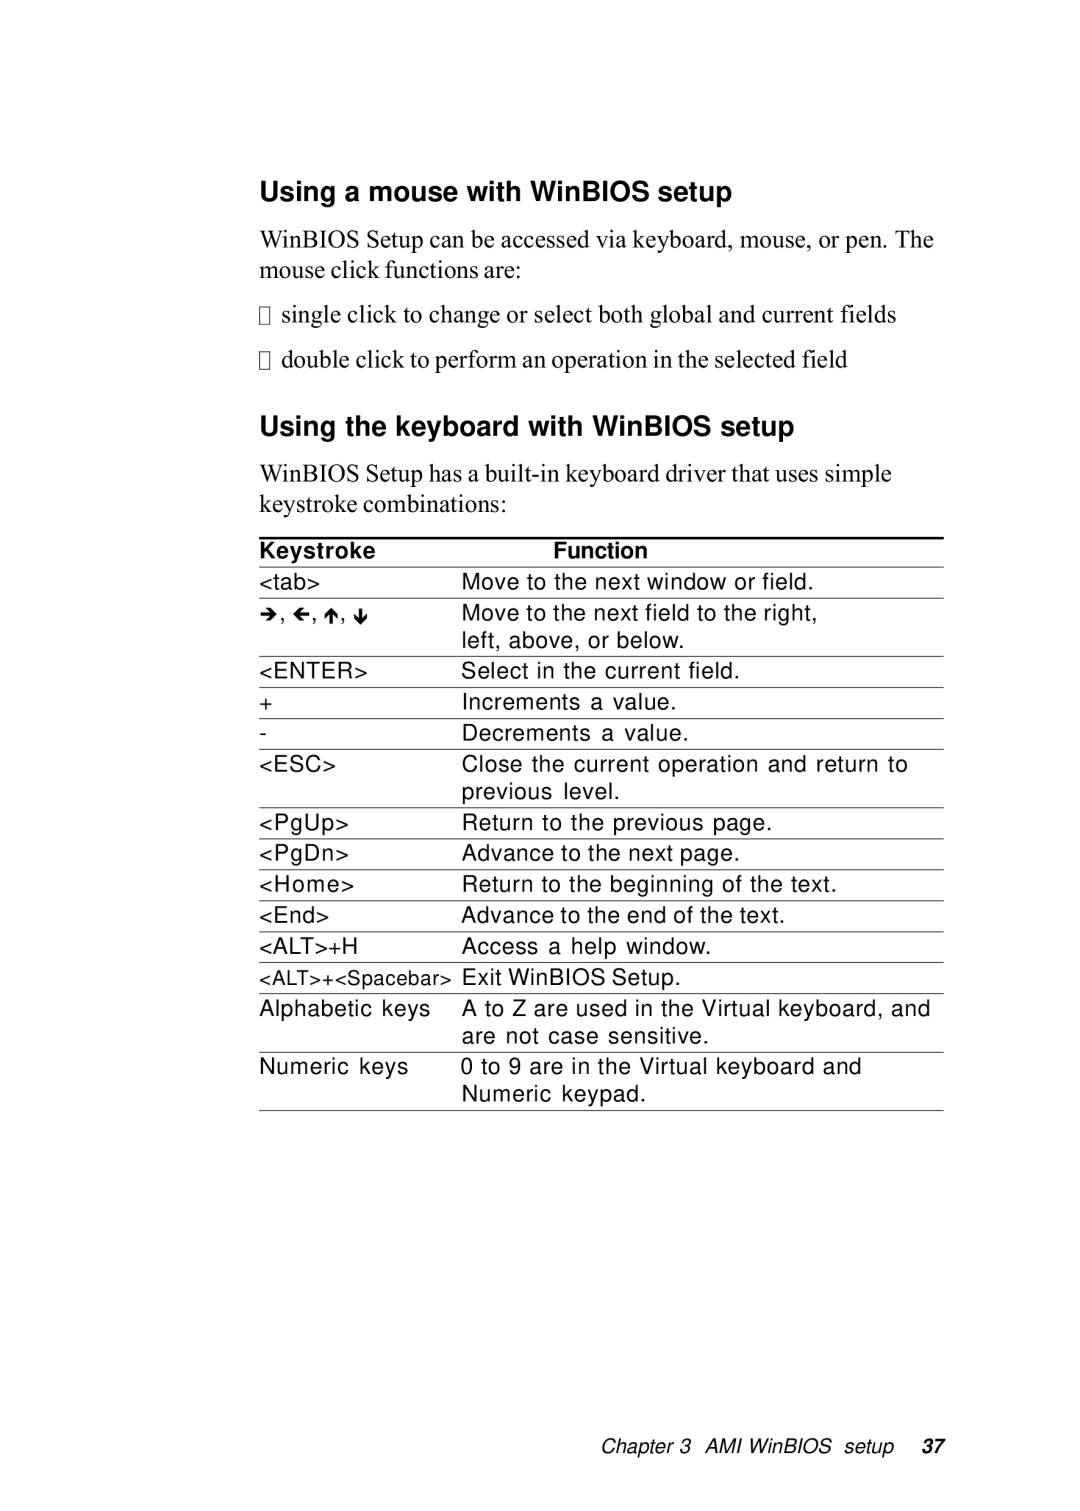
Using the keyboard with WinBIOS setup
WinBIOS Setup has a
Keystroke | Function |
<tab> | Move to the next window or field. |
|
|
è, ç, é, ê | Move to the next field to the right, |
| left, above, or below. |
<ENTER> | Select in the current field. |
+ | Increments a value. |
|
|
- | Decrements a value. |
|
|
<ESC> | Close the current operation and return to |
| previous level. |
|
|
<PgUp> | Return to the previous page. |
|
|
<PgDn> | Advance to the next page. |
|
|
<Home> | Return to the beginning of the text. |
<End> | Advance to the end of the text. |
|
|
<ALT>+H | Access a help window. |
| |
<ALT>+<Spacebar> Exit WinBIOS Setup. | |
|
|
Alphabetic keys | A to Z are used in the Virtual keyboard, and |
| are not case sensitive. |
|
|
Numeric keys | 0 to 9 are in the Virtual keyboard and |
| Numeric keypad. |
|
|
Chapter 3 AMI WinBIOS setup 37
