TILLER ADJUSTMENT
PROCEDURE 9 | SHROUD/WHEELS | |
|
|
|
This Procedure Includes the Following:
Removing/Installing the Rear Shroud
Replacing Foam Filled Tires Onto Wheel Rims
Removing/Installing the Rear Wheels
Removing/Installing the Front Wheel
WARNING
After ANY adjustments, repair or service and BEFORE use, make sure that all attaching hardware is tightened securely - otherwise, injury or damage may result.
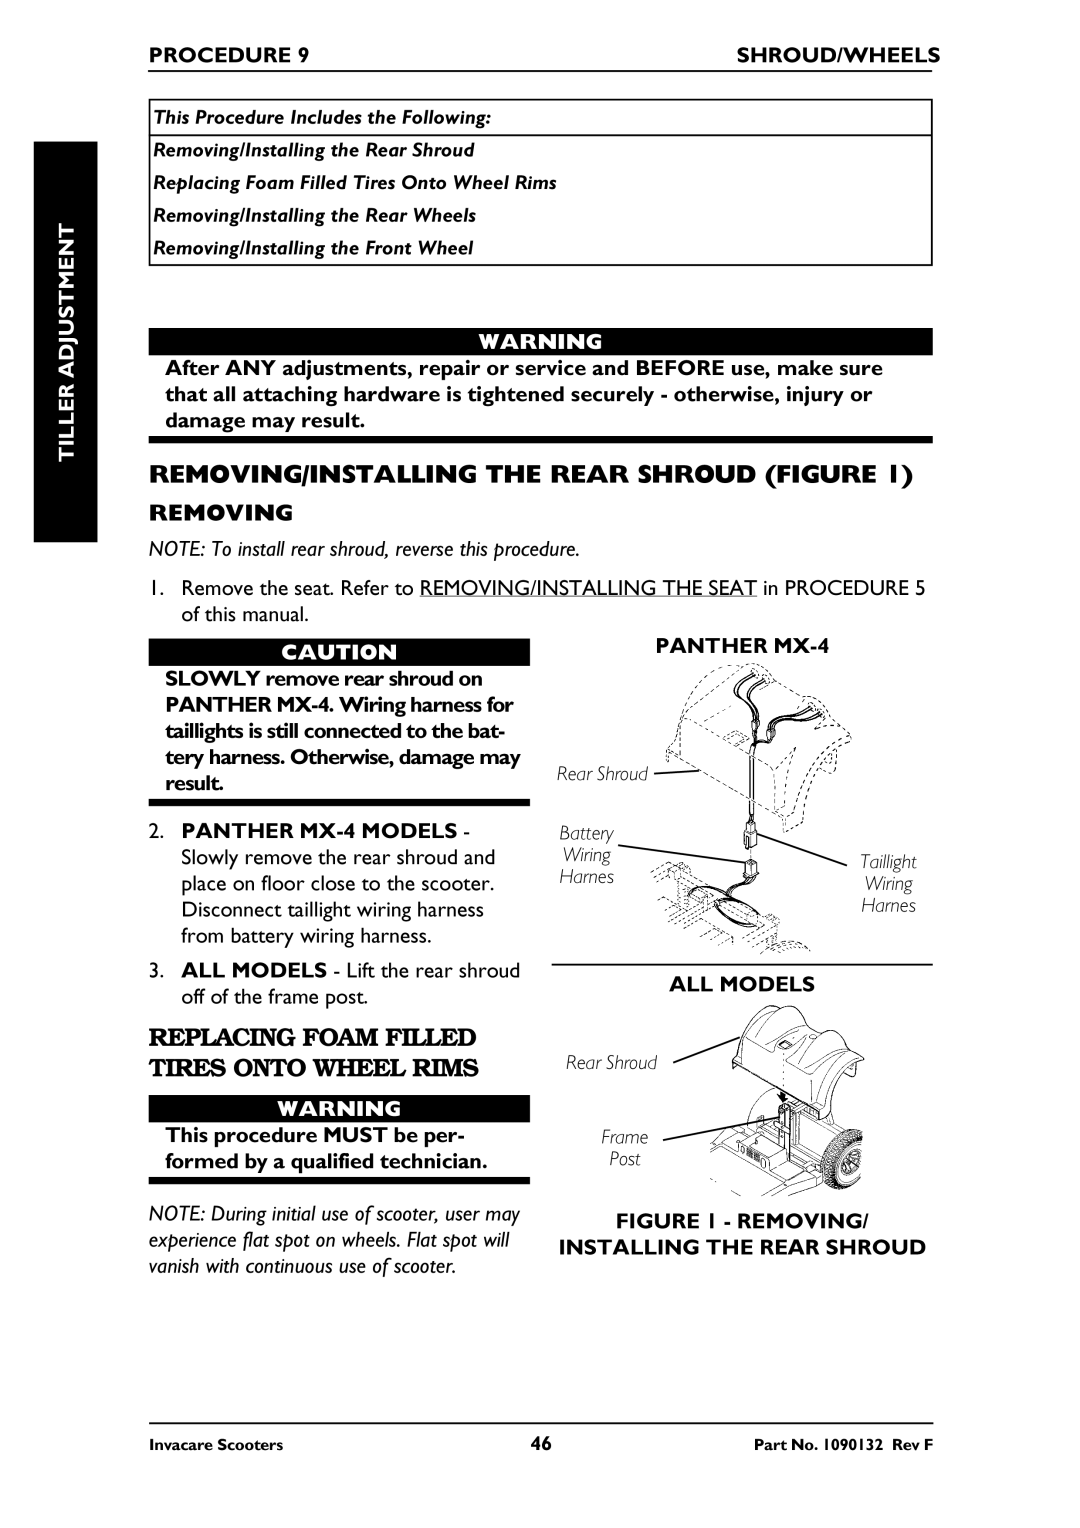
REMOVING/INSTALLING THE REAR SHROUD (FIGURE 1)
REMOVING
NOTE: To install rear shroud, reverse this procedure.
1.Remove the seat. Refer to REMOVING/INSTALLING THE SEAT in PROCEDURE 5 of this manual.
CAUTION
SLOWLY remove rear shroud on PANTHER
2.PANTHER
PANTHER
Rear Shroud |
| |
Battery |
| |
Wiring | Taillight | |
Harnes | ||
Wiring | ||
| ||
| Harnes |
3. ALL MODELS - Lift the rear shroud |
| |
ALL MODELS | ||
off of the frame post. | ||
|
REPLACING FOAM FILLED TIRES ONTO WHEEL RIMS
WARNING
This procedure MUST be per- formed by a qualified technician.
NOTE: During initial use of scooter, user may experience flat spot on wheels. Flat spot will vanish with continuous use of scooter.
Rear Shroud
Frame
Post
FIGURE 1 - REMOVING/
INSTALLING THE REAR SHROUD
Invacare Scooters | 46 | Part No. 1090132 Rev F |