BATTERIES/CHARGING | PROCEDURE 4 |
5.Disconnect red and black connectors of the battery wiring harness from red and black connectors of the controller wiring harness.
6.Remove batteries w/ cables from rear
REPLACING THE BATTERIES (FIGURE 2)
WARNING
Turn Power OFF and remove key from ignition.
Where applicable, ALWAYS use a battery lifting strap when moving a battery. It is the most convenient method. It also helps to prolong the life of the bat- tery.
DO NOT tip the batteries. Keep the batteries in an upright position.
The use of rubber gloves and chemical goggles is recommended when working with batteries.
CAUTION
Place the powered scooter in a well ventilated area where work can be performed without risking damage to carpeting or floor covering.
NOTE: If there is battery acid on the sides of the battery, add baking soda to these areas to neutralize the battery acid. Before reinstalling the NEW batteries, clean the baking soda from the batteries.
RECOMMENDED BATTERY TYPES
WARNING
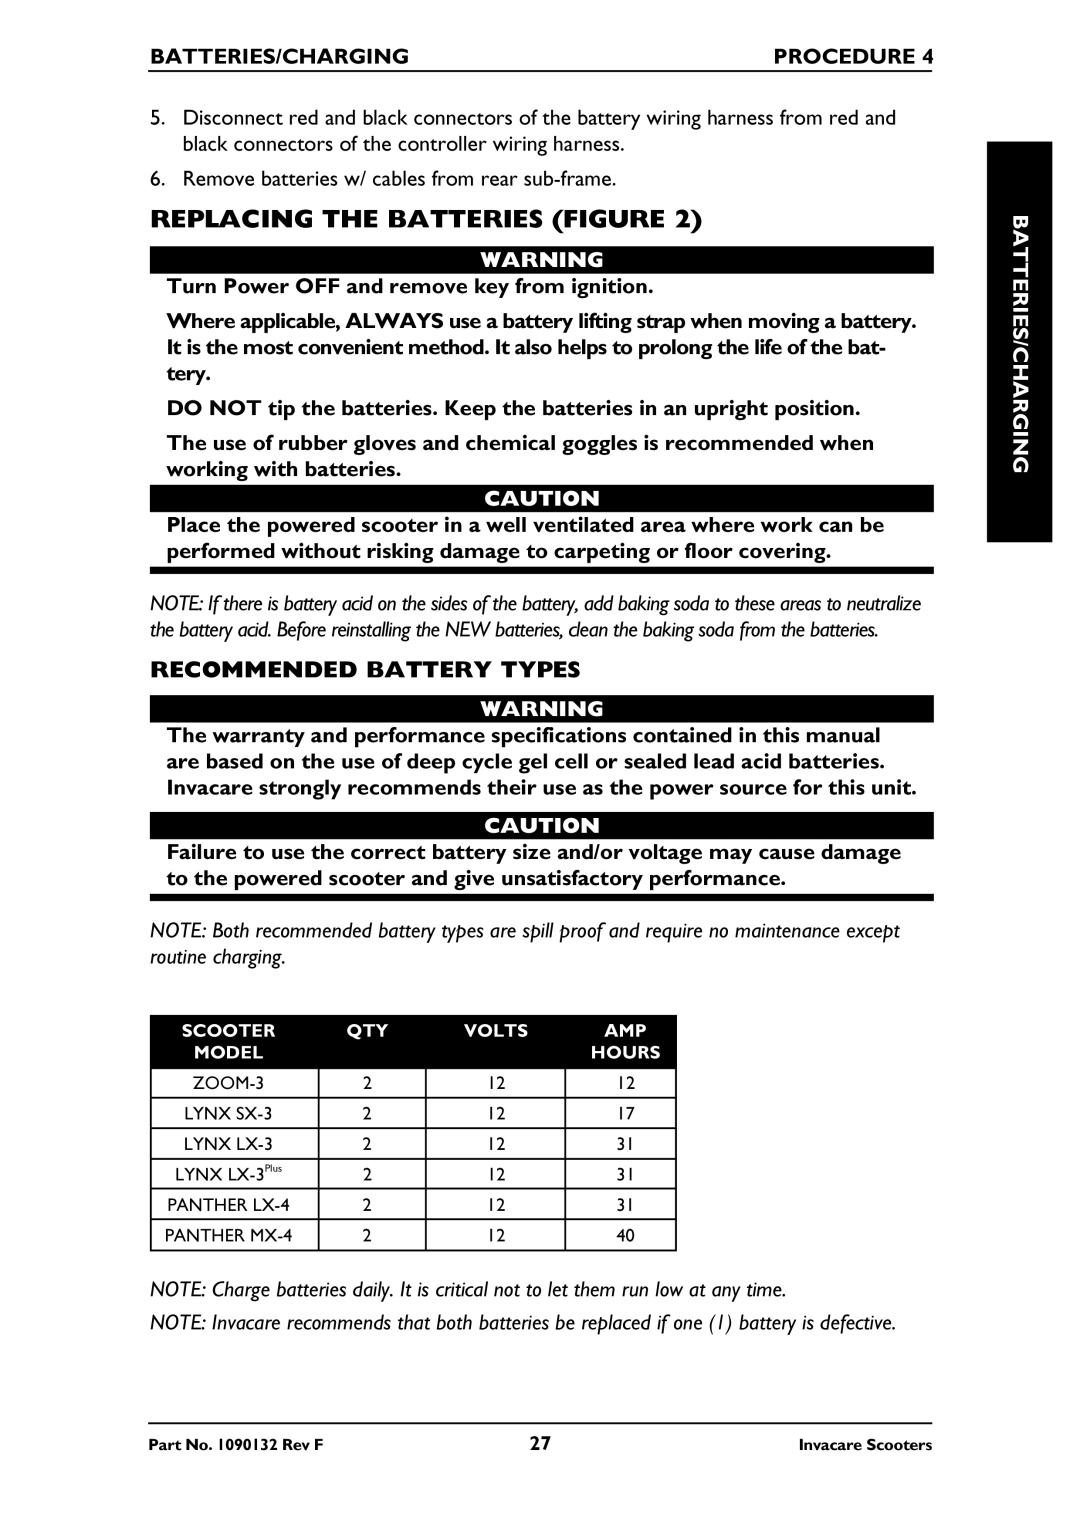
The warranty and performance specifications contained in this manual are based on the use of deep cycle gel cell or sealed lead acid batteries. Invacare strongly recommends their use as the power source for this unit.
CAUTION
Failure to use the correct battery size and/or voltage may cause damage to the powered scooter and give unsatisfactory performance.
NOTE: Both recommended battery types are spill proof and require no maintenance except routine charging.
SCOOTER | QTY | VOLTS | AMP |
MODEL |
|
| HOURS |
|
|
|
|
2 | 12 | 12 | |
|
|
|
|
LYNX | 2 | 12 | 17 |
|
|
|
|
LYNX | 2 | 12 | 31 |
|
|
|
|
LYNX | 2 | 12 | 31 |
PANTHER | 2 | 12 | 31 |
|
|
|
|
PANTHER | 2 | 12 | 40 |
|
|
|
|
NOTE: Charge batteries daily. It is critical not to let them run low at any time.
NOTE: Invacare recommends that both batteries be replaced if one (1) battery is defective.
BATTERIES/CHARGING
Part No. 1090132 Rev F | 27 | Invacare Scooters |
