AUDIO menu
Item
Contents
D. RANGE COMPRESSION
You can enjoy a powerful sound at a low volume level while playing Dolby Digital software. AUTO: Select to apply the compression only to
ON: Select this to always apply the compression.
 SPK. SETTING menu
Item
Contents
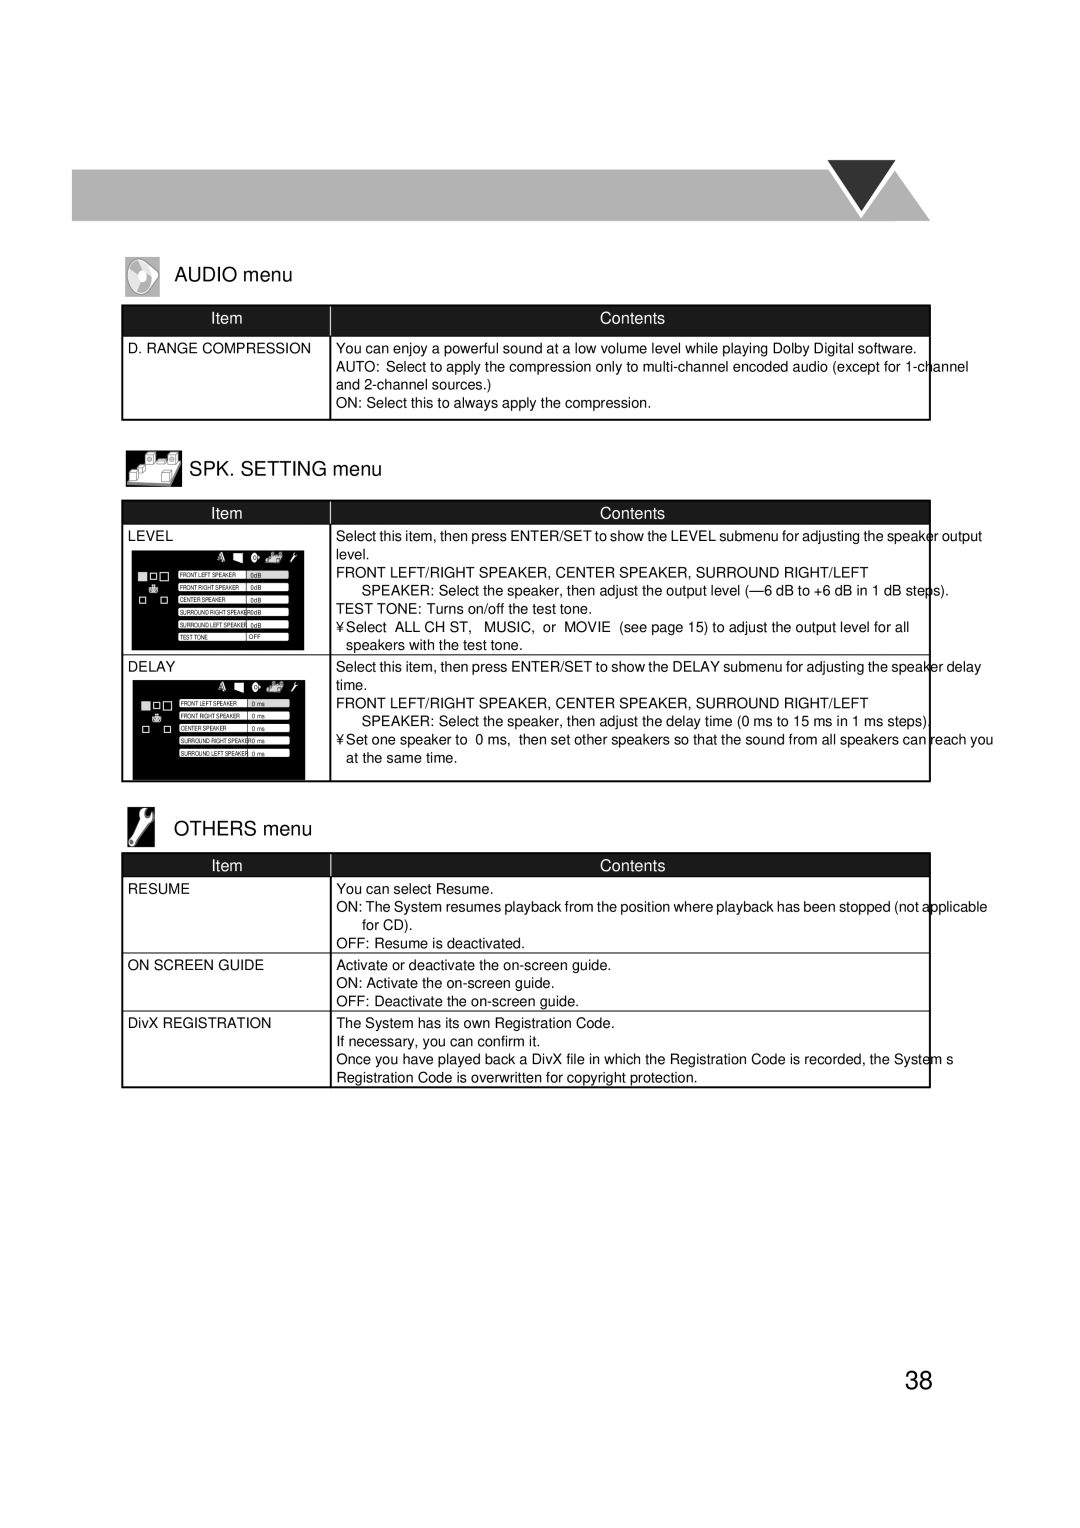
LEVEL |
| Select this item, then press ENTER/SET to show the LEVEL submenu for adjusting the speaker output | |
LEV E L |
| level. | |
| FRONT LEFT/RIGHT SPEAKER, CENTER SPEAKER, SURROUND RIGHT/LEFT | ||
FRONT LEFT SPEAKER | 0dB | ||
FRONT RIGHT SPEAKER | 0dB | SPEAKER: Select the speaker, then adjust the output level | |
CENTER SPEAKER | 0dB | ||
TEST TONE: Turns on/off the test tone. | |||
SURROUND RIGHT SPEAKER | 0dB | ||
SURROUND LEFT SPEAKER | 0dB | • Select “ALL CH ST,” “MUSIC,” or “MOVIE” (see page 15) to adjust the output level for all | |
TEST TONE | OFF | ||
speakers with the test tone. | |||
|
| ||
DELAY |
| Select this item, then press ENTER/SET to show the DELAY submenu for adjusting the speaker delay | |
DELAY |
| time. | |
FRONT LEFT SPEAKER | 0 ms | FRONT LEFT/RIGHT SPEAKER, CENTER SPEAKER, SURROUND RIGHT/LEFT | |
FRONT RIGHT SPEAKER | 0 ms | SPEAKER: Select the speaker, then adjust the delay time (0 ms to 15 ms in 1 ms steps). | |
CENTER SPEAKER | 0 ms | ||
• Set one speaker to “0 ms,” then set other speakers so that the sound from all speakers can reach you | |||
SURROUND RIGHT SPEAKER | 0 ms | ||
SURROUND LEFT SPEAKER | 0 ms | at the same time. | |
|
|
OTHERS menu
Item | Contents |
RESUME | You can select Resume. |
| ON: The System resumes playback from the position where playback has been stopped (not applicable |
| for CD). |
| OFF: Resume is deactivated. |
ON SCREEN GUIDE | Activate or deactivate the |
| ON: Activate the |
| OFF: Deactivate the |
DivX REGISTRATION | The System has its own Registration Code. |
| If necessary, you can confirm it. |
| Once you have played back a DivX file in which the Registration Code is recorded, the System’s |
| Registration Code is overwritten for copyright protection. |
38