Recording
Reducing Camera Shake
When the image stabilizer is set, camera shake during recording can be effectively reduced.
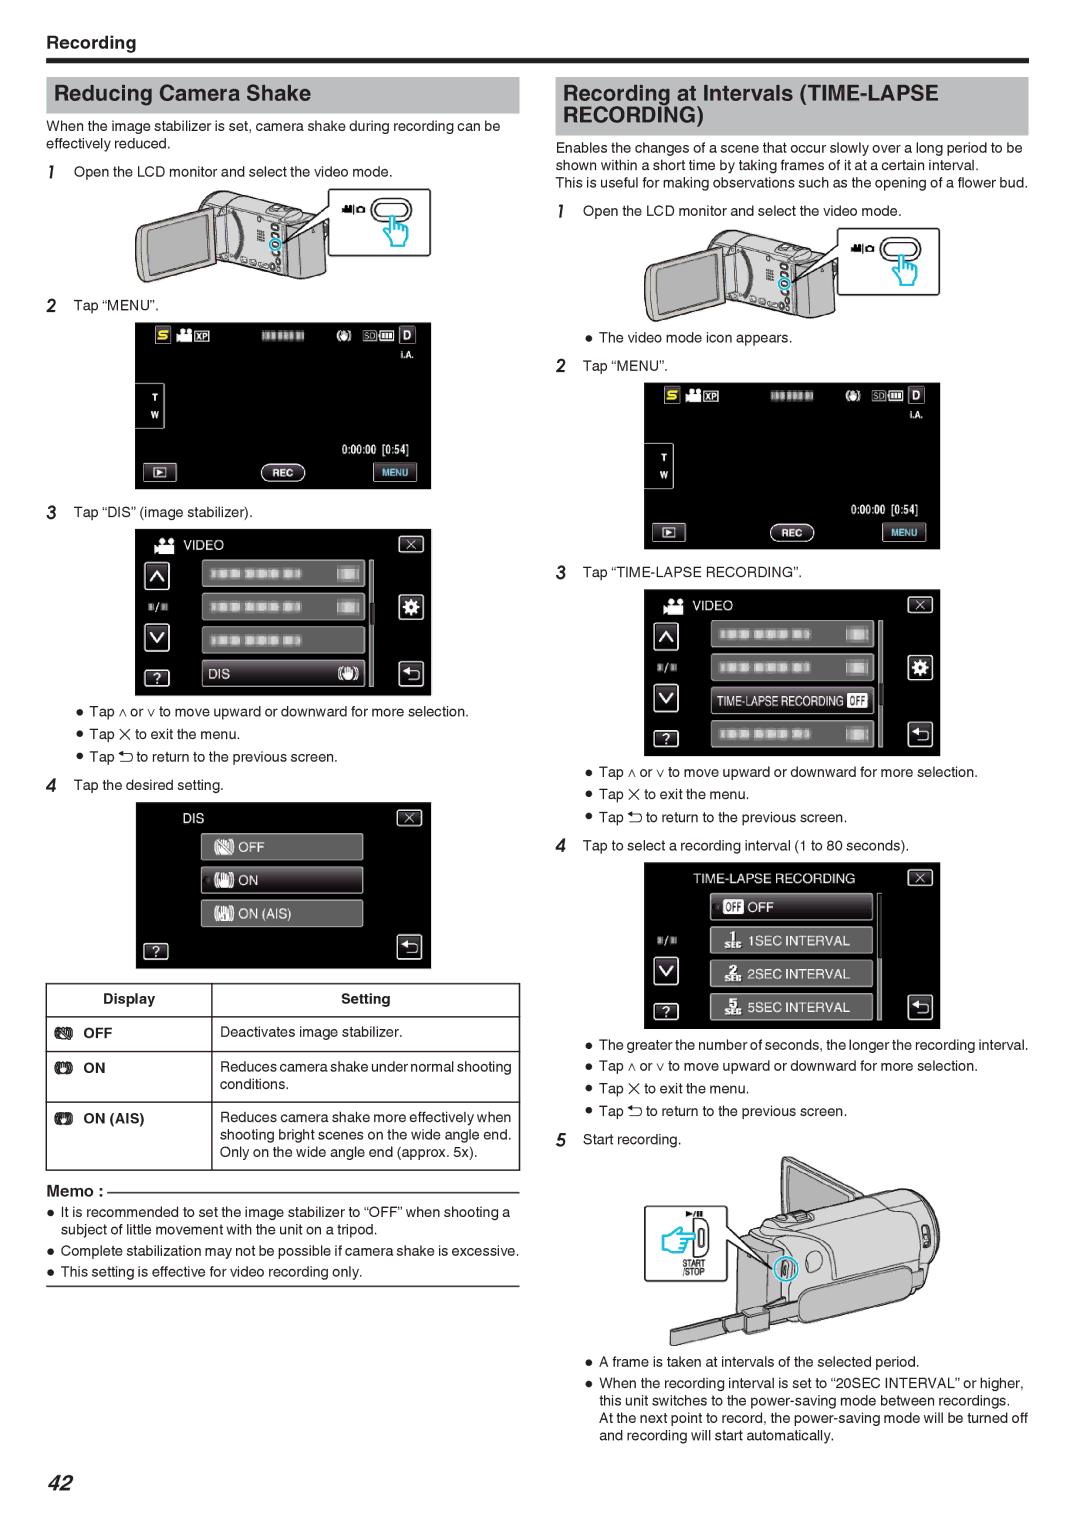
1Open the LCD monitor and select the video mode.
Recording at Intervals (TIME-LAPSE RECORDING)
Enables the changes of a scene that occur slowly over a long period to be shown within a short time by taking frames of it at a certain interval.
This is useful for making observations such as the opening of a flower bud.
1Open the LCD monitor and select the video mode.
2Tap “MENU”.
0 The video mode icon appears.
2 Tap “MENU”.
3Tap “DIS” (image stabilizer).
0Tap ∧ or ∨ to move upward or downward for more selection.
0Tap L to exit the menu.
0Tap J to return to the previous screen.
4Tap the desired setting.
3Tap
0Tap ∧ or ∨ to move upward or downward for more selection.
0Tap L to exit the menu.
0Tap J to return to the previous screen.
4Tap to select a recording interval (1 to 80 seconds).
Display | Setting |
|
|
Z OFF | Deactivates image stabilizer. |
|
|
X ON | Reduces camera shake under normal shooting |
| conditions. |
Y ON (AIS) | Reduces camera shake more effectively when |
| shooting bright scenes on the wide angle end. |
| Only on the wide angle end (approx. 5x). |
Memo :
0It is recommended to set the image stabilizer to “OFF” when shooting a subject of little movement with the unit on a tripod.
0Complete stabilization may not be possible if camera shake is excessive.
0This setting is effective for video recording only.
0The greater the number of seconds, the longer the recording interval.
0Tap ∧ or ∨ to move upward or downward for more selection.
0Tap L to exit the menu.
0Tap J to return to the previous screen.
5Start recording.
0A frame is taken at intervals of the selected period.
0When the recording interval is set to “20SEC INTERVAL” or higher, this unit switches to the
42