Menu Settings
Main Menu for Video Recording
You can adjust various settings, such as brightness and white balance, to suit the subject or purpose. You can also change settings such as picture quality and gain.
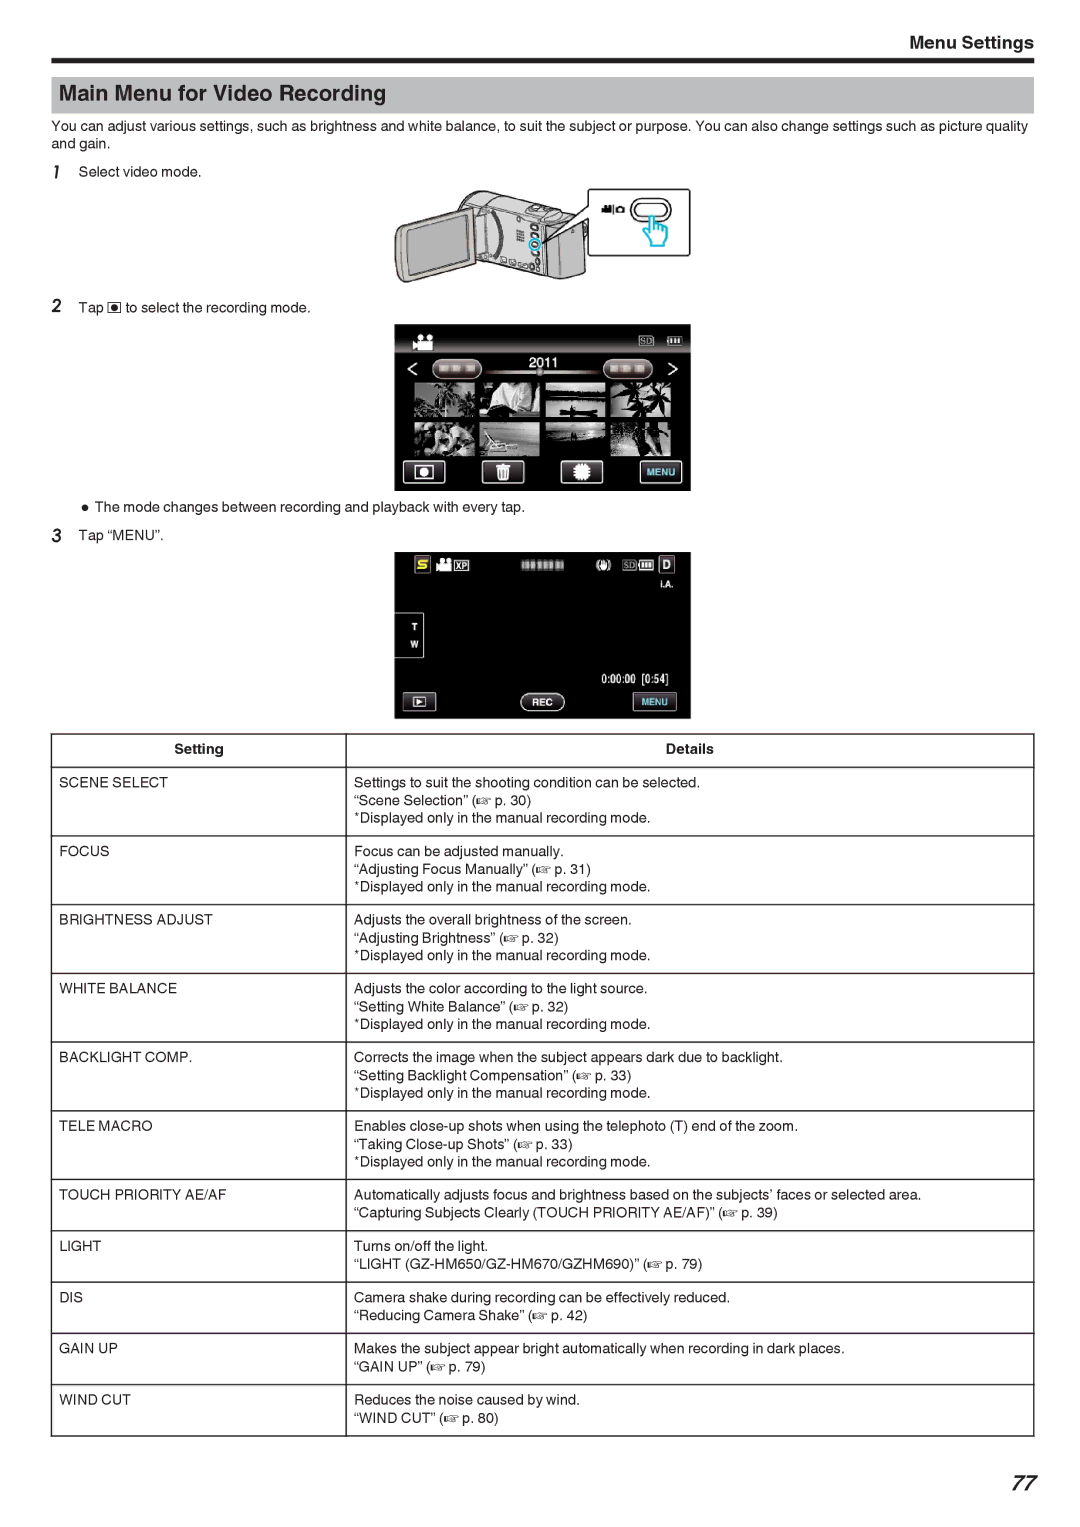
1Select video mode.
2Tap R to select the recording mode.
0The mode changes between recording and playback with every tap. 3 Tap “MENU”.
Setting | Details |
|
|
SCENE SELECT | Settings to suit the shooting condition can be selected. |
| “Scene Selection” (A p. 30) |
| *Displayed only in the manual recording mode. |
FOCUS | Focus can be adjusted manually. |
| “Adjusting Focus Manually” (A p. 31) |
| *Displayed only in the manual recording mode. |
BRIGHTNESS ADJUST | Adjusts the overall brightness of the screen. |
| “Adjusting Brightness” (A p. 32) |
| *Displayed only in the manual recording mode. |
WHITE BALANCE | Adjusts the color according to the light source. |
| “Setting White Balance” (A p. 32) |
| *Displayed only in the manual recording mode. |
BACKLIGHT COMP. | Corrects the image when the subject appears dark due to backlight. |
| “Setting Backlight Compensation” (A p. 33) |
| *Displayed only in the manual recording mode. |
TELE MACRO | Enables |
| “Taking |
| *Displayed only in the manual recording mode. |
TOUCH PRIORITY AE/AF | Automatically adjusts focus and brightness based on the subjects’ faces or selected area. |
| “Capturing Subjects Clearly (TOUCH PRIORITY AE/AF)” (A p. 39) |
LIGHT | Turns on/off the light. |
| “LIGHT |
DIS | Camera shake during recording can be effectively reduced. |
| “Reducing Camera Shake” (A p. 42) |
GAIN UP | Makes the subject appear bright automatically when recording in dark places. |
| “GAIN UP” (A p. 79) |
WIND CUT | Reduces the noise caused by wind. |
| “WIND CUT” (A p. 80) |
77