English
Continued
There are three timers
Before using these timers, you need to set the clock built in the unit.
•In addition to these three timers, you can also use Auto Power Off to shut off the power automatically.
Setting the Clock
You can set the clock whether the unit is turned on or off (on standby).
•If you have activated the power consumption saving mode (“DISPLAY OFF”), you cannot adjust the clock while the unit is turned off (on standby). For details, see page 14.
On remote control ONLY:
1 Press CLOCK/TIMER.
The hour digit in the main display starts flashing.
2 Press ¡ / ¢ or 4 / 1 to adjust the hour, then
press SET.
•If you want to correct the hour after pressing SET, press CANCEL.
The hour digit starts flashing again.
3 Press ¡ / ¢ or 4/ 1 to adjust the minute, then press SET.
The
To adjust the clock again
Once you have adjusted the clock, you need to press CLOCK/TIMER repeatedly until the clock setting screen appears in the main display (the hour digit starts flashing).
When you unplug the AC power cord or if a power failure occurs
The clock will be reset to “AM 12:00” in about one minute.
Using Recording Timer
With Recording Timer, you can make an unattended recording.
•You can set Recording Timer whether the unit is turned on or off (on standby).
•To correct a misentry any time during the process, press
CANCEL.
•To cancel the setting any time during the process, press
CLOCK/TIMER.
How Recording Timer actually works
The unit automatically turns on about 3 minutes before timer recording starts, then turns off the volume and starts recording on CD Recorder when the timer
•Recording Timer works only once, but the timer settings remain stored in memory.
Before you start....
•Make sure that a recordable
•When you want to record from the external component (“LINE”), make sure the input you want to use is currently
On remote control ONLY:
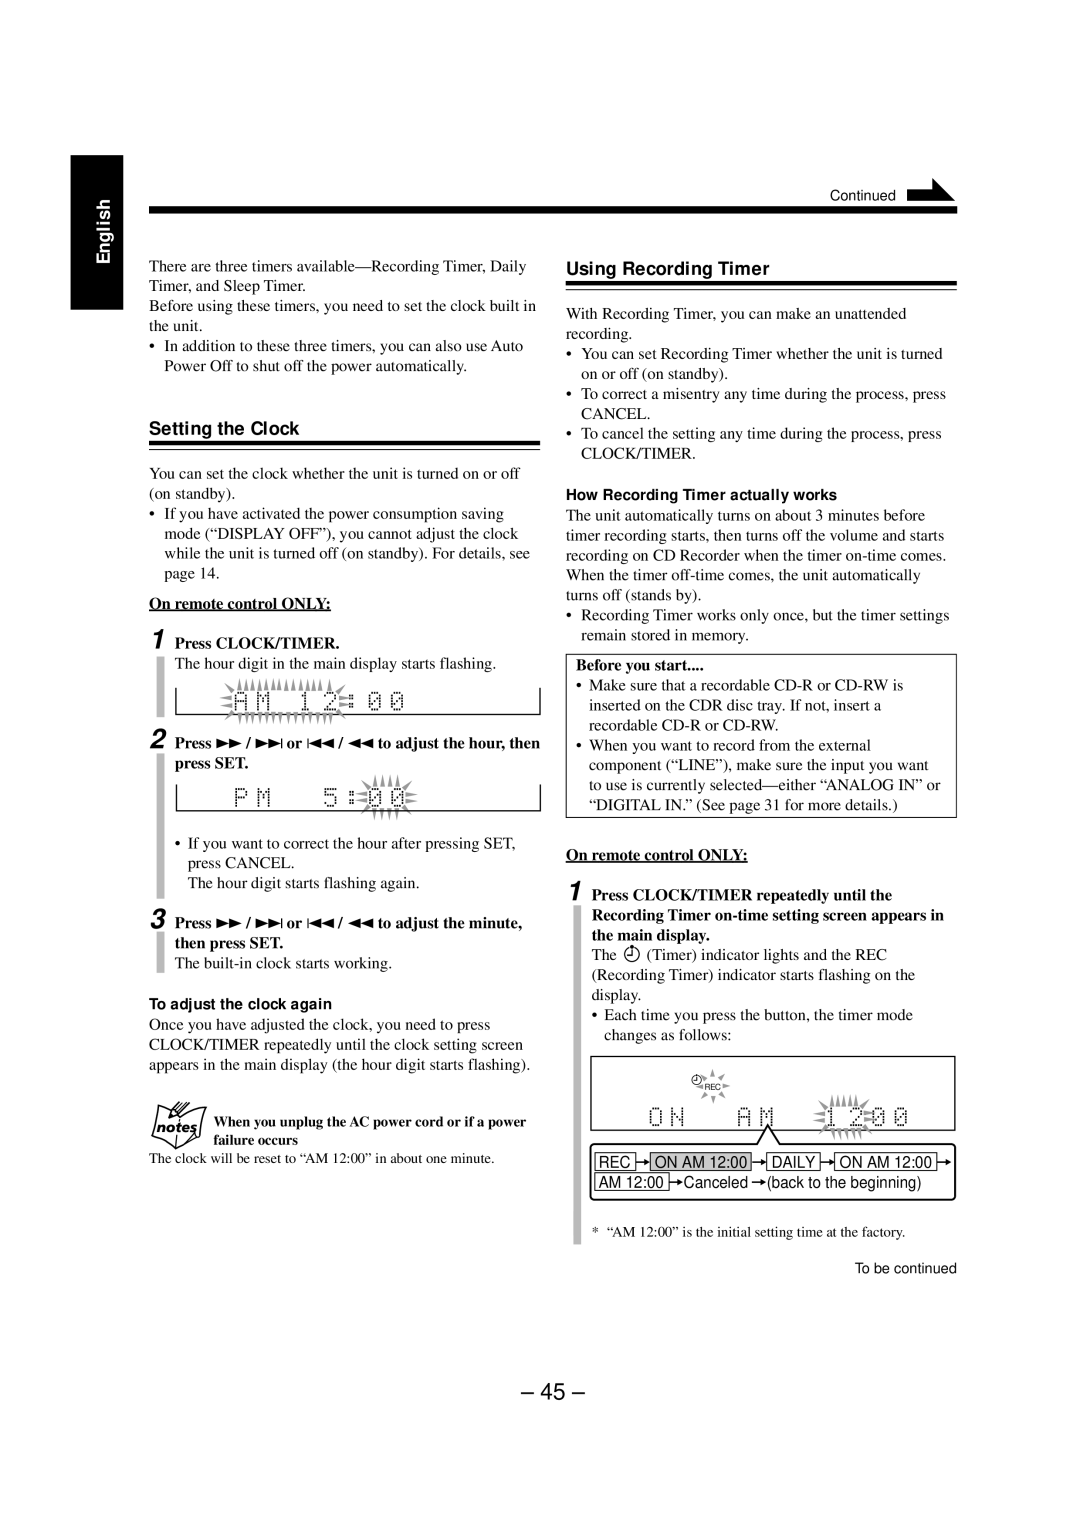
1 Press CLOCK/TIMER repeatedly until the Recording Timer
The ![]() (Timer) indicator lights and the REC (Recording Timer) indicator starts flashing on the display.
(Timer) indicator lights and the REC (Recording Timer) indicator starts flashing on the display.
•Each time you press the button, the timer mode changes as follows:
CD
![]() REC
REC ![]()
REC =![]()
![]() ON AM 12:00 = DAILY =
ON AM 12:00 = DAILY =![]()
![]() ON AM 12:00 = AM 12:00 =Canceled =(back to the beginning)
ON AM 12:00 = AM 12:00 =Canceled =(back to the beginning)
* “AM 12:00” is the initial setting time at the factory.
To be continued
– 45 –