By pressing MENU, you can use (or cancel) the following convenient CD Recorder functions:
AUTO TRACK: Selects either
TRACK SPACE: Automatically places a
CONVERTER: Turns on or off the
TRACK SKIP: Records a skip mark to an unwanted track so that it will be skipped (ignored as if it does not exist) during play (see page 42).
TRACK ERASE: Erases the unwanted tracks on a CD-
RW (see page 42).
DISC ERASE: Erases all the recorded tracks on a CD- RW (see page 43).
UNFINALIZE: Erases the TOC (Table of Contents) of a finalized
Before using the following functions explained in this section, make sure of the following.
•The following procedures are only possible when CD Recorder is selected as the source and playback is not started.
•To stop any time during the following procedures, press CANCEL.
Recording Track Marks Manually —Manual Track-Marking
When auto
To cancel
On the remote control ONLY:
1 Press MENU repeatedly until “AUTO TRACK” appears in the main display.
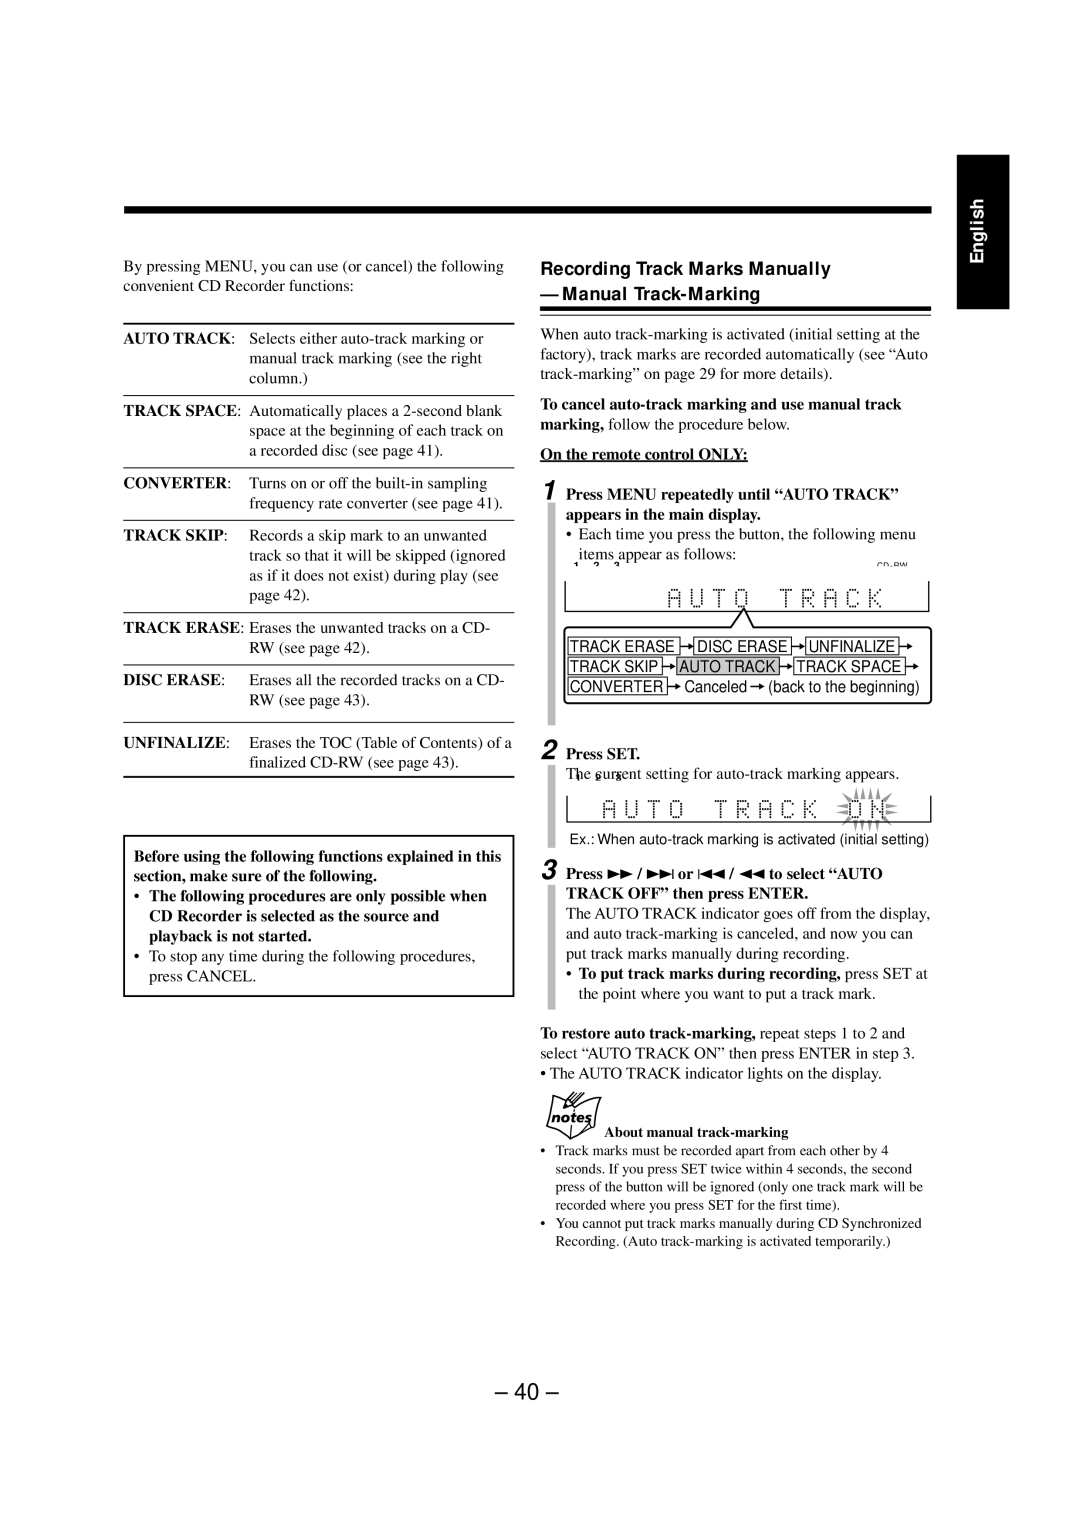
• Each time you press the button, the following menu items appear as follows:
1 2 3 |
UNFINALIZE DISC
TRACK ERASE =![]()
![]() DISC ERASE =
DISC ERASE =![]()
![]() UNFINALIZE = TRACK SKIP =
UNFINALIZE = TRACK SKIP =![]()
![]() AUTO TRACK =
AUTO TRACK =![]()
![]() TRACK SPACE = CONVERTER =Canceled =(back to the beginning)
TRACK SPACE = CONVERTER =Canceled =(back to the beginning)
2 Press SET.
The current setting for auto-track marking appears.
1 2 3
FINALIZE DISC | REC LEVEL | dB | UNFINALIZE DISC |
Ex.: When
3 Press ¡ / ¢ or 4 / 1 to select “AUTO
TRACK OFF” then press ENTER.
The AUTO TRACK indicator goes off from the display, and auto
•To put track marks during recording, press SET at the point where you want to put a track mark.
To restore auto
• The AUTO TRACK indicator lights on the display.
About manual track-marking
•Track marks must be recorded apart from each other by 4 seconds. If you press SET twice within 4 seconds, the second press of the button will be ignored (only one track mark will be recorded where you press SET for the first time).
•You cannot put track marks manually during CD Synchronized Recording. (Auto
English
– 40 –