English
Continued
Recording Any Sound Source
—Standard Recording
The following recording method can be applied to any sound source.
On the unit ONLY:
1 Select the source to record from.
•When recording from 3-CD Changer:
–Press CD 3 / 8, then 7. To select a disc, press DISC repeatedly, then 7.
You can also use the remote control. When using it, press CD1, CD2, or CD3, then 7.
–If the current play mode is either Program Play or Random Play, press FM/PLAY MODE on the remote control to select Continuous Play.
•When recording an FM/AM broadcast:
Press SOURCE repeatedly to select FM or AM, then tune into a station you want.
•When recording from external equipment:
1 Press SOURCE repeatedly to select “LINE.”
2 Press LINE REC SELECT (inside the sliding panel) repeatedly to select either “ANALOG IN” or “DIGITAL IN.”
ANALOG IN: To record through the LINE IN
jacks
DIGITAL IN: To record through the LINE DIGITAL IN terminal
2 Insert a recordable
3 Press REC PAUSE so that CD Recorder enters recording pause mode.
The REC indicator starts flashing on the display, and the CDR lamps also start flashing.
•If OPC (see page 29) is being performed, “UPDATE OPC” flashes first in the main display.
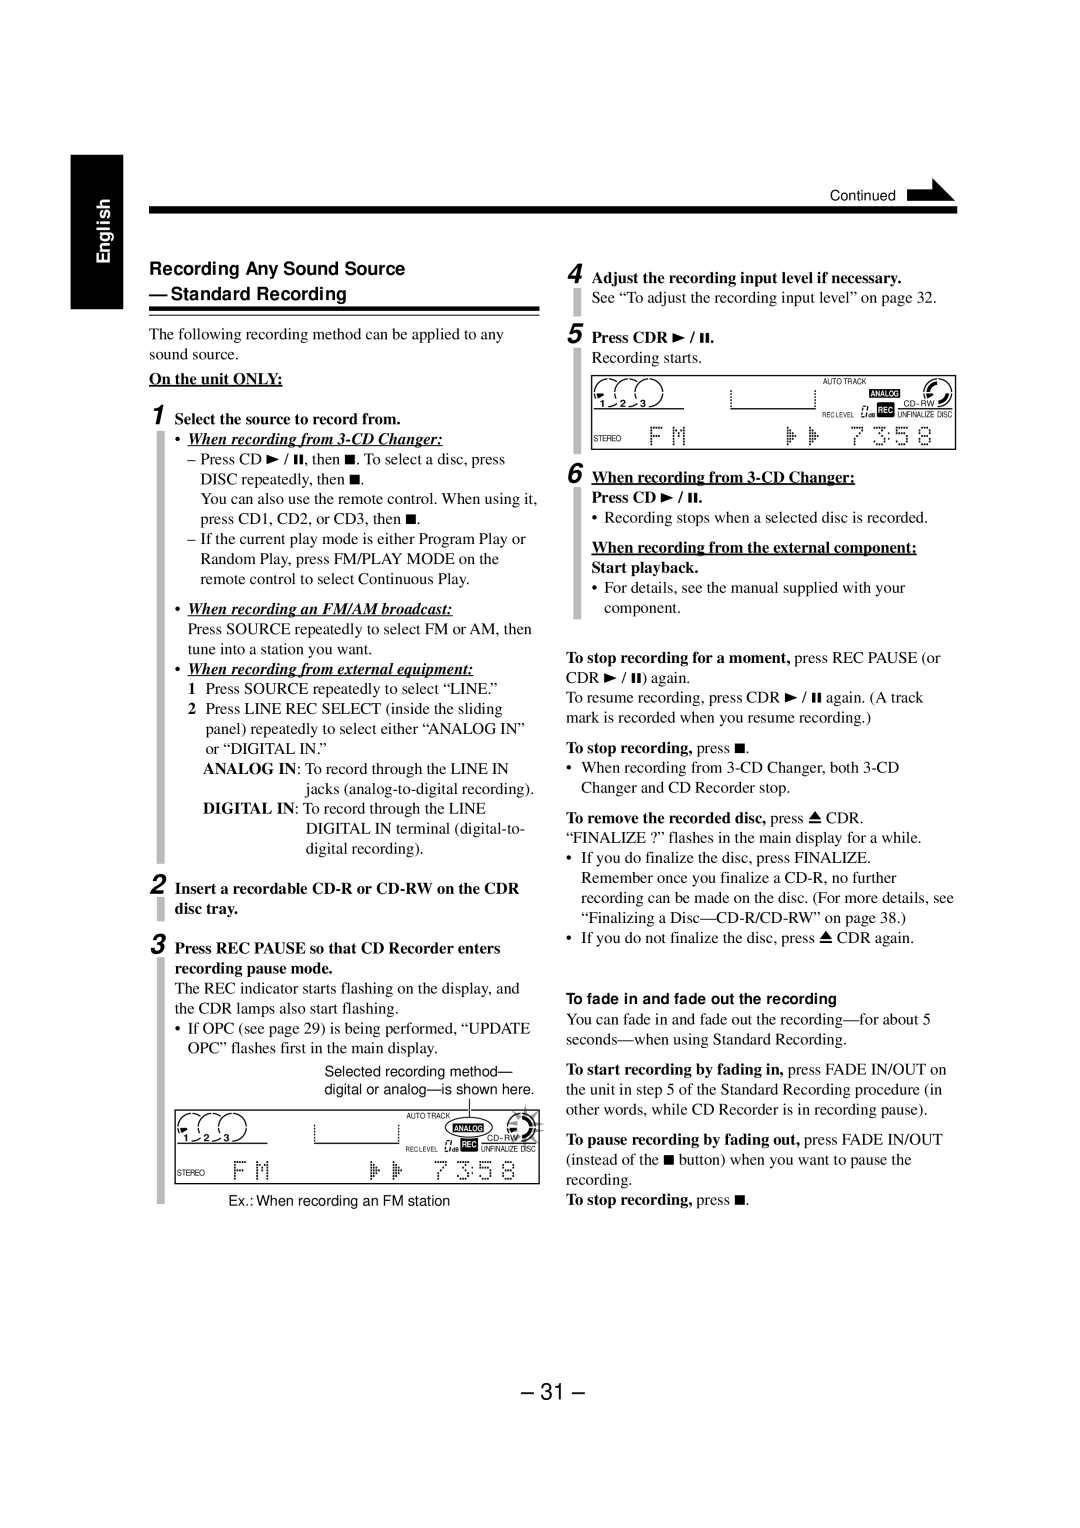
Selected recording method— digital or
|
|
|
|
|
|
|
|
|
|
|
|
|
| AUTO TRACK |
|
|
|
|
|
|
|
|
|
|
|
|
|
| |
|
|
|
|
|
|
|
|
|
|
| 1 2 3 |
|
|
| ANALOG |
| |||
|
|
| OVER |
|
|
|
| ||
|
|
|
| REC LEVEL | dB REC UNFINALIZE DISC |
| |||
STEREO
Ex.: When recording an FM station
4 Adjust the recording input level if necessary.
See “To adjust the recording input level” on page 32.
5 Press CDR 3 / 8.
Recording starts.
|
|
| AUTO TRACK |
|
|
|
1 2 3 |
|
|
| ANALOG |
| |
|
| OVER |
|
| ||
|
|
| REC LEVEL | dB REC UNFINALIZE DISC | ||
STEREO
6 When recording from
• Recording stops when a selected disc is recorded.
When recording from the external component:
Start playback.
•For details, see the manual supplied with your component.
To stop recording for a moment, press REC PAUSE (or CDR 3 / 8) again.
To resume recording, press CDR 3 / 8 again. (A track mark is recorded when you resume recording.)
To stop recording, press 7.
•When recording from
To remove the recorded disc, press 0 CDR. “FINALIZE ?” flashes in the main display for a while.
•If you do finalize the disc, press FINALIZE. Remember once you finalize a
•If you do not finalize the disc, press 0 CDR again.
To fade in and fade out the recording
You can fade in and fade out the
To start recording by fading in, press FADE IN/OUT on the unit in step 5 of the Standard Recording procedure (in other words, while CD Recorder is in recording pause).
To pause recording by fading out, press FADE IN/OUT (instead of the 7 button) when you want to pause the recording.
To stop recording, press 7.
– 31 –
