Recording Skip Marks onto a CD-R/CD-RW
Before finalizing a disc, you can record a skip mark to an unwanted track so that it will be skipped (ignored as if it does not exist) during play.
IMPORTANT
•Once skip marks are recorded, they cannot be erased (you can only erase skip marks by erasing the tracks with skip marks).
•If you unplug the power cord or if a power failure occurs while “WRITE SKIP” is flashing in the main display (in step 3), the disc may not be utilized any more.
Erasing Tracks (Only for CD-RW)
Before finalizing a disc, you can erase recorded tracks— from a selected track up to the last
•To erase recorded tracks on a finalized
IMPORTANT
•Once erasure is performed, erased data cannot be restored.
•If you unplug the power cord or if a power failure occurs while “ERASE TRACK” is flashing in the main display (in step 4), the disc may not be utilized any more.
English
On the remote control ONLY:
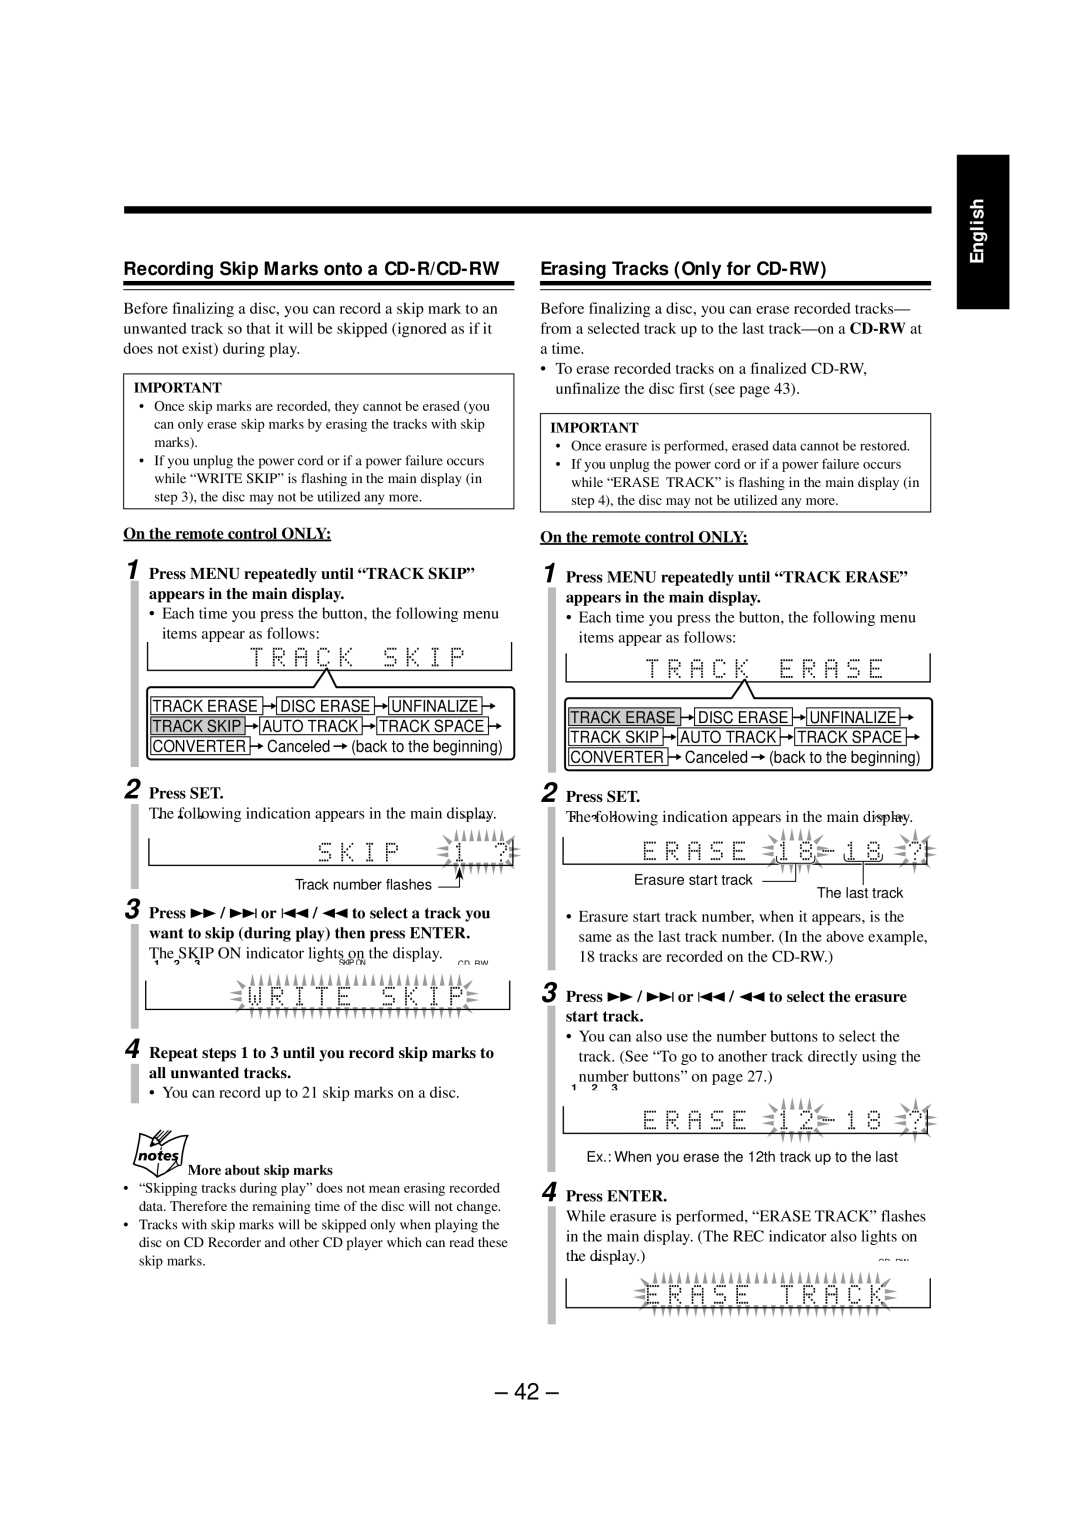
1 Press MENU repeatedly until “TRACK SKIP” appears in the main display.
•Each time you press the button, the following menu items appear as follows:
TRACK ERASE =![]()
![]() DISC ERASE =
DISC ERASE =![]()
![]() UNFINALIZE = TRACK SKIP =
UNFINALIZE = TRACK SKIP =![]()
![]() AUTO TRACK =
AUTO TRACK =![]()
![]() TRACK SPACE = CONVERTER =Canceled =(back to the beginning)
TRACK SPACE = CONVERTER =Canceled =(back to the beginning)
2 Press SET.
The following indication appears in the main display. | ||
1 2 3 |
| |
FINALIZE DISC | REC LEVEL dB | UNFINALIZE DISC |
|
|
|
Track number flashes ![]()
3 Press ¡ / ¢ or 4 / 1 to select a track you want to skip (during play) then press ENTER.
The SKIP ON indicator lights on the display.
1 2 3 | SKIP ON | CD RW |
|
| REC UNFINALIZE DISC |
4 Repeat steps 1 to 3 until you record skip marks to all unwanted tracks.
• You can record up to 21 skip marks on a disc.
More about skip marks
•“Skipping tracks during play” does not mean erasing recorded data. Therefore the remaining time of the disc will not change.
•Tracks with skip marks will be skipped only when playing the disc on CD Recorder and other CD player which can read these skip marks.
On the remote control ONLY:
1 Press MENU repeatedly until “TRACK ERASE” appears in the main display.
•Each time you press the button, the following menu items appear as follows:
TRACK ERASE =![]()
![]() DISC ERASE =
DISC ERASE =![]()
![]() UNFINALIZE = TRACK SKIP =
UNFINALIZE = TRACK SKIP =![]()
![]() AUTO TRACK =
AUTO TRACK =![]()
![]() TRACK SPACE = CONVERTER =Canceled =(back to the beginning)
TRACK SPACE = CONVERTER =Canceled =(back to the beginning)
2 Press SET.
The1 2following3indication appears in the main displayCD RW .
FINALIZE DISC | EVEL | dB | UNFINALIZE DISC |
Erasure start track
The last track
•Erasure start track number, when it appears, is the same as the last track number. (In the above example, 18 tracks are recorded on the
3 Press ¡ / ¢ or 4 / 1 to select the erasure start track.
•You can also use the number buttons to select the track. (See “To go to another track directly using the
number buttons” on page 27.)
1 ![]() 2 3
2 3
FINALIZE DISC | REC LEVEL | dB | UNFINALIZE DISC |
Ex.: When you erase the 12th track up to the last
4 Press ENTER.
While erasure is performed, “ERASE TRACK” flashes in the main display. (The REC indicator also lights on
| the display.) | |
| 1 2 3 | |
|
| REC UNFINALIZE DISC |
|
|
|
– 42 –