USB Connection
This receiver is equipped with a USB terminal on the front panel. You can connect your PC to this terminal and enjoy sound reproduced through your PC.
When you connect your PC for the first time, follow the procedure below.
•Remember you cannot send any signal or data to your PC from this receiver.
IMPORTANT:
•Check if your PC equipped with the
•Check your PC’s BIOS
How to install the USB drivers
The following procedure is described using the English version of WindowsR 98. If your PC is running on a different version of operation system or language, the screens shown on your PC’s monitor will differ from the ones used in the following procedure.
1.Turn on your PC and start running WindowsR 98, WindowsR Me or WindowsR XP.
If the PC has been turned on, quit all the applications now running.
2.Turn on the receiver, and press USB AUDIO on the front panel or USB on the remote control.
The lamp on the USB AUDIO on the front panel button lights up.
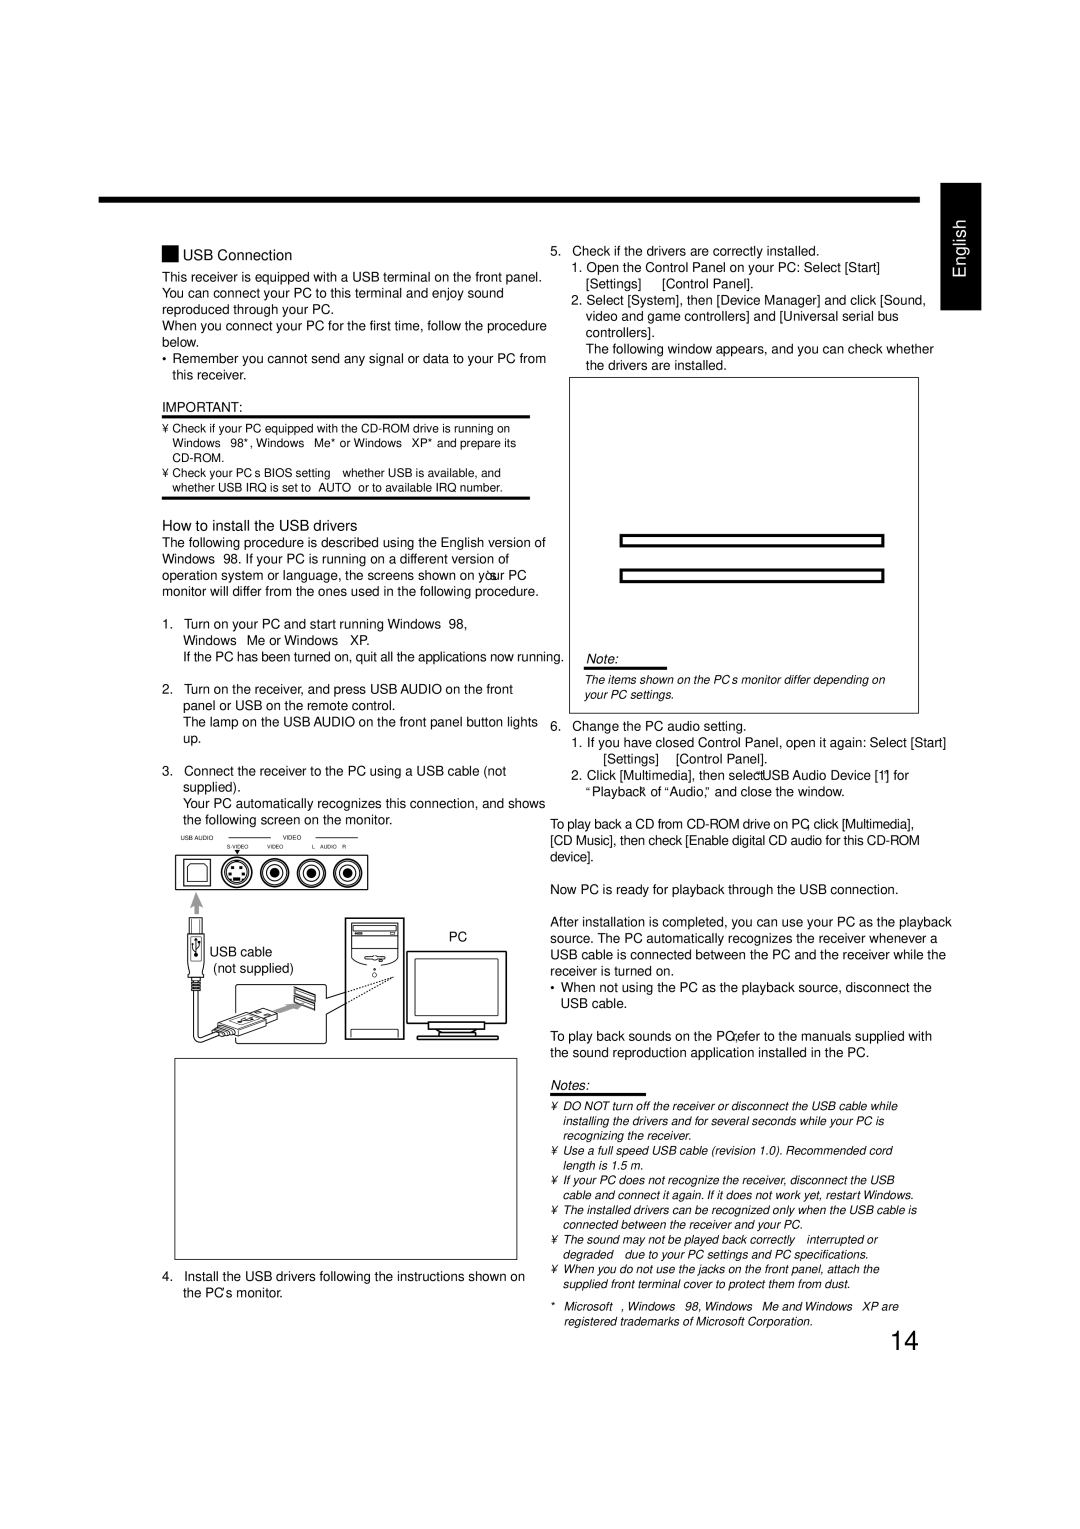
3.Connect the receiver to the PC using a USB cable (not supplied).
Your PC automatically recognizes this connection, and shows
the following screen on the monitor.
USB AUDIO | VIDEO |
|
| ||||
|
| ||||||
|
| VIDEO | |||||
|
|
|
|
|
|
|
|
|
|
|
|
|
|
|
|
|
|
|
|
|
|
|
|
PC
USB cable (not supplied)
4.Install the USB drivers following the instructions shown on the PC’s monitor.
5.Check if the drivers are correctly installed.
1.Open the Control Panel on your PC: Select [Start] = [Settings] = [Control Panel].
2.Select [System], then [Device Manager] and click [Sound, video and game controllers] and [Universal serial bus controllers].
The following window appears, and you can check whether the drivers are installed.
Note:
The items shown on the PC’s monitor differ depending on your PC settings.
6.Change the PC audio setting.
1.If you have closed Control Panel, open it again: Select [Start] = [Settings] = [Control Panel].
2.Click [Multimedia], then select “USB Audio Device [1]” for “Playback” of “Audio,” and close the window.
To play back a CD from
Now PC is ready for playback through the USB connection.
After installation is completed, you can use your PC as the playback source. The PC automatically recognizes the receiver whenever a USB cable is connected between the PC and the receiver while the receiver is turned on.
•When not using the PC as the playback source, disconnect the USB cable.
To play back sounds on the PC, refer to the manuals supplied with the sound reproduction application installed in the PC.
Notes:
•DO NOT turn off the receiver or disconnect the USB cable while installing the drivers and for several seconds while your PC is recognizing the receiver.
•Use a full speed USB cable (revision 1.0). Recommended cord length is 1.5 m.
•If your PC does not recognize the receiver, disconnect the USB cable and connect it again. If it does not work yet, restart Windows.
•The installed drivers can be recognized only when the USB cable is connected between the receiver and your PC.
•The sound may not be played back
•When you do not use the jacks on the front panel, attach the supplied front terminal cover to protect them from dust.
*Microsoft R, WindowsR 98, WindowsR Me and WindowsR XP are registered trademarks of Microsoft Corporation.
English
14