Movie clip | Protecting a clip file on a CF memory card |
Clips recorded on a CF memory card can be protected using the MOVIE CLIP screen.
MENU button |
| DISP ( | ) button |
| ) button | ||
|
|
| SEARCH+ ( | ||||
|
|
|
|
|
| OPERATE |
|
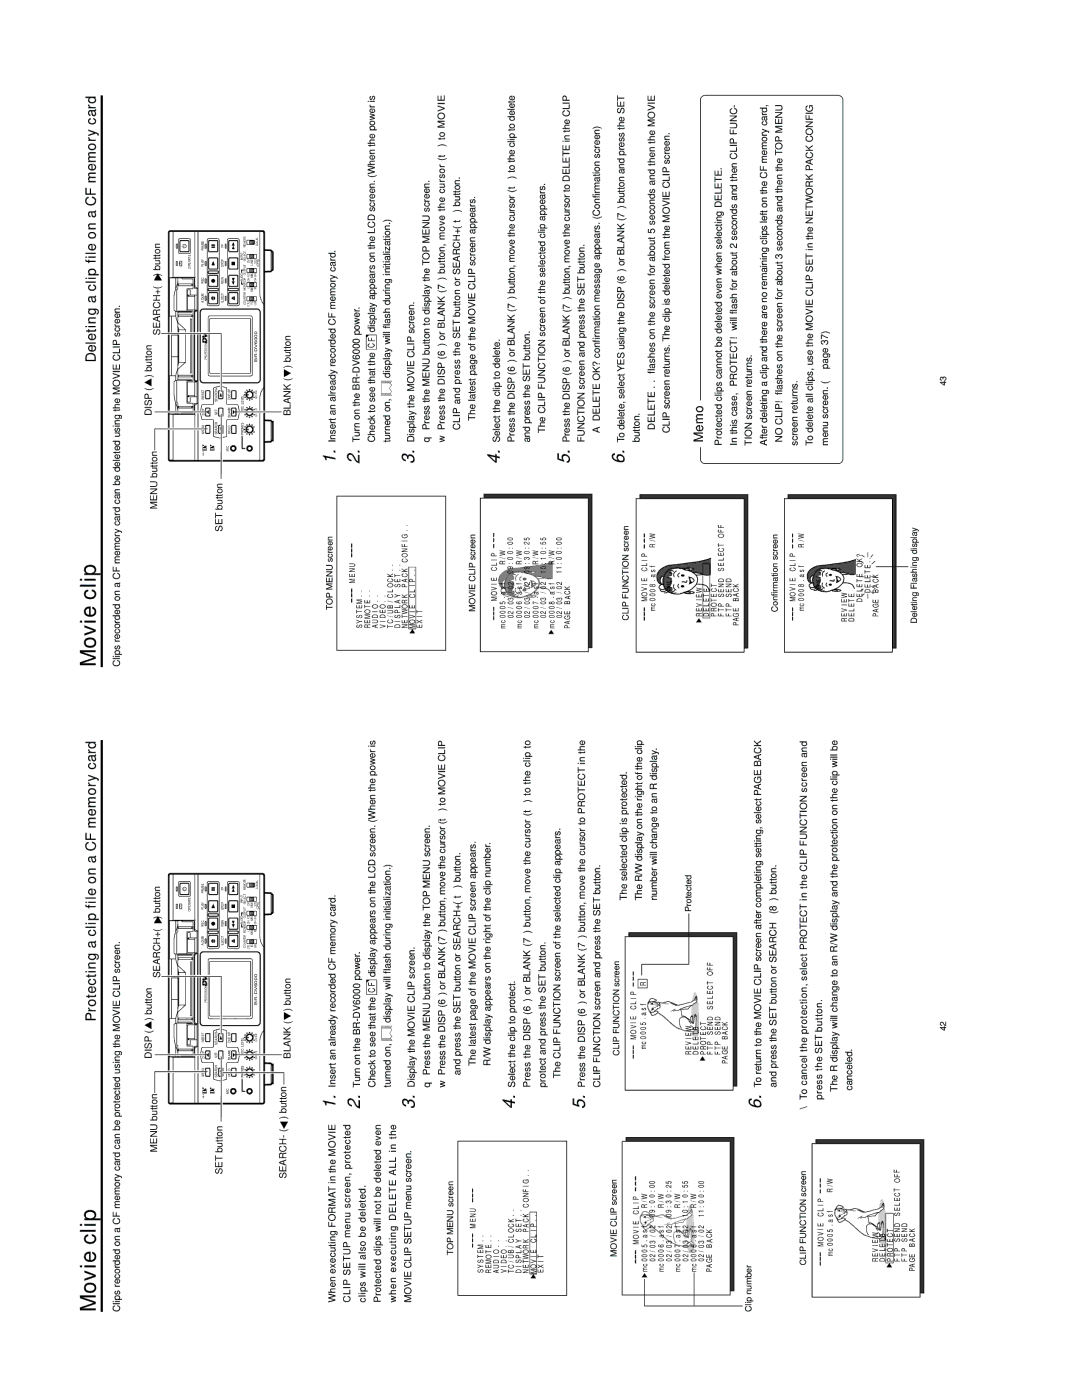
Mini | MENU | DISP | RESET | A.DUB | REC | PLAY | PAUSE |
|
|
|
| PROFESSIONAL |
|
|
|
SET button | SEARCH– | SET | SEARCH+ |
|
|
|
|
|
|
| EJECT | REW | STOP | FF | |
MIC | HOLD | BLANK | CUE UP |
|
|
|
|
PHONES | REC LEVEL |
|
|
| AUDIO | INPUT | REMOTE | |
|
|
|
| COUNTER MONITOR OUTPUT SELECT | ||||
|
|
|
| CTL | L | DV |
| |
|
|
|
| TC | MIX | MIX | LINE |
|
|
| UB | R | Y/C | LOCAL | |||
|
|
|
| (CPN) | ||||
SEARCH- (![]() ) button BLANK (
) button BLANK (![]() ) button
) button
Movie clip |
|
|
| Deleting a clip file on a CF memory card | |||
Clips recorded on a CF memory card can be deleted using the MOVIE CLIP screen. |
|
|
| ||||
MENU button |
| DISP ( | ) button |
| ) button | ||
|
|
| SEARCH+ ( | ||||
|
|
|
|
|
| OPERATE |
|
Mini | MENU | DISP | RESET | A.DUB | REC | PLAY | PAUSE |
|
|
|
| PROFESSIONAL |
|
|
|
SET button | SEARCH– | SET | SEARCH+ |
|
|
|
|
|
|
| EJECT | REW | STOP | FF | |
MIC | HOLD | BLANK | CUE UP |
|
|
|
|
PHONES | REC LEVEL |
|
|
| AUDIO |
| INPUT | REMOTE | |
|
|
|
| COUNTER MONITOR OUTPUT | SELECT | ||||
|
|
|
| CTL | L |
| DV |
| |
|
|
|
| TC | MIX | MIX | LINE |
| |
|
| UB | R |
| Y/C | LOCAL | |||
|
|
|
| (CPN) | |||||
BLANK (![]() ) button
) button
●When executing FORMAT in the MOVIE CLIP SETUP menu screen, protected clips will also be deleted.
●Protected clips will not be deleted even when executing DELETE ALL in the MOVIE CLIP SETUP menu screen.
TOP MENU screen
M E N U
S Y S T E M . .
R E MO T E . .
AU D I O . .
V I D E O . .
T C / U B / C L O C K . .
D I S P L A Y S E T . .
N E TWO R K P A C K C ON F I G . .
![]() MO V I E C L I P . .
MO V I E C L I P . .
E X I T
1.
2.
3.
4.
5.
Insert an already recorded CF memory card.
Turn on the
Check to see that the C F display appears on the LCD screen. (When the power is
turned on, ![]() display will flash during initialization.)
display will flash during initialization.)
Display the MOVIE CLIP screen.
q Press the MENU button to display the TOP MENU screen.
w Press the DISP (6) or BLANK (7) button, move the cursor (t) to MOVIE CLIP and press the SET button or SEARCH+ (t) button.
●The latest page of the MOVIE CLIP screen appears. R/W display appears on the right of the clip number.
Select the clip to protect.
Press the DISP (6) or BLANK (7) button, move the cursor (t) to the clip to protect and press the SET button.
●The CLIP FUNCTION screen of the selected clip appears.
Press the DISP (6) or BLANK (7) button, move the cursor to PROTECT in the CLIP FUNCTION screen and press the SET button.
TOP MENU screen
M E N U
S Y S T E M . .
R E MO T E . .
AU D I O . .
V I D E O . .
T C / U B / C L O C K . .
D I S P L A Y S E T . .
N E TWO R K P A C K C ON F I G . . ![]() MO V I E C L I P . .
MO V I E C L I P . .
E X I T
MOVIE CLIP screen
MO V I E | C L I P | |
mc 0 0 0 5 . a s f | R / W | |
0 2 / 0 3 | / 0 2 0 9 : 0 0 : 0 0 | |
mc 0 0 0 6 . a s f | R / W | |
0 2 / 0 3 | / 0 2 0 9 : 3 0 : 2 5 | |
mc 0 0 0 7 . a s f | R / W | |
0 2 / 0 3 | / 0 2 1 0 : 1 0 : 5 5 | |
mc 0 0 0 8 . a s f | R / W | |
0 2 / 0 3 | / 0 2 1 1 : 0 0 : 0 0 | |
PA GE B A CK |
| |
1. | Insert an already recorded CF memory card. | |
2. | Turn on the | |
| Check to see that the C F display appears on the LCD screen. (When the power is | |
| turned on, | display will flash during initialization.) |
3. | Display the MOVIE CLIP screen. | |
| q Press the MENU button to display the TOP MENU screen. | |
| w Press the DISP (6) or BLANK (7) button, move the cursor (t) to MOVIE | |
| CLIP and press the SET button or SEARCH+ (t) button. | |
| ● The latest page of the MOVIE CLIP screen appears. |
4. | Select the clip to delete. |
| Press the DISP (6) or BLANK (7) button, move the cursor (t) to the clip to delete |
| and press the SET button. |
| ● The CLIP FUNCTION screen of the selected clip appears. |
5. | Press the DISP (6) or BLANK (7) button, move the cursor to DELETE in the CLIP |
| FUNCTION screen and press the SET button. |
| ● A “DELETE OK?” confirmation message appears. (Confirmation screen) |
MOVIE CLIP screen
MO V I E | C L I P | |
mc 0 0 0 5 . a s f | R / W | |
0 2 / 0 3 | / 0 2 0 9 : 0 0 : 0 0 | |
mc 0 0 0 6 . a s f | R / W | |
0 2 / 0 3 | / 0 2 0 9 : 3 0 : 2 5 | |
mc 0 0 0 7 . a s f | R / W | |
0 2 / 0 3 | / 0 2 1 0 : 1 0 : 5 5 | |
mc 0 0 0 8 . a s f | R / W | |
0 2 / 0 3 | / 0 2 1 1 : 0 0 : 0 0 | |
PA GE B A CK |
| |
CLIP FUNCTION screen
MO V I E C L I P |
|
mc 0 0 0 5 . a s f | R |
R E V I E W |
|
D E LE T E |
|
![]() P R O T E C T
P R O T E C T
F T P S E N D S E L E C T OF F F T P S E N D
PA GE B ACK
●The selected clip is protected.
The R/W display on the right of the clip number will change to an R display.
Protected
CLIP FUNCTION screen
MO V I | E C L I P |
|
mc 0 0 0 8 . a s f | R / W | |
![]() R E V I E W
R E V I E W
D E L E T E
P R O T E C T
F T P S E N D S E L E C T OF F F T P S E N D
PAG E BAC K
6. To delete, select YES using the DISP (6) or BLANK (7) button and press the SET |
button. |
● “DELETE . .” flashes on the screen for about 5 seconds and then the MOVIE |
CLIP screen returns. The clip is deleted from the MOVIE CLIP screen. |
Memo
● Protected clips cannot be deleted even when selecting DELETE. |
In this case, “PROTECT!” will flash for about 2 seconds and then CLIP FUNC- |
Clip number
CLIP FUNCTION screen
MO V I | E C L I P |
|
mc 0 0 0 5 . a s f | R / W | |
R E V I E W ![]()
D E LE T E![]()
![]() P R O T E C T
P R O T E C T
F T P S E N D S E L E C T OF F
F T P S E N D
6. To return to the MOVIE CLIP screen after completing setting, select PAGE BACK and press the SET button or SEARCH– (8) button.
\To cancel the protection, select PROTECT in the CLIP FUNCTION screen and press the SET button.
●The R display will change to an R/W display and the protection on the clip will be canceled.
Confirmation screen
MO V I E | C L I P |
|
mc 0 0 0 8 . a s f | R / W | |
R E V I E W |
|
|
D E L E T E |
|
|
D E LE T E | O K ? |
|
D E LE T E . . |
| |
PA GE B A CK |
|
|
TION screen returns. |
● After deleting a clip and there are no remaining clips left on the CF memory card, |
“NO CLIP!” flashes on the screen for about 3 seconds and then the TOP MENU |
screen returns. |
● To delete all clips, use the MOVIE CLIP SET in the NETWORK PACK CONFIG |
menu screen. (☞ page 37) |
PA GE B AC K
Deleting Flashing display
42 | 43 |