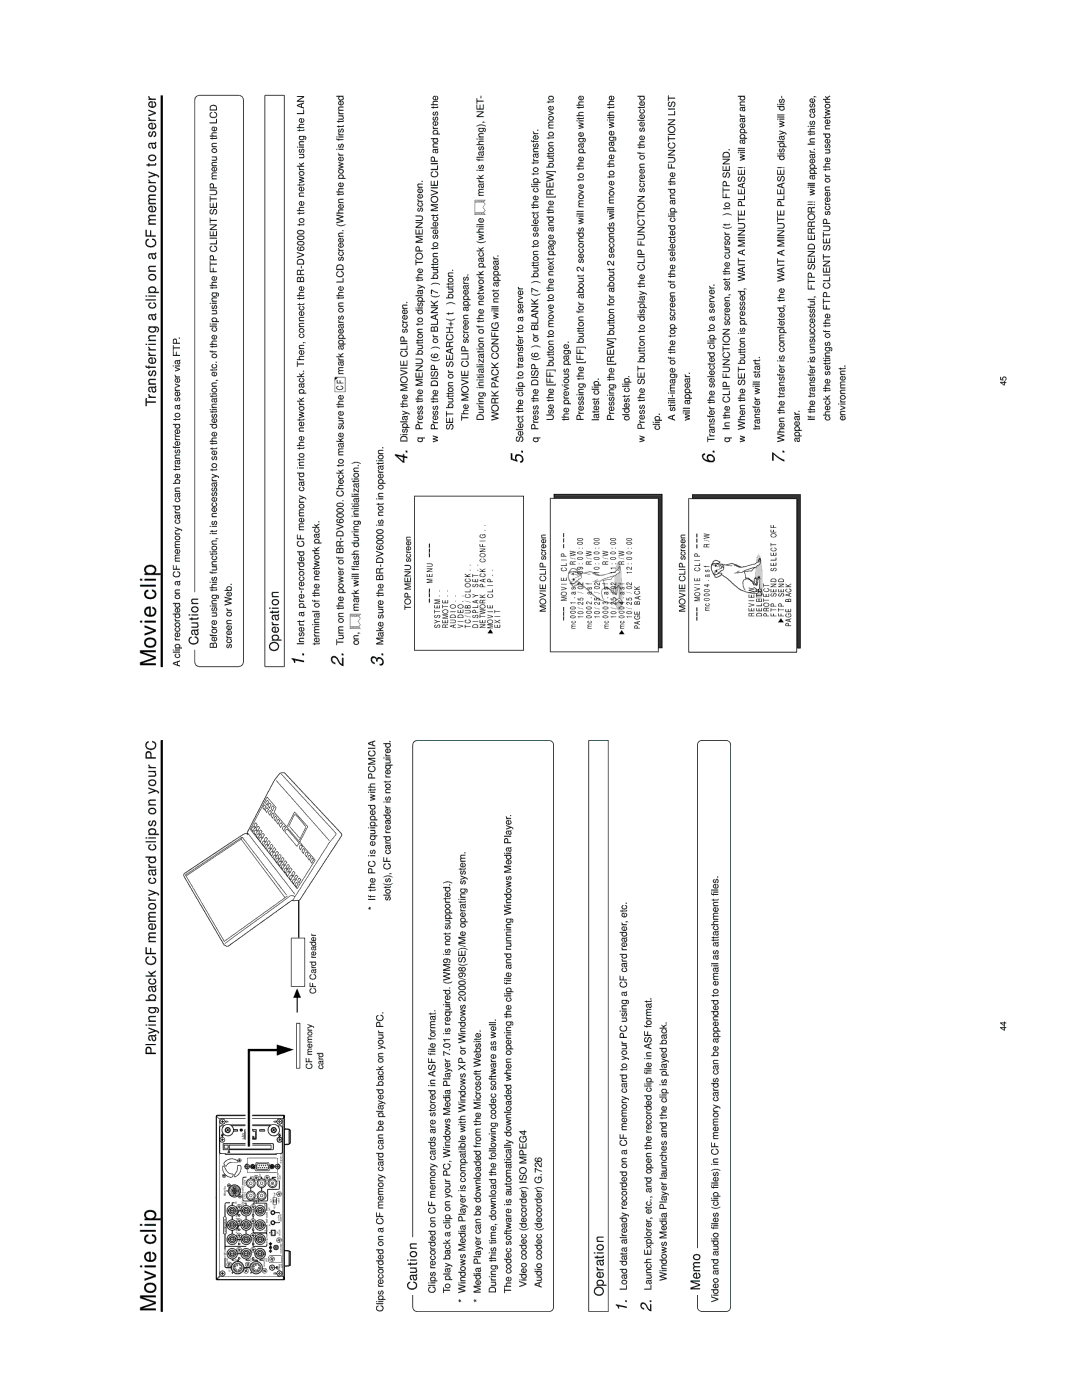
Movie clip | Playing back CF memory card clips on your PC |
Movie clip | Transferring a clip on a CF memory to a server |
A clip recorded on a CF memory card can be transferred to a server via FTP.
Caution
LINE VIDEO | COMPONENT |
|
| REMOTE2 |
|
| |
Y/C |
|
|
|
|
|
|
|
IN |
| IN |
|
|
| ||
| Y |
|
|
|
|
|
|
|
|
|
| OUT | AUDIO | CH 2/4 |
|
|
|
|
| CH 1/3 |
| ||
OUT |
|
|
|
|
| IN |
|
|
|
|
|
|
| OUT |
|
MONITOR | IN | TIME CODE |
| OUT |
|
|
|
OUT | SYNC IN |
|
|
|
|
| |
|
| IN | OUT | OFF |
|
|
|
|
|
| REC | PLAY |
|
| |
| DV | SERIAL |
| TIMER |
| MONITOR |
|
DC12V | IN/OUT | REMOTE |
|
|
| OUT | REMOTE1 |
LAN
|
|
|
|
|
|
CF memory |
|
|
|
| |
| CF Card reader | ||||
card |
| ||||
|
|
|
| ||
●Before using this function, it is necessary to set the destination, etc. of the clip using the FTP CLIENT SETUP menu on the LCD screen or Web.
Operation
1. Insert a
2. Turn on the power of
on, ![]() mark will flash during initialization.)
mark will flash during initialization.)
* If the PC is equipped with PCMCIA
Clips recorded on a CF memory card can be played back on your PC.
Caution
slot(s), CF card reader is not required.
3. Make sure the
●Clips recorded on CF memory cards are stored in ASF file format.
●To play back a clip on your PC, Windows Media Player 7.01 is required. (WM9 is not supported.)
*Windows Media Player is compatible with Windows XP or Windows 2000/98(SE)/Me operating system.
*Media Player can be downloaded from the Microsoft Website. During this time, download the following codec software as well.
The codec software is automatically downloaded when opening the clip file and running Windows Media Player.
•Video codec (decorder) ISO MPEG4
•Audio codec (decorder) G.726
Operation
1. Load data already recorded on a CF memory card to your PC using a CF card reader, etc.
2. Launch Explorer, etc., and open the recorded clip file in ASF format.
●Windows Media Player launches and the clip is played back.
Memo
Video and audio files (clip files) in CF memory cards can be appended to email as attachment files.
TOP MENU screen
M E N U
S Y S T E M . .
R E MO T E . .
AU D I O . .
V I D E O . .
T C / U B / C L O C K . .
D I S P L A Y S E T . .
N E TWO R K P A C K C ON F I G . . ![]() MO V I E C L I P . .
MO V I E C L I P . .
E X I T
MOVIE CLIP screen
MO V I E | C L I P | |
mc 0 0 0 1 . a s f | R / W | |
1 0 / 2 5 | / 0 2 0 9 : 0 0 : 0 0 | |
mc 0 0 0 2 . a s f | R / W | |
1 0 / 2 5 | / 0 2 1 0 : 0 0 : 0 0 | |
mc 0 0 0 3 . a s f | R / W | |
1 0 / 2 5 | / 0 2 1 1 : 0 0 : 0 0 | |
mc 0 0 0 4 . a s f | R / W | |
1 0 / 2 5 | / 0 2 1 2 : 0 0 : 0 0 | |
PA GE B A CK |
| |
MOVIE CLIP screen
MO V I | E C L I P |
|
mc 0 0 0 4 . a s f | R / W | |
R E V I E W ![]() D E LE T E
D E LE T E![]()
![]() P R O T E C T
P R O T E C T
F T P S E N D S E L E C T OF F ![]() F T P S E N D
F T P S E N D
PA GE B AC K
4.
5.
6.
7.
Display the MOVIE CLIP screen.
q Press the MENU button to display the TOP MENU screen.
w Press the DISP (6) or BLANK (7) button to select MOVIE CLIP and press the SET button or SEARCH+ (t) button.
●The MOVIE CLIP screen appears.
●During initialization of the network pack (while ![]() mark is flashing), NET- WORK PACK CONFIG will not appear.
mark is flashing), NET- WORK PACK CONFIG will not appear.
Select the clip to transfer to a server
q Press the DISP (6) or BLANK (7) button to select the clip to transfer.
●Use the [FF] button to move to the next page and the [REW] button to move to the previous page.
●Pressing the [FF] button for about 2 seconds will move to the page with the latest clip.
●Pressing the [REW] button for about 2 seconds will move to the page with the oldest clip.
w Press the SET button to display the CLIP FUNCTION screen of the selected clip.
●A
Transfer the selected clip to a server.
q In the CLIP FUNCTION screen, set the cursor (t) to FTP SEND.
w When the SET button is pressed, “WAIT A MINUTE PLEASE!” will appear and transfer will start.
When the transfer is completed, the “WAIT A MINUTE PLEASE!” display will dis- appear.
●If the transfer is unsuccessful, “FTP SEND ERROR!!” will appear. In this case, check the settings of the FTP CLIENT SETUP screen or the used network environment.
44 | 45 |