INSTRUCCIONES

PARA LA OPERACI6N


INDICE


SECCI(_N I. NOMBRE

DE LAS PARTES

3

Ajuste de la tensi6n del

hilo

53

Bolsa de mano


3

Selector


de la tensi6n det hilo

53


Tensi6n


incorrecta


53

Localice

e identifique

las partes


3


........................................

Tensi6n


incorrecta


53

Colocaci6n

del cotector

de recortes de desperdicio

5


Tensi6n


incorrecta


55

C6mo guardar

la caja de accesodos

5


Tensi6n


incorrecta


55

Accesorios

estandar


5


.........................................................


Tensi6n del hilo (3 hilos)


57

Accesorios

y refacciones disponibles

7

..................................................

Tensi6n

correcta


57

SECCI_N II. PREPARE LA MAQUINA PARA COSER ... 9

Ajuste de la tensi6n del

hilo

57

Enchufe

la m_quina

y enciendala


9

Selector de tensi6n del hilo

57

Instrucciones

para la operaci6n


9

........................................

Tensi6n


incorrecta


57

Utilizaci6n

det pedal


9


..........................................................


Tensi6n


incorrecta


57

C6mo girar et volante de mano


11


Tensi6n


incorrecta


57

Apertura

y cierre de

la tapa lateral


11


Dobladilto

angosto

59

• Para abrirla


11

...................................................................


Dobladilto

enroltado

81

• Para cerrarla


11

.................................................................


Borde de encaje


83

Apertura

y cierre de

la tapa de los ojos-guia


11

Doblado


de esquinas


85

• Para abrirla

...................................................................


11


• Para cerrarla

.................................................................


11

Esquinas

exteriores

85

• Para su propia seguddad

..............................................


11

Esquinas

interiores

87

Posicionamiento de la barra telesc6pica de los gula-hilos

.. 13

Bordes en curvas

87

Cotocaci6n

de la tapa de carrete

y la red

13

• Curvas


exteriores

87

Subida


y bajada del prensatelas

.....................................

13

• Curvas


intedores

87

Ajuste

de la Iongitud

de puntada

diferencial

15

Sobrehilado

69

Ajuste

de la relaci6n

de avance

15

Sobreorillado


71

Como hacer ajustes


15

........................................................


El_stico (para cinta elastica ancha)

73

Cambio

de la aguja


17


El_stico


(para cinta elastica estrecha)

75

• Para colocar

la aguja

a la derecha


17


Apliocaci6n

de encaje

77

• Para colocar

la aguja

izquierda


17

.....................................

Borde decorative


79

Ajuste

de la presi6n

del prensatetas


17

Decoraci6n

plana (sobrecostura)

81

Extracci6n

del prensatelas

..............................................


19

Cotocaci6n

del prensatelas


19

Dobladilto

ciego

83

Para desactivar la cuchilla

superior

19

Pliegue

pequeSo

85

Para activar la cuchilla

superior

......................................

19

Colocaci6n

de una cinta et_stica en la cintura

87

Ajuste

del ancho de corte

...............................................


21

Trenzado

.........................................................................


89

Ajuste del bot6n de posici6n de la placa de agujas


Cotocaci6n

de mangas

91

(Combio

a surjete estandar o dobladillo enrollado)

23

Falda en campana


93

Surjete


estandar


23


Fruncido


95

Dobladitlo

enrollado


23


..........................................................................


SECCI(_N

IV. CUlDADO

DE LA MAQUINA

97

Ajuste

del dispositivo

deslizante

de pretensi6n

25

Cambio

de

la cuchilla superior

97

Surjete


estandar (STD.)


25


Para quitar

la cuchilla

97

Dobladitlo

enrollado

(R.H.)

..............................................


25

Preparaci6n inicial


27

Para colocar la cuchilla

...................................................

97


Limpieza


det _rea de la cuchilta superior

97

Reenhebrado

de un hito rote


29


Reenhebrado

de la Serger


31-33

Cambio de la bombilla

99

Para su seguddad


99

Enhebrado

det ojo-guia

inferior


31-33

Para quitar

la bombilla

99

Como

engebrar hilo de nylon / poli6ster lanoso

35

Para porter la bombilta


99

Enhebrado

det ojo-guia

superior

................................

37-39

C6mo

enhebrar el ojo-guia

superior


39

Limpieza


del trinquete de avarice

99

Lubricaci6n

de la maquina

101

Enhebrado

de la aguja derecha


41

......................................

C6mo cargar la m_quina


101

Enhebrado

de la aguja

izquierda


43

...............................................

....................................

SECCI(_N V. CRAFICA DE PROBLEMAS DE


Surjete


con tres hilos


45


FUNCHIONAMIENTO


193

Surjete regujar con tres hilos: anchura de 3.5 mm(1/8") ... 45


Surjete ancho con tres hilos: anchura de 5.7 mm(1/4") .... 45


SECCl6N

III. APRENDA

LAS PUNTADAS

47


Para empezar

a coser


47


Para terminar

a coser


47


Costura

continua


47


C6mo

utilizar

las lineas

de guia

......................................

47


C6mo asegurar los extremos de la costura

49


• AI principio de la costura

...............................................


49


• Pespunte

.......................................................................


49


• AI final

de la costura


49


Cuadro

de hilos y agujas


50-51


Tensi6n

del hito (4 hilos)


53


Tensi6n

correcta


53


VII

Page 8
Image 8
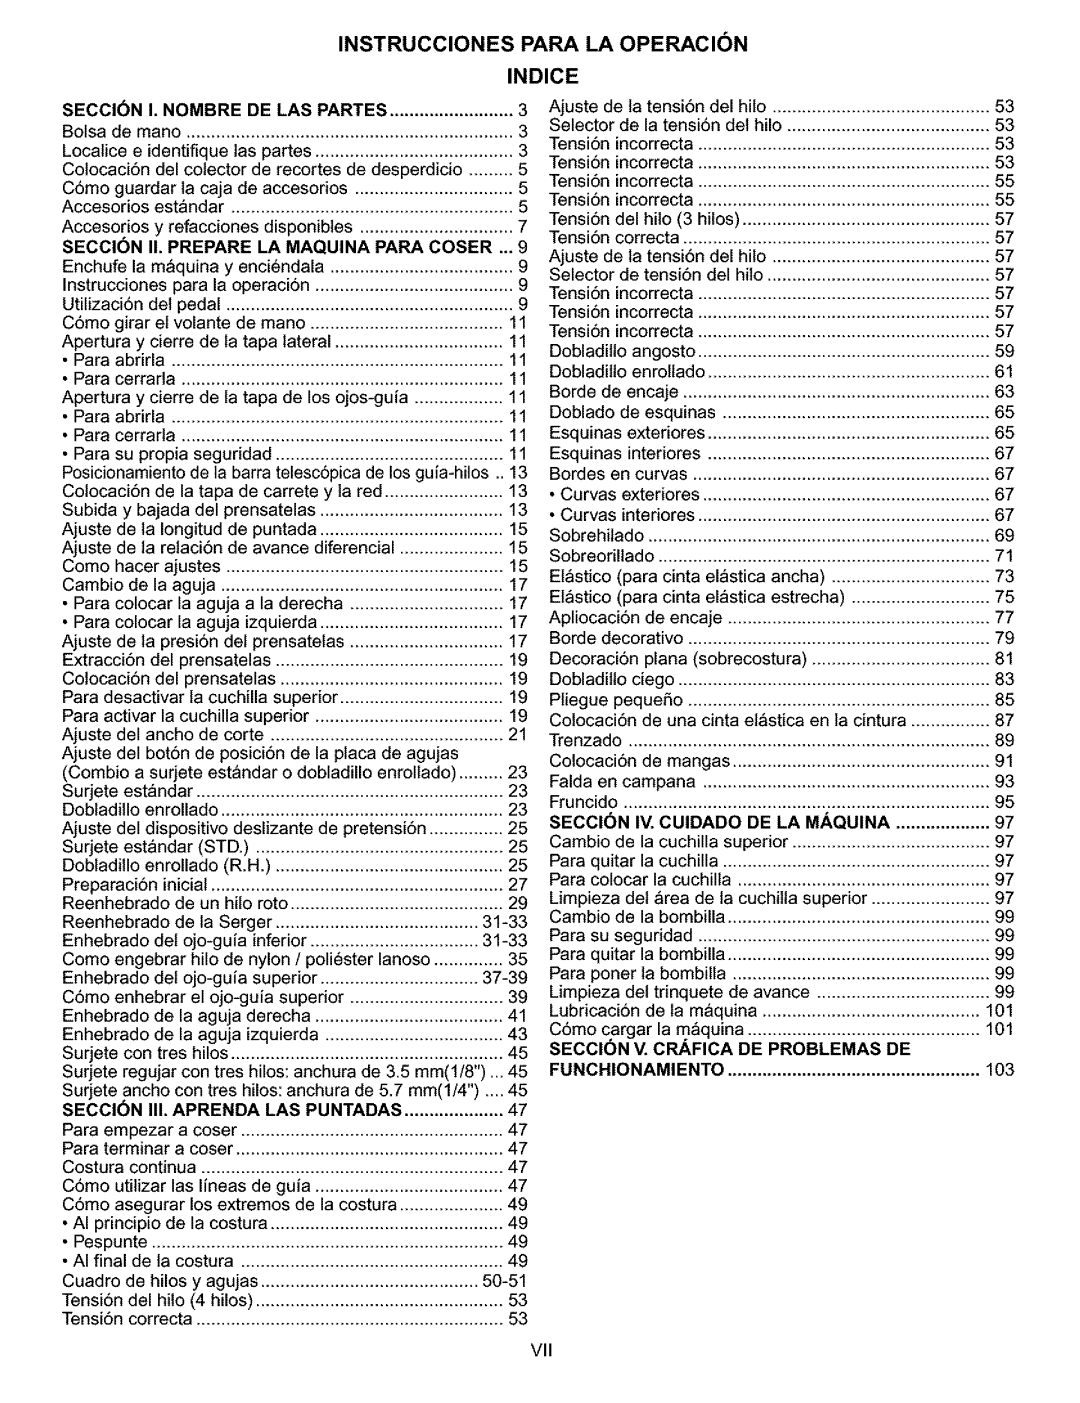
Kenmore 385.166551 owner manual Instrucciones Para LA OPERACI6N Indice, 193

385.166551 specifications

The Kenmore 385.166551 sewing machine is a versatile and reliable piece of equipment, ideal for both beginners and experienced seamstresses. This machine combines a classic design with modern technology, making it user-friendly while offering a variety of features to enhance sewing performance.

One of the standout characteristics of the Kenmore 385.166551 is its range of stitch options. It comes equipped with 24 built-in stitches, including utility stitches, decorative stitches, and stretch stitches. This variety allows users to tackle a wide range of sewing projects, from basic repairs to more complex garments. The machine also features a one-step buttonhole function, enabling seamless creation of professional-quality buttonholes with minimal effort.

Another significant feature of the Kenmore 385.166551 is its adjustable stitch length and width. Users can personalize their sewing projects by modifying these dimensions to achieve the desired results. This flexibility is particularly useful when working on different fabrics, ensuring the best possible outcome for each project. The machine's feed dog system allows for smooth fabric feeding, preventing puckering and ensuring even stitching.

The Kenmore 385.166551 also boasts a drop-in bobbin system, which simplifies the threading process. This feature makes it easier for users to change bobbins quickly, minimizing downtime during sewing sessions. The transparent bobbin cover allows for easy monitoring of the thread supply, ensuring users are never caught off-guard by an empty bobbin.

Portability is another important consideration for many sewists, and the Kenmore 385.166551 does not disappoint. Its lightweight design makes it easy to transport, whether for crafts classes or sewing groups. Additionally, the machine comes with a hard case to protect it during transit and storage.

The machine's automatic needle threader is an excellent time-saver, as it takes the hassle out of threading the needle. This feature is especially helpful for those who may struggle with manual threading due to vision issues or dexterity challenges.

Overall, the Kenmore 385.166551 sewing machine combines functionality with ease of use. With its extensive stitch options, adjustable settings, convenient features, and portability, it is well-suited for a wide range of sewing enthusiasts. Whether you’re looking to embark on a new sewing hobby or enhance your existing skills, this machine provides the tools necessary to achieve professional results right in your home.