INSTALLING OPTIONS
The following equipment is required for installing the optional units.
•Large Philips screwdriver
•Small Philips screwdriver
•25 W pencil soldering iron (for the
REMOVING THE BOTTOM CASE
When installing the optional
1Remove the 8 screws.
2Lift off the bottom case.
DRU-3A DIGITAL RECORDING UNIT
CAUTION: SWITCH OFF THE POWER AND UNPLUG THE DC POWER CABLE BEFORE BEGINNING INSTALLATION.
1Remove the bottom case (8 screws).
2Remove the flat cable from the CN15 connector.
![]() CN15
CN15
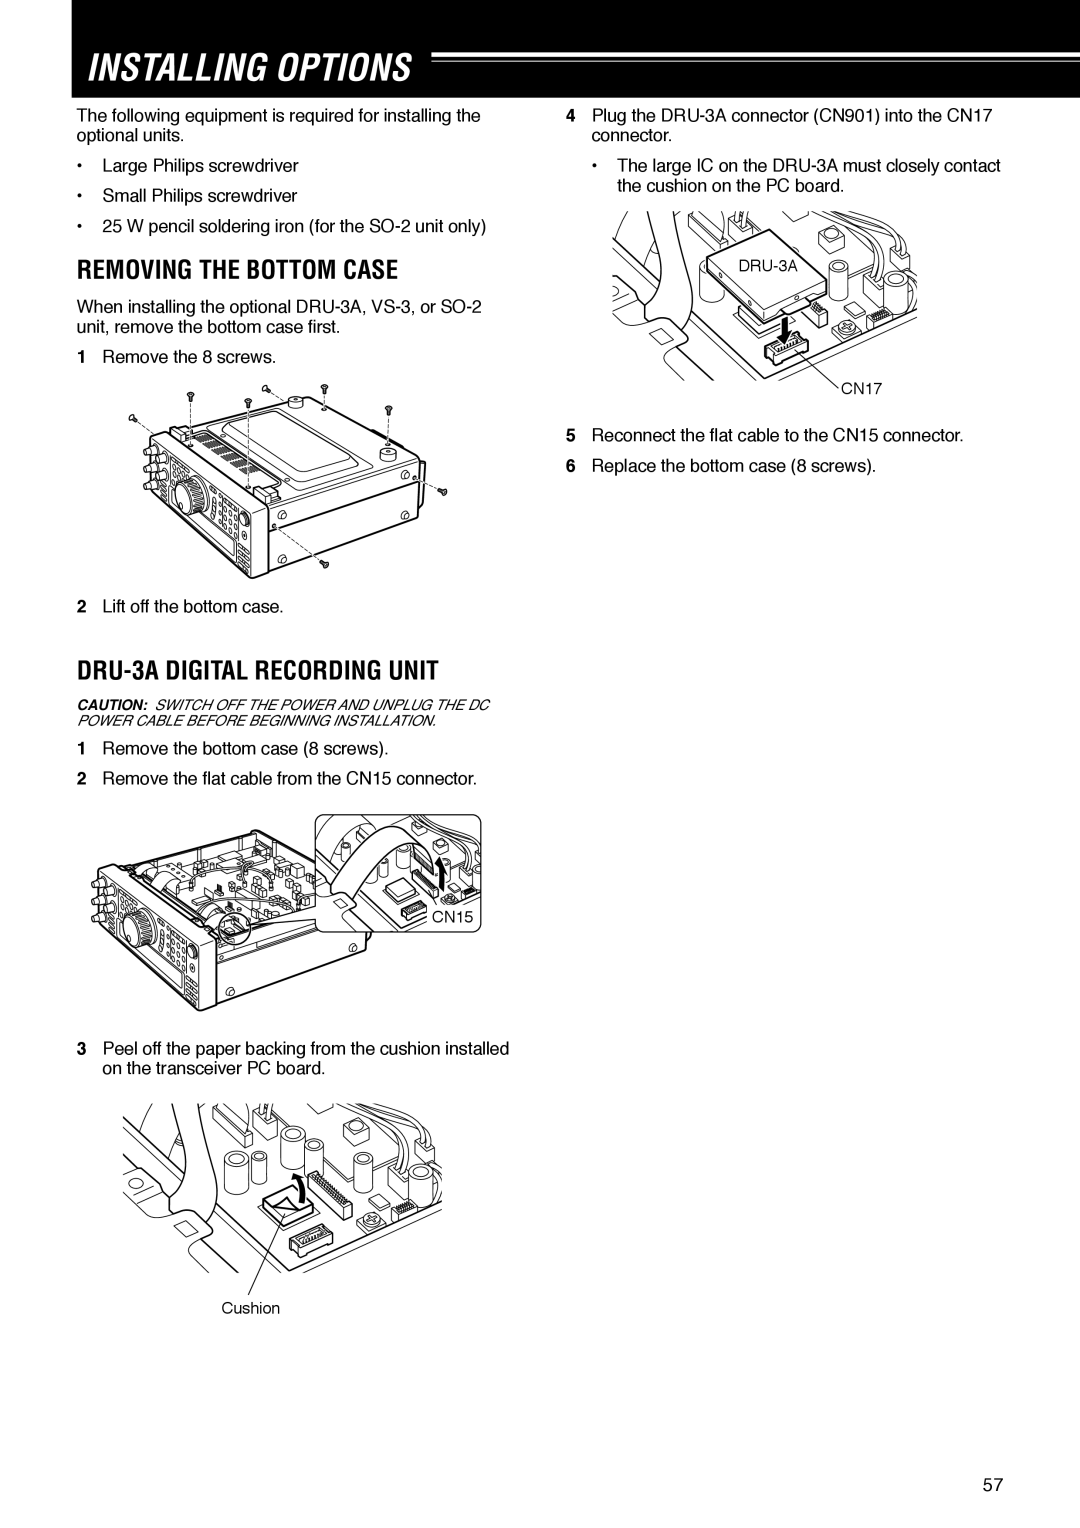
4Plug the
•The large IC on the
![]()
![]() DRU-3A
DRU-3A
![]() CN17
CN17
5Reconnect the flat cable to the CN15 connector.
6Replace the bottom case (8 screws).
3Peel off the paper backing from the cushion installed on the transceiver PC board.
Cushion
57