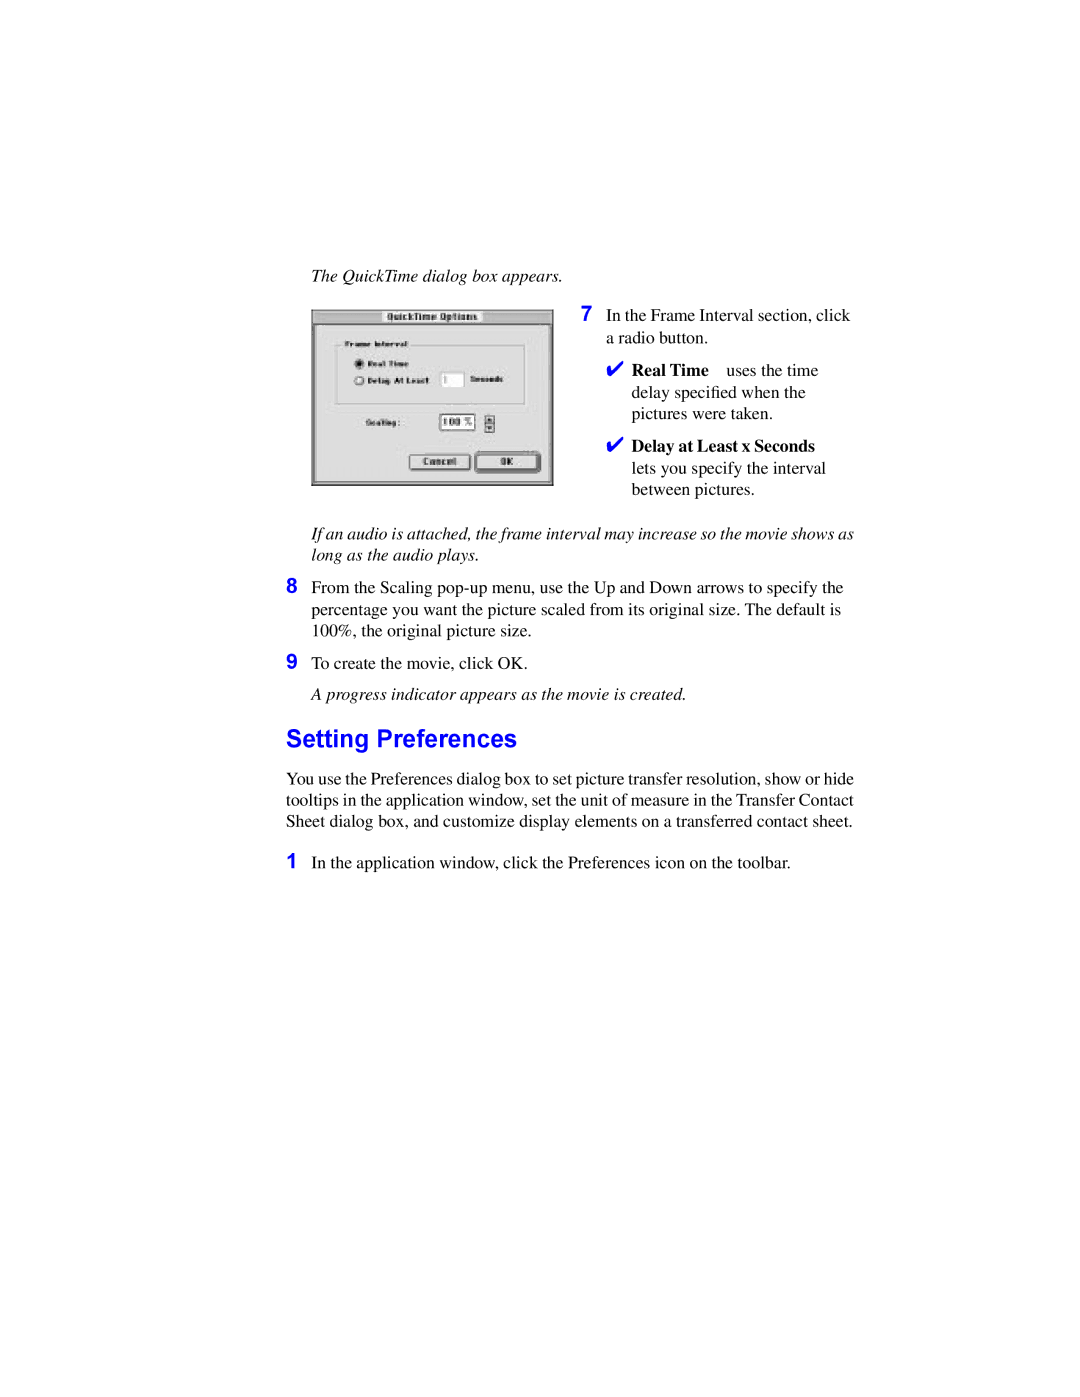
The QuickTime dialog box appears.
7 In the Frame Interval section, click a radio button.
✔ Real Time uses the time delay specified when the pictures were taken.
✔ Delay at Least x Seconds
lets you specify the interval between pictures.
If an audio is attached, the frame interval may increase so the movie shows as long as the audio plays.
8From the Scaling
9To create the movie, click OK.
A progress indicator appears as the movie is created.
Setting Preferences
You use the Preferences dialog box to set picture transfer resolution, show or hide tooltips in the application window, set the unit of measure in the Transfer Contact Sheet dialog box, and customize display elements on a transferred contact sheet.
1In the application window, click the Preferences icon on the toolbar.