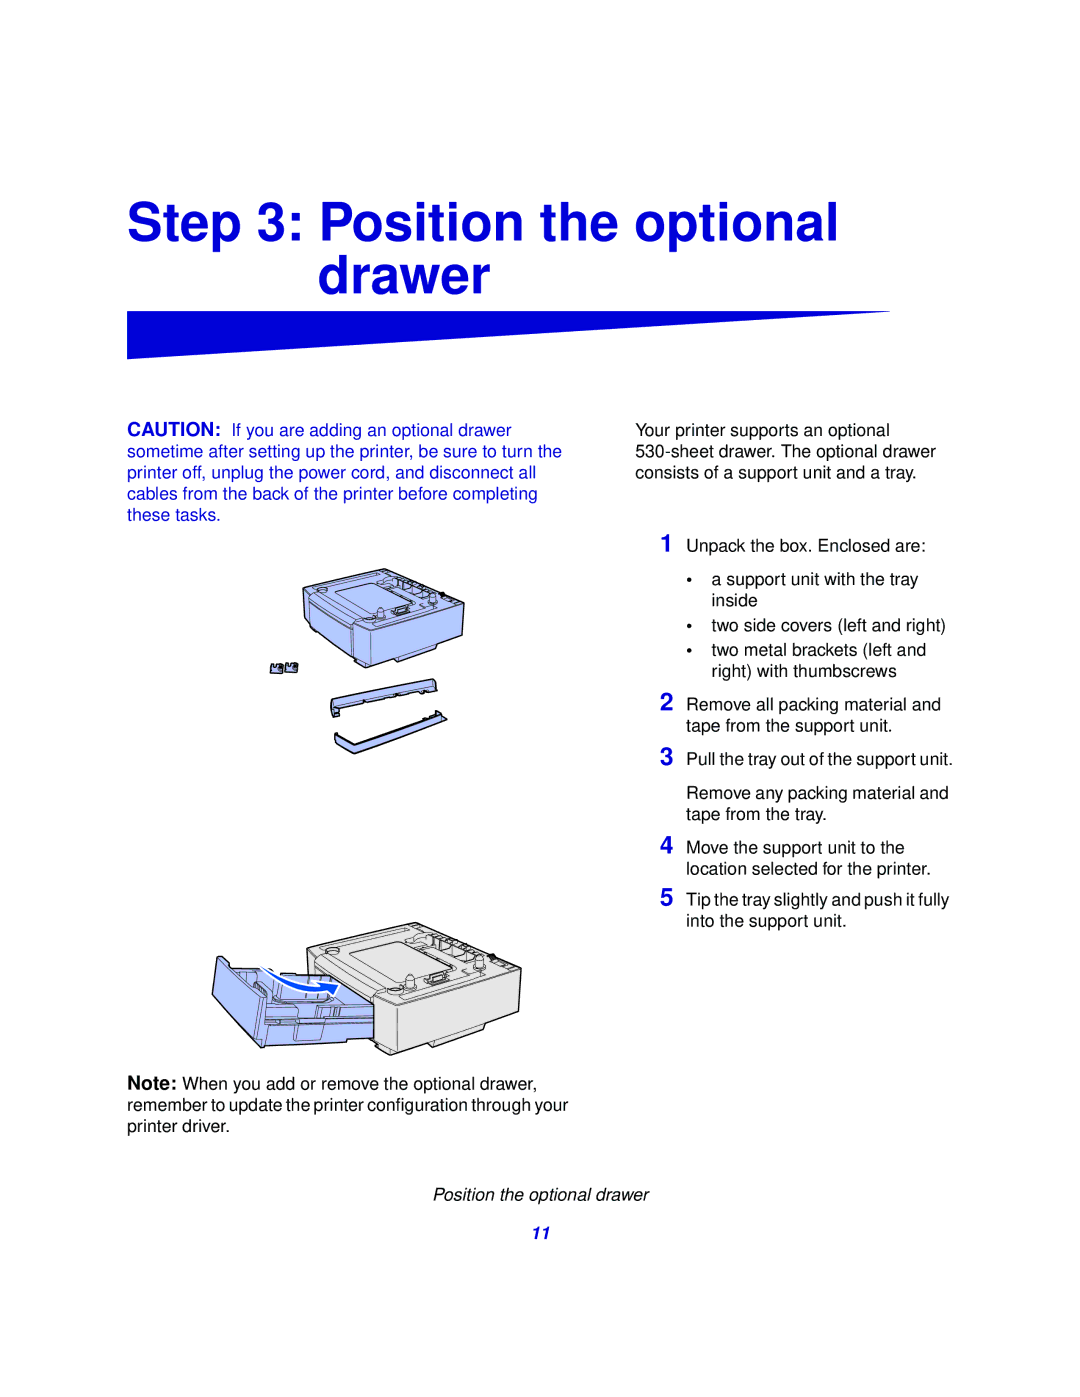
Remove any packing material and tape from the tray.
4 Move the support unit to the location selected for the printer.
5 Tip the tray slightly and push it fully into the support unit.
Pull the tray out of the support unit.
3
Remove all packing material and tape from the support unit.
1
2
Step 3: Position the optional drawer
CAUTION: If you are adding an optional drawer sometime after setting up the printer, be sure to turn the printer off, unplug the power cord, and disconnect all cables from the back of the printer before completing these tasks.
Your printer supports an optional
Unpack the box. Enclosed are:
•a support unit with the tray inside
•two side covers (left and right)
•two metal brackets (left and right) with thumbscrews
Note: When you add or remove the optional drawer, remember to update the printer configuration through your printer driver.
Position the optional drawer
11