7.Make a test run to determine the results. If the bottom is lost at high speed, or if noise appears on the display, try sliding the transducer bracket down. This puts the transducer deeper into the water, hopefully, below the turbulence causing the noise. Be careful not to install the transducer bracket below the bottom of the hull!
TROLLING MOTOR BRACKET INSTALLATION (single-frequency only)
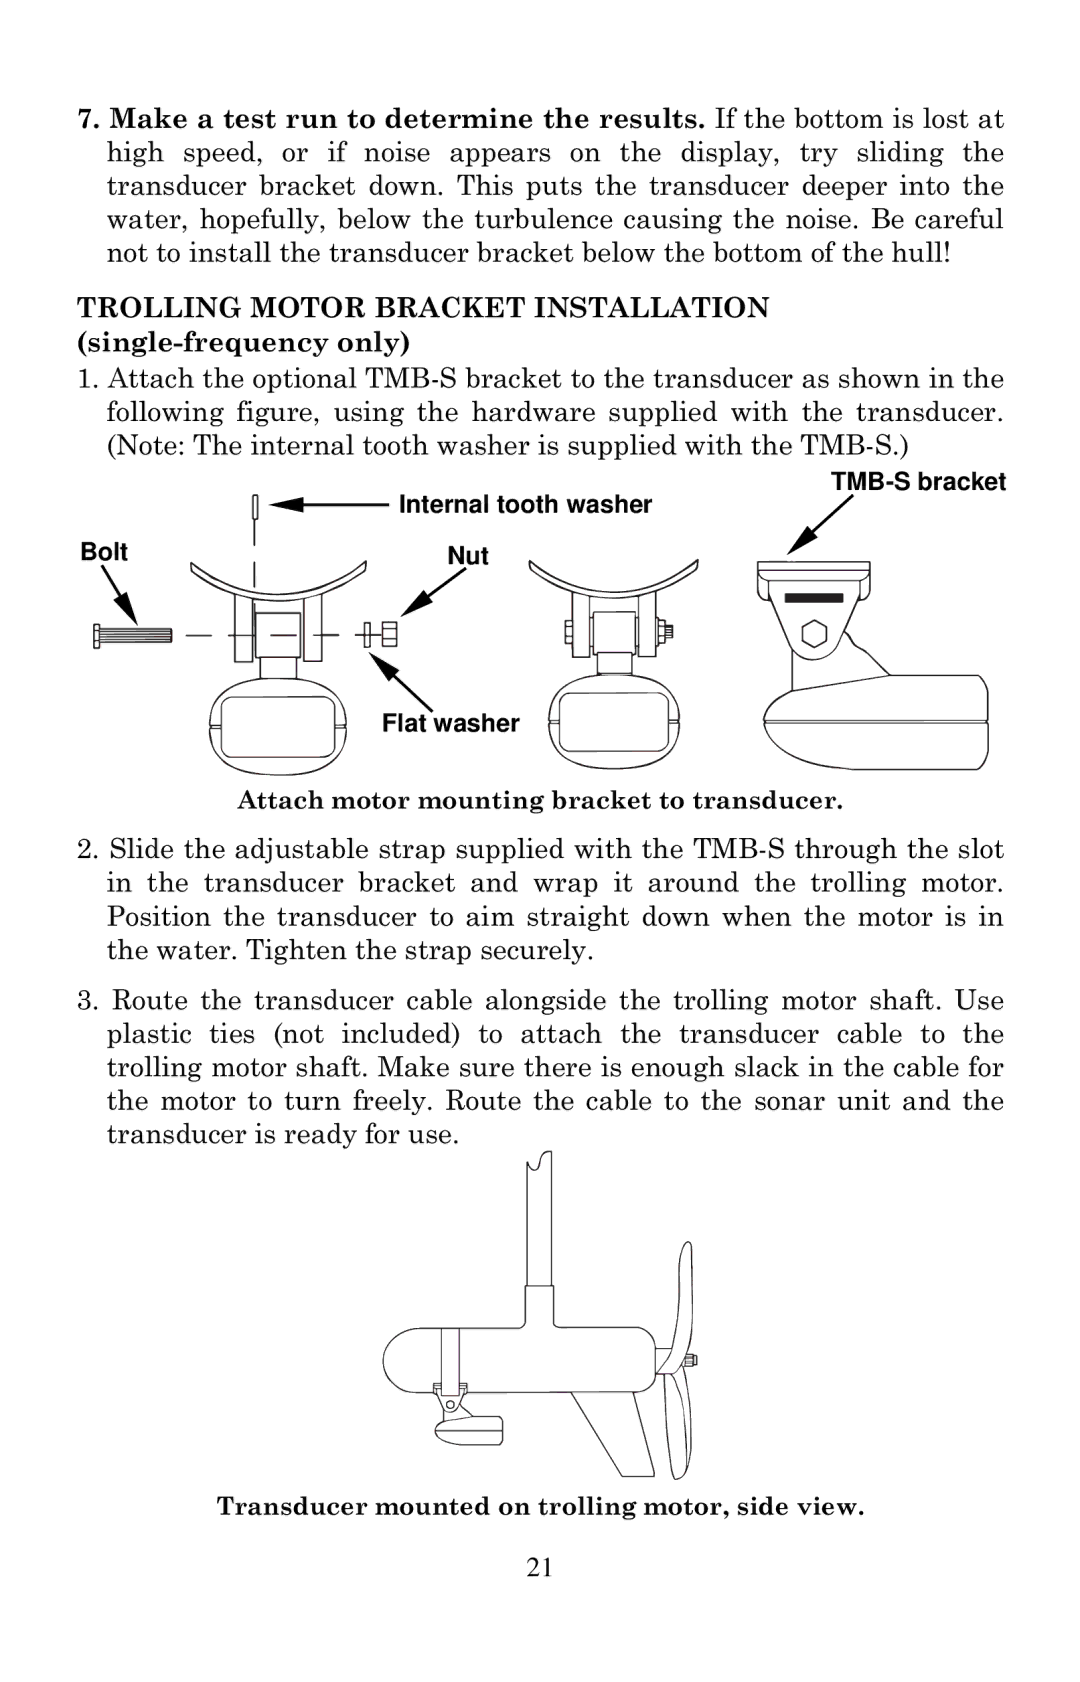
1.Attach the optional
| Internal tooth washer |
Bolt | Nut |
Flat washer
Attach motor mounting bracket to transducer.
2.Slide the adjustable strap supplied with the
3.Route the transducer cable alongside the trolling motor shaft. Use plastic ties (not included) to attach the transducer cable to the trolling motor shaft. Make sure there is enough slack in the cable for the motor to turn freely. Route the cable to the sonar unit and the transducer is ready for use.
Transducer mounted on trolling motor, side view.
21