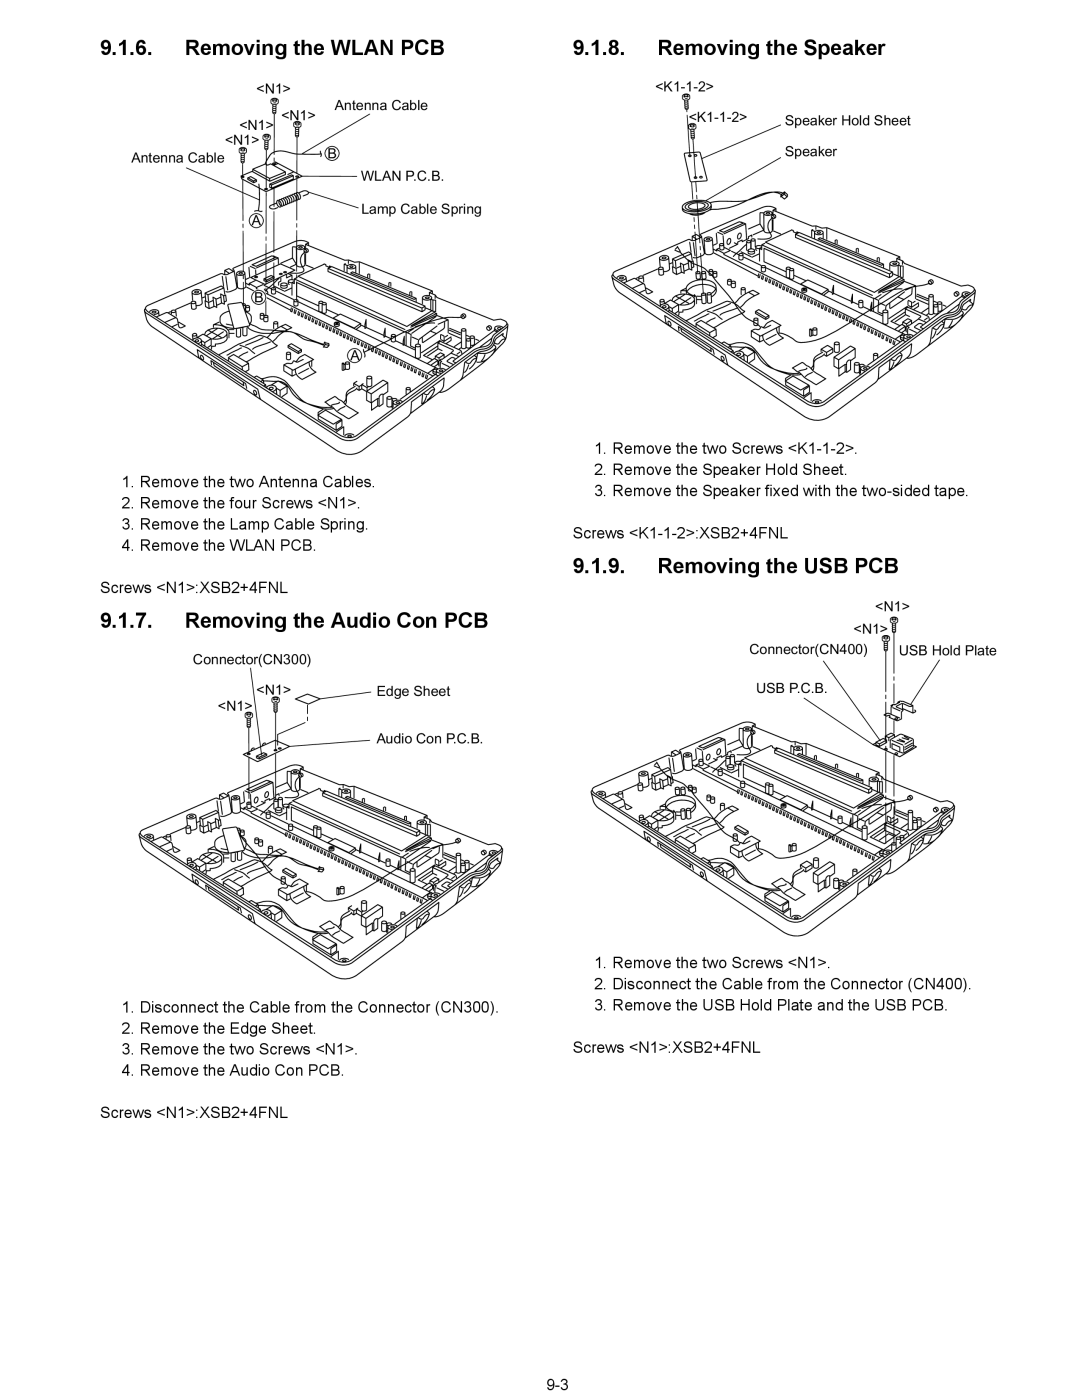
9.1.6. Removing the WLAN PCB | 9.1.8. Removing the Speaker | |
| <N1> | |
| Antenna Cable | |
| <N1> | |
| <N1> |
|
| <N1> | Speaker |
Antenna Cable | B | |
|
| |
WLAN P.C.B.
Lamp Cable Spring
A
B
A ![]()
1.Remove the two Antenna Cables.
2.Remove the four Screws <N1>.
3.Remove the Lamp Cable Spring.
4.Remove the WLAN PCB.
Screws <N1>:XSB2+4FNL
9.1.7.Removing the Audio Con PCB
Connector(CN300)
<N1> | Edge Sheet |
<N1>
Audio Con P.C.B.
1.Disconnect the Cable from the Connector (CN300).
2.Remove the Edge Sheet.
3.Remove the two Screws <N1>.
4.Remove the Audio Con PCB.
Screws <N1>:XSB2+4FNL
1.Remove the two Screws
2.Remove the Speaker Hold Sheet.
3.Remove the Speaker fixed with the
Screws
9.1.9.Removing the USB PCB
<N1>
<N1>![]()
Connector(CN400) USB Hold Plate
USB P.C.B.
1.Remove the two Screws <N1>.
2.Disconnect the Cable from the Connector (CN400).
3.Remove the USB Hold Plate and the USB PCB.
Screws <N1>:XSB2+4FNL