How to use the Time Delay.
The
Note: Do not use the Time Delay when the recipe has perishable ingredients such as milk, eggs or cheese, as these may spoil.
1.Follow steps 1 through to 4 on page 14.
2.Press theDELAY
3.Press theSTART/PAUSE button to begin the cycle. The Timer will start counting down and the
Note: If you make a mistake, or need to reset the Timer, press the START/PAUSE button for
Example
Before leaving for work at 8am, you decide to set the Time Delay so that the bread or selected program will be ready and completed by 6pm when you return home - which is 10 hours later.
After following instruction 1 above, press the DELAY +/- ( / ) button until the display reads 10.00. Then press START.
This tells you that your bread or selected program will be complete in 10 hours.
The
Note: You do not need to take into account the amount of time required to cook the program selected. This is automatically registered in the
Power Interruption Program Protection.
Your
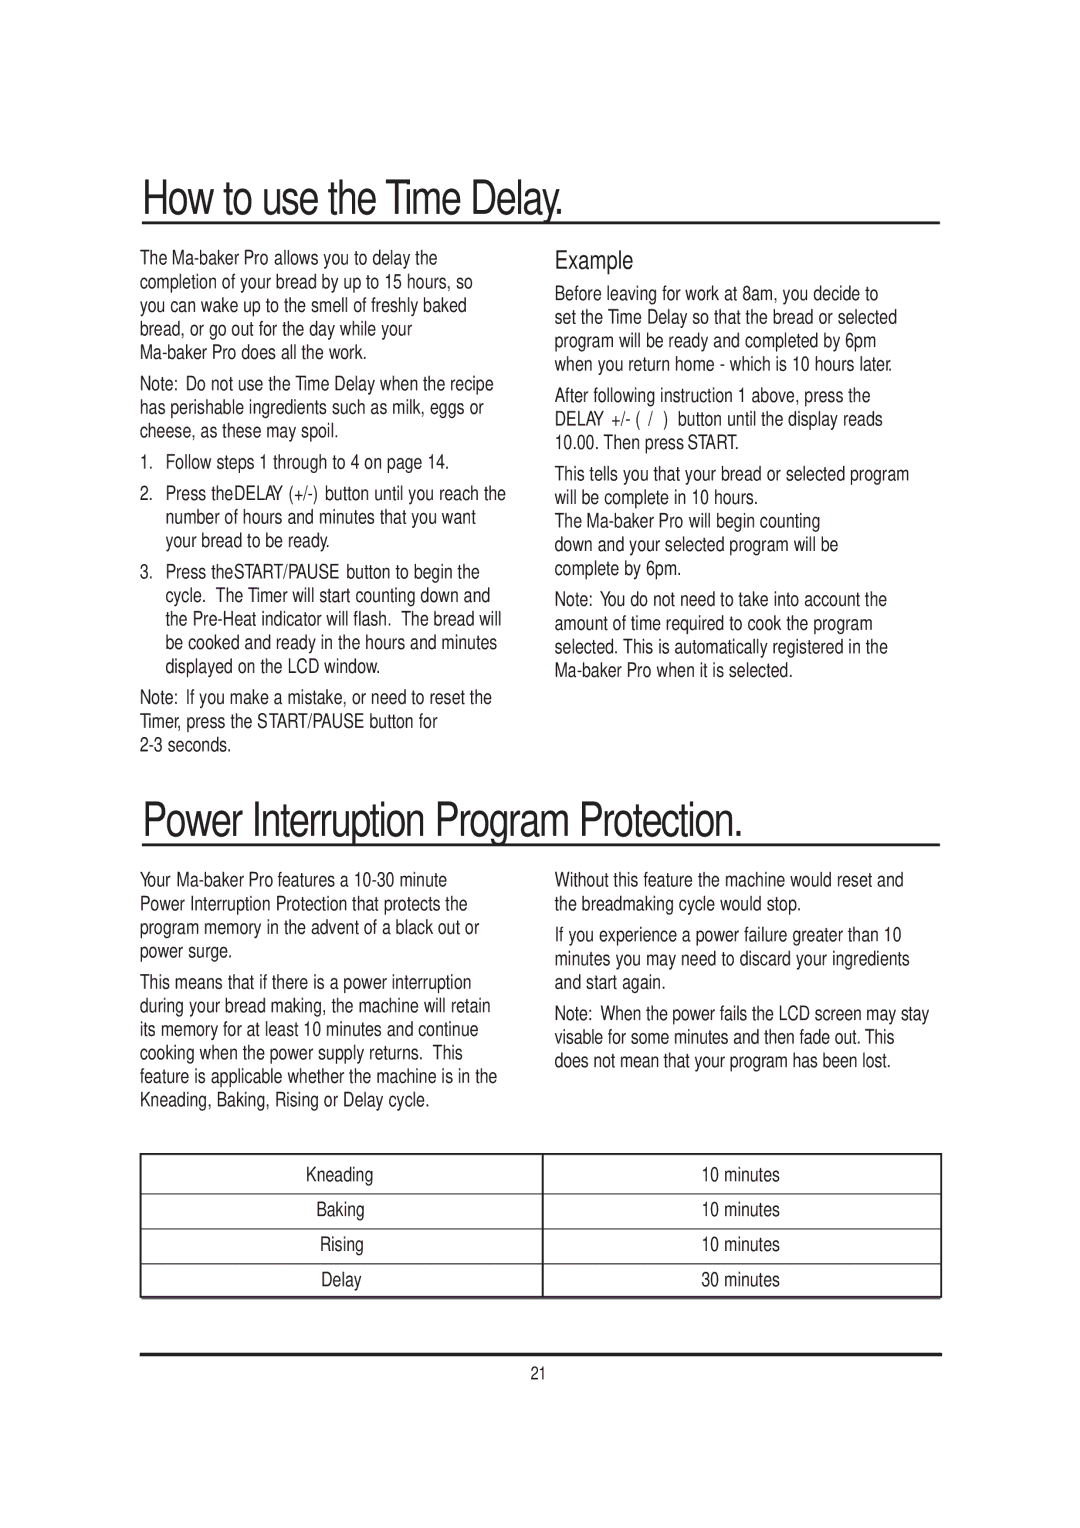
This means that if there is a power interruption during your bread making, the machine will retain its memory for at least 10 minutes and continue cooking when the power supply returns. This feature is applicable whether the machine is in the Kneading, Baking, Rising or Delay cycle.
Without this feature the machine would reset and the breadmaking cycle would stop.
If you experience a power failure greater than 10 minutes you may need to discard your ingredients and start again.
Note: When the power fails the LCD screen may stay visable for some minutes and then fade out. This does not mean that your program has been lost.
Kneading | 10 minutes |
|
|
Baking | 10 minutes |
|
|
Rising | 10 minutes |
|
|
Delay | 30 minutes |
|
|
21
