command. For detail, please refer to Chapter 19.7.13 [security] command.
An example is demonstrated below:
usr/config$ security –line 1 –name 12345 –password 12345
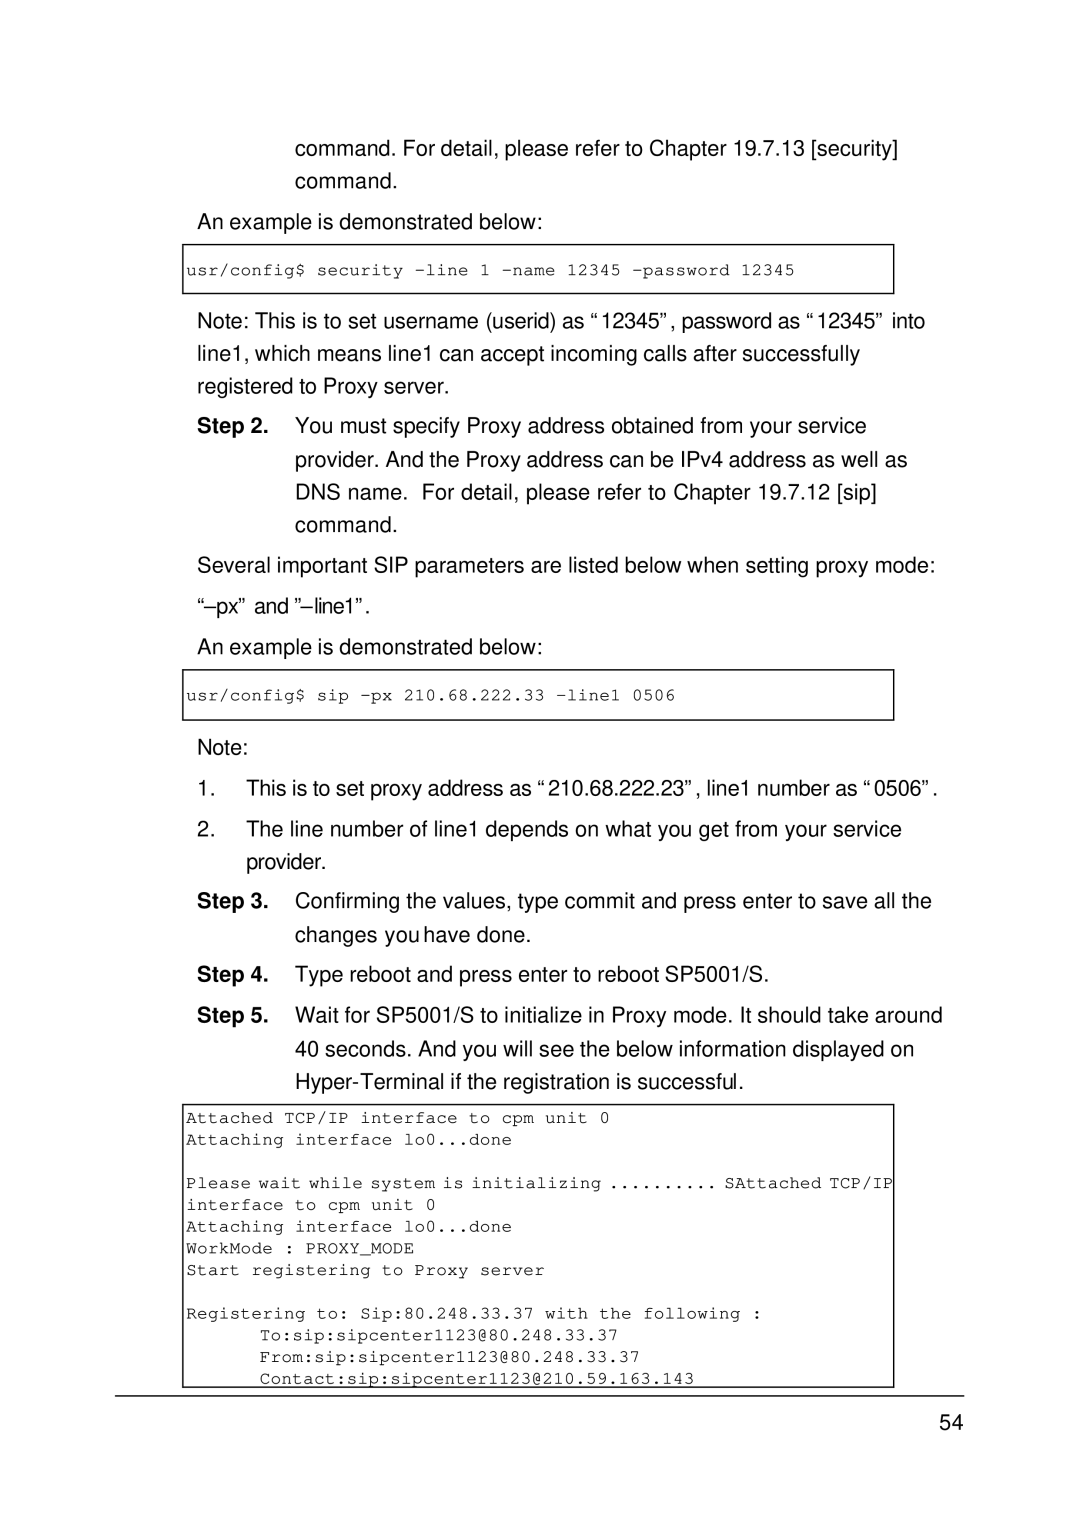
Note: This is to set username (userid) as “12345”, password as “12345” into line1, which means line1 can accept incoming calls after successfully registered to Proxy server.
Step 2. You must specify Proxy address obtained from your service provider. And the Proxy address can be IPv4 address as well as DNS name. For detail, please refer to Chapter 19.7.12 [sip] command.
Several important SIP parameters are listed below when setting proxy mode:
An example is demonstrated below:
usr/config$ sip
Note:
1.This is to set proxy address as “210.68.222.23”, line1 number as “0506”.
2.The line number of line1 depends on what you get from your service provider.
Step 3. Confirming the values, type commit and press enter to save all the changes you have done.
Step 4. Type reboot and press enter to reboot SP5001/S.
Step 5. Wait for SP5001/S to initialize in Proxy mode. It should take around 40 seconds. And you will see the below information displayed on
Attached TCP/IP interface to cpm unit 0
Attaching interface lo0...done
Please wait while system is initializing .......... SAttached TCP/IP
interface to cpm unit 0 Attaching interface lo0...done WorkMode : PROXY_MODE
Start registering to Proxy server
Registering to: Sip:80.248.33.37 with the following :
To:sip:sipcenter1123@80.248.33.37
From:sip:sipcenter1123@80.248.33.37
Contact:sip:sipcenter1123@210.59.163.143
54
