8-6. Calibration Certification Procedure
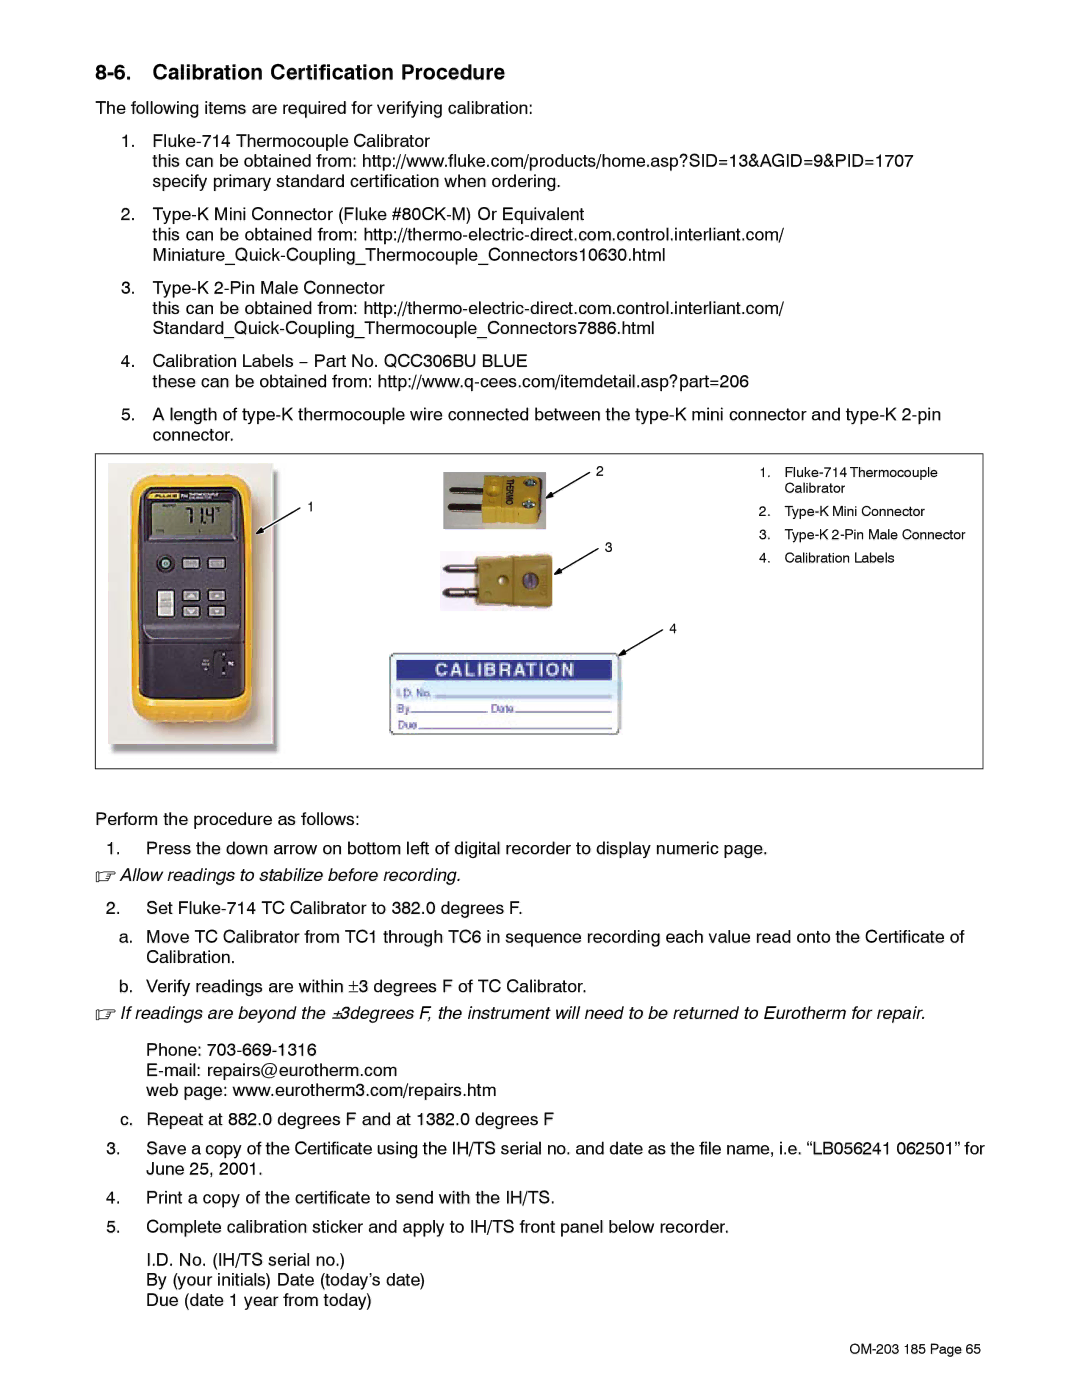
The following items are required for verifying calibration:
1.
this can be obtained from: http://www.fluke.com/products/home.asp?SID=13&AGID=9&PID=1707 specify primary standard certification when ordering.
2.
this can be obtained from:
3.
this can be obtained from:
4.Calibration Labels − Part No. QCC306BU BLUE
these can be obtained from:
5.A length of
2 |
| 1. |
|
|
|
| Calibrator |
1 |
| 2. |
|
|
| ||
| 3 | 3. | |
| 4. | Calibration Labels | |
|
| ||
|
| 4 |
|
Perform the procedure as follows:
1.Press the down arrow on bottom left of digital recorder to display numeric page.
. Allow readings to stabilize before recording.
2.Set
a.Move TC Calibrator from TC1 through TC6 in sequence recording each value read onto the Certificate of Calibration.
b.Verify readings are within ±3 degrees F of TC Calibrator.
.If readings are beyond the +3degrees F, the instrument will need to be returned to Eurotherm for repair.
Phone:
web page: www.eurotherm3.com/repairs.htm
c.Repeat at 882.0 degrees F and at 1382.0 degrees F
3.Save a copy of the Certificate using the IH/TS serial no. and date as the file name, i.e. “LB056241 062501” for June 25, 2001.
4.Print a copy of the certificate to send with the IH/TS.
5.Complete calibration sticker and apply to IH/TS front panel below recorder.
I.D. No. (IH/TS serial no.)
By (your initials) Date (today’s date) Due (date 1 year from today)
