OPERATING GUIDE.
Changing a field setting. Allow change means you can change it. (This doesn’t give an automatic right to view the value, the allow view value must also be set). Deny change means you cannot change it.
Using a function. allow access means you can use it. deny access means you cannot use it.
3. Select the desired permission and click Apply.
29.Network Settings
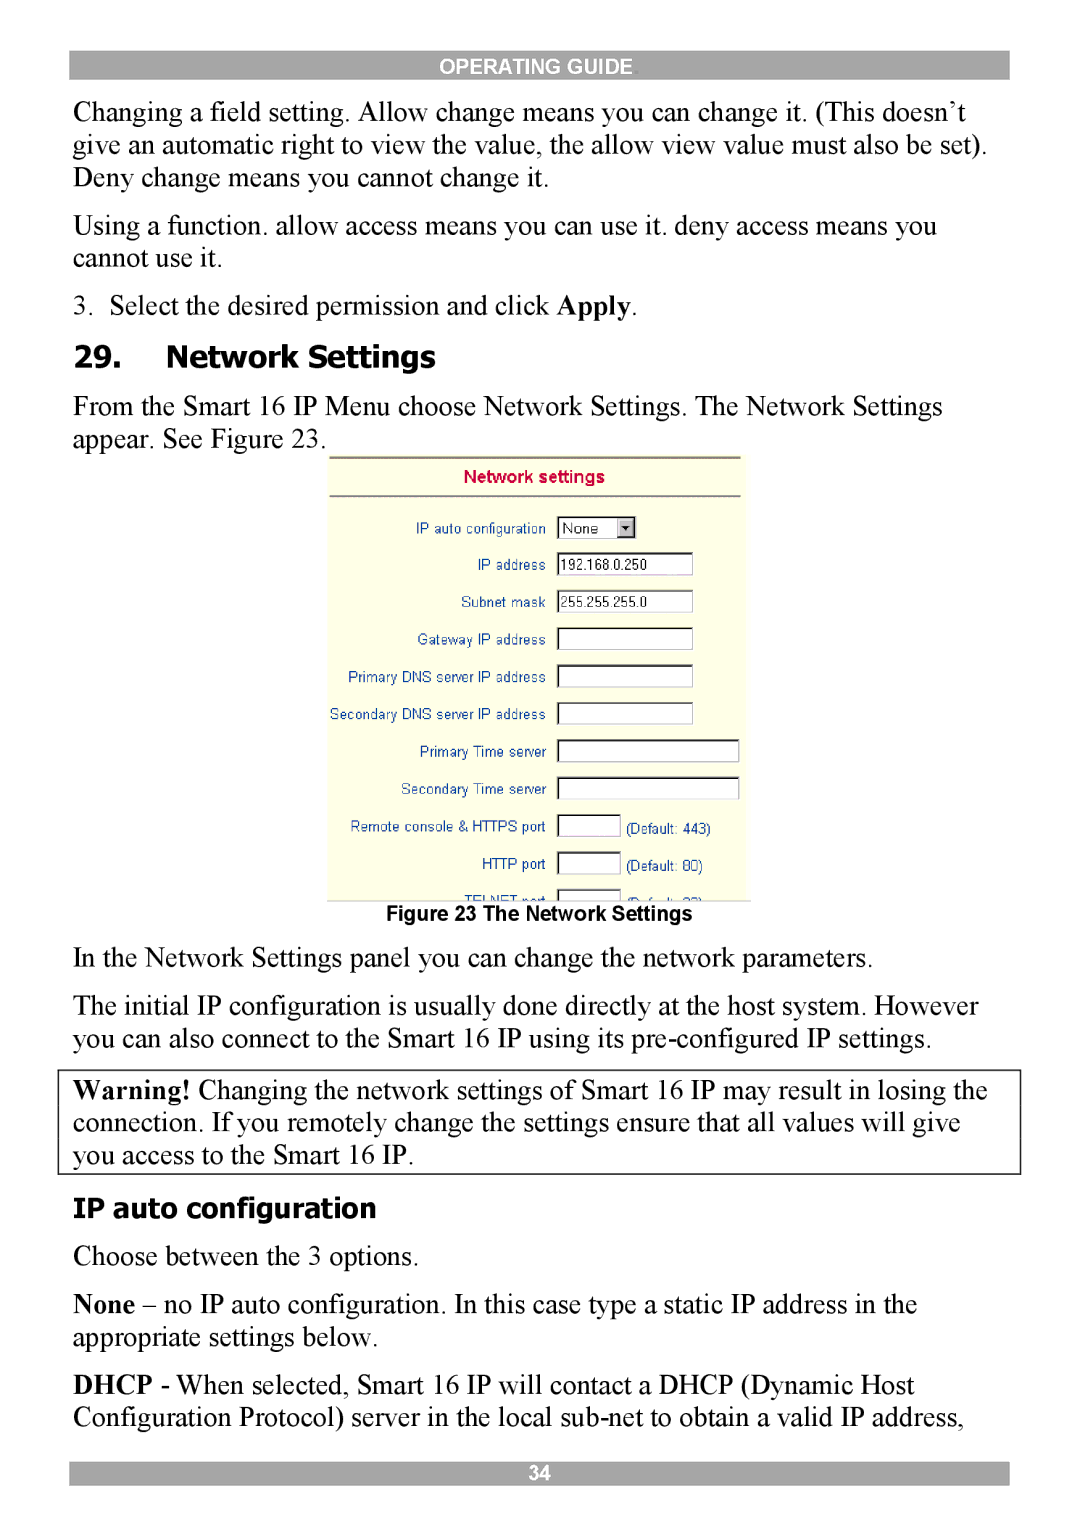
From the Smart 16 IP Menu choose Network Settings. The Network Settings appear. See Figure 23.
Figure 23 The Network Settings
In the Network Settings panel you can change the network parameters.
The initial IP configuration is usually done directly at the host system. However you can also connect to the Smart 16 IP using its
Warning! Changing the network settings of Smart 16 IP may result in losing the connection. If you remotely change the settings ensure that all values will give you access to the Smart 16 IP.
IP auto configuration
Choose between the 3 options.
None – no IP auto configuration. In this case type a static IP address in the appropriate settings below.
DHCP - When selected, Smart 16 IP will contact a DHCP (Dynamic Host Configuration Protocol) server in the local
34