2.SELF DIAGNOSTIC FUNCTION WITH REMOTE CONTROLLER (WIRED REMOTE CONTROLLER)
2-1 When malfunction occurs during operation
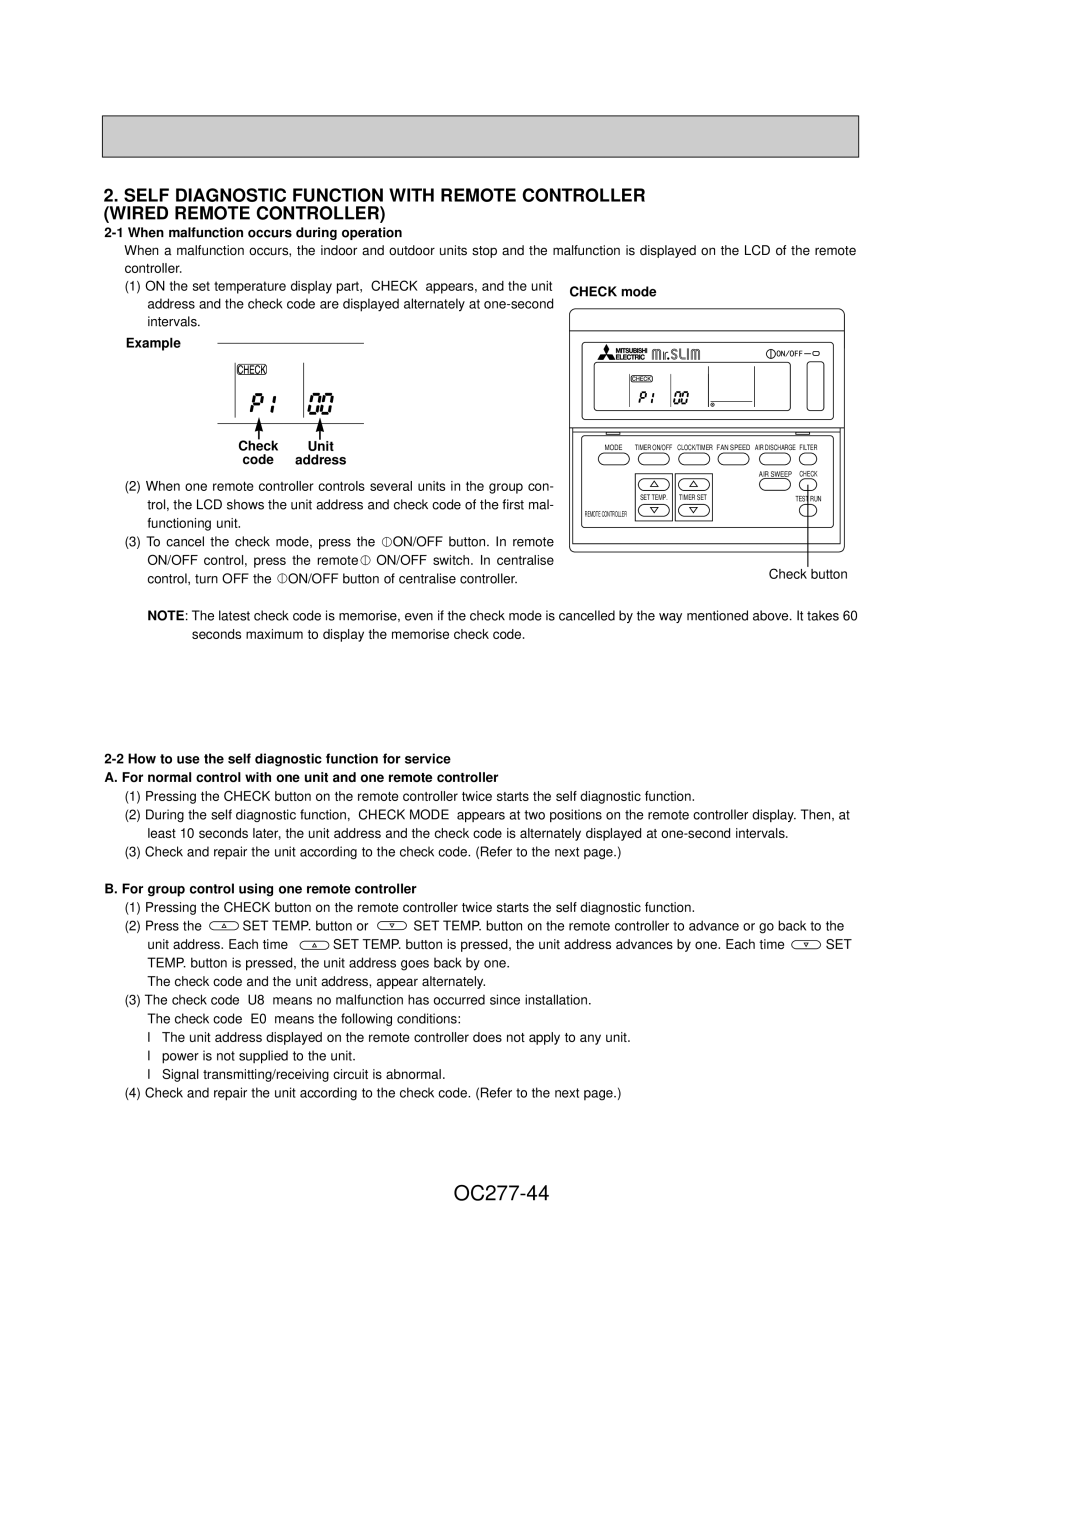
When a malfunction occurs, the indoor and outdoor units stop and the malfunction is displayed on the LCD of the remote controller.
(1) ON the set temperature display part, “CHECK” appears, and the unit address and the check code are displayed alternately at
Example
Check Unit code address
(2)When one remote controller controls several units in the group con- trol, the LCD shows the unit address and check code of the first mal- functioning unit.
(3) To cancel the check mode, press the | ON/OFF button. In remote |
ON/OFF control, press the remote | ON/OFF switch. In centralise |
control, turn OFF the ON/OFF button of centralise controller.
MODE | TIMER ON/OFF | CLOCK/TIMER FAN SPEED | AIR DISCHARGE FILTER |
|
|
| AIR SWEEP CHECK |
| SET TEMP. | TIMER SET | TEST RUN |
REMOTE CONTROLLER |
|
|
|
Check button
NOTE: The latest check code is memorise, even if the check mode is cancelled by the way mentioned above. It takes 60 seconds maximum to display the memorise check code.
A. For normal control with one unit and one remote controller
(1)Pressing the CHECK button on the remote controller twice starts the self diagnostic function.
(2)During the self diagnostic function, “CHECK MODE” appears at two positions on the remote controller display. Then, at least 10 seconds later, the unit address and the check code is alternately displayed at
(3)Check and repair the unit according to the check code. (Refer to the next page.)
B. For group control using one remote controller
(1)Pressing the CHECK button on the remote controller twice starts the self diagnostic function.
(2)Press the ![]() SET TEMP. button or
SET TEMP. button or ![]() SET TEMP. button on the remote controller to advance or go back to the
SET TEMP. button on the remote controller to advance or go back to the
unit address. Each time ![]() SET TEMP. button is pressed, the unit address advances by one. Each time
SET TEMP. button is pressed, the unit address advances by one. Each time ![]() SET TEMP. button is pressed, the unit address goes back by one.
SET TEMP. button is pressed, the unit address goes back by one.
The check code and the unit address, appear alternately.
(3)The check code “U8” means no malfunction has occurred since installation. The check code “E0” means the following conditions:
●The unit address displayed on the remote controller does not apply to any unit.
●power is not supplied to the unit.
●Signal transmitting/receiving circuit is abnormal.
(4)Check and repair the unit according to the check code. (Refer to the next page.)