RouteFinder
Introduction
The following loading procedure does not provide every screen or option in the process of installing the RouteFinder software. It is assumed that a technical person with a thorough knowledge of Windows and the software loading process is doing the installation.
Loading your Software
1.Run Windows on the PC that is connected to the RouteFinder’s Command Port.
2.Insert the RouteFinder 3.00 Disk 1 into the disk drive on the PC that is connected to the RouteFinder.
3.Win3.1 users - access Run by clicking on the File menu in Program Manager and then click on Run. In the Run dialog box, type a:\setup or b:\setup (depending on the letter of your floppy disk drive) in the Command Line field and then click OK.
Win95/NT users - click on the Start box and then click on Run. In the Run dialog box click on the down arrow and choose a:\setup or b:\setup (depending on the letter of your floppy disk drive) in the Command Line field and then click OK.
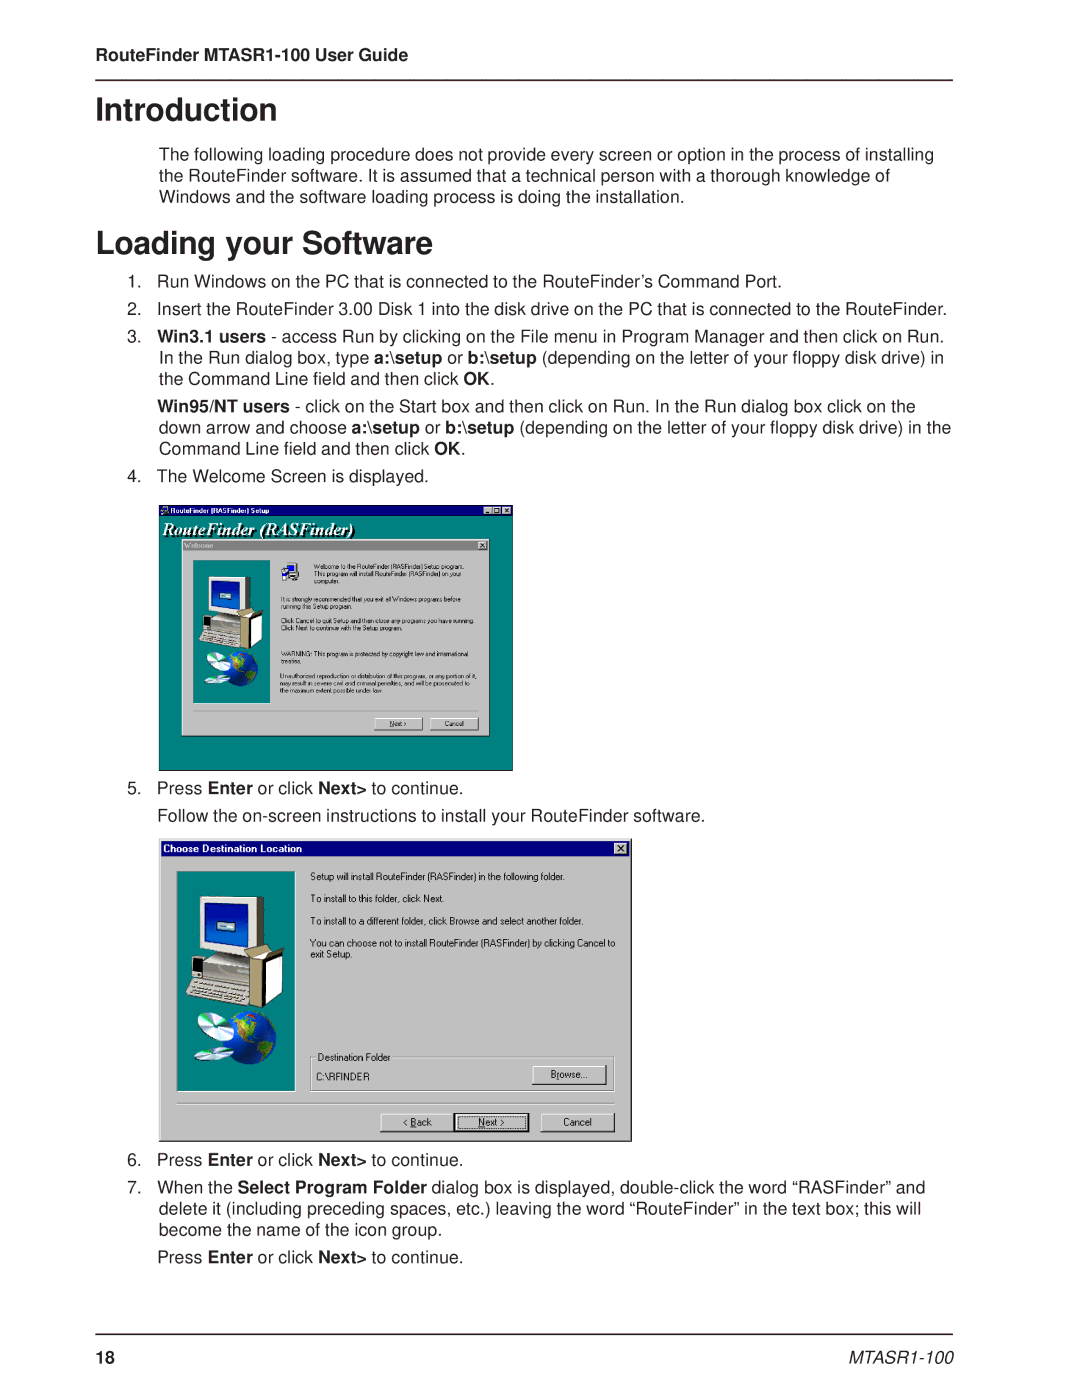
4. The Welcome Screen is displayed.
5.Press Enter or click Next> to continue.
Follow the
6.Press Enter or click Next> to continue.
7.When the Select Program Folder dialog box is displayed,
Press Enter or click Next> to continue.
18 |
|