Preparation
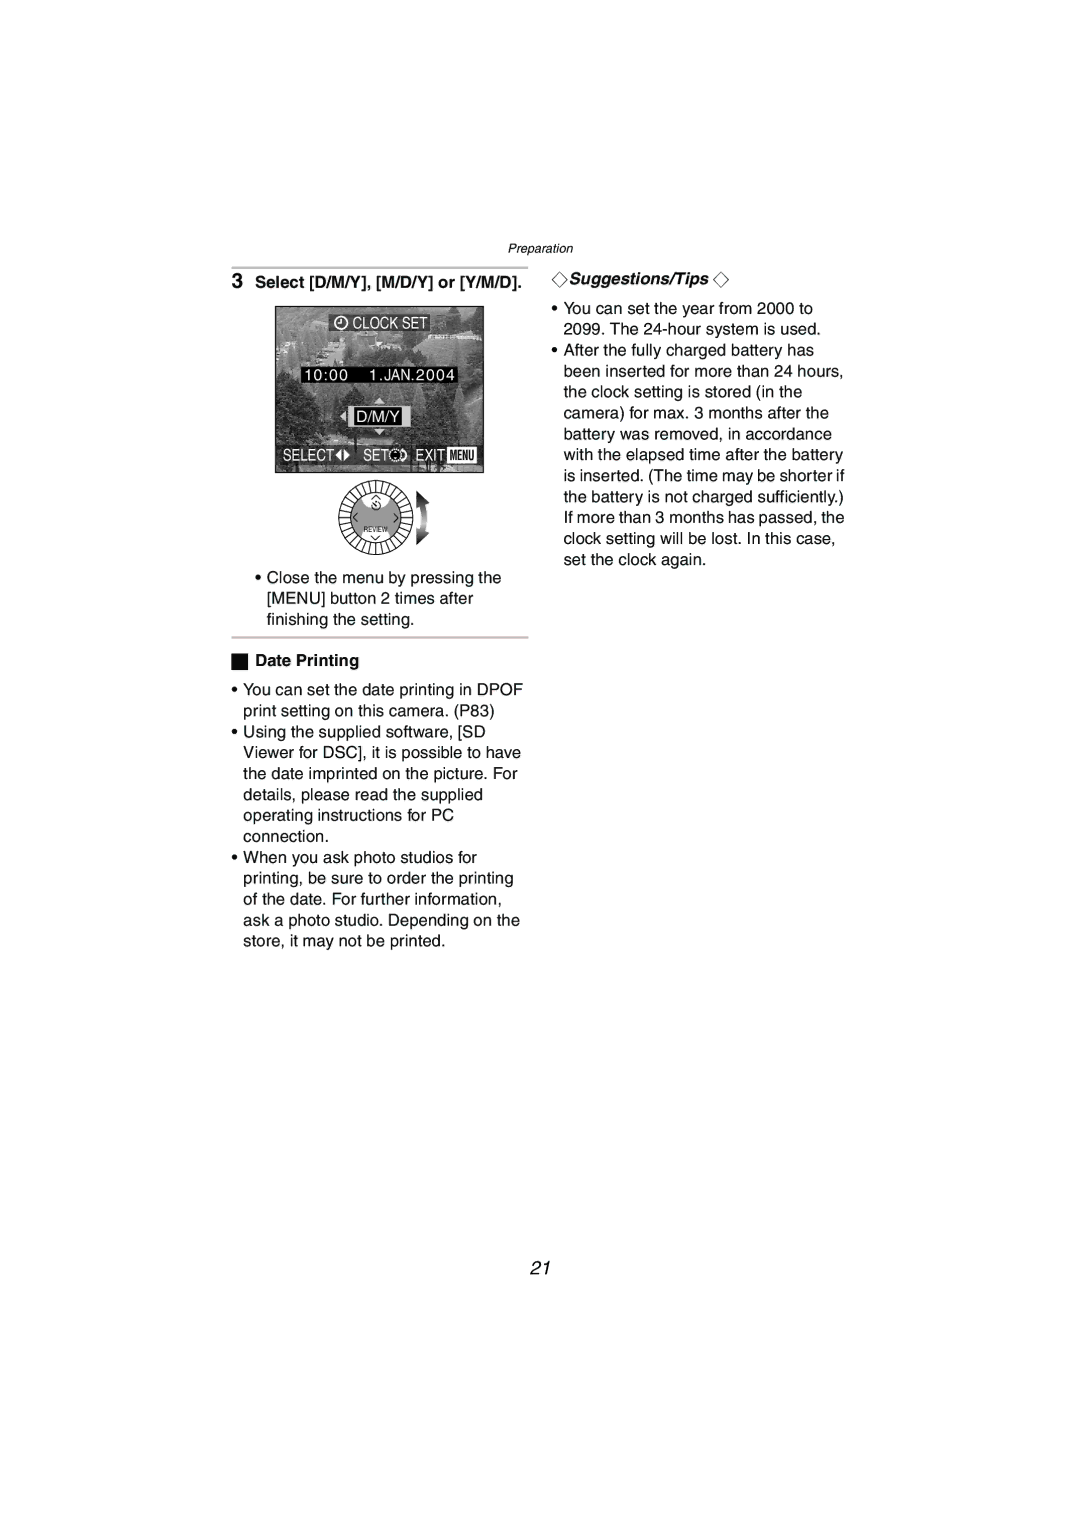
3Select [D/M/Y], [M/D/Y] or [Y/M/D].
![]() CLOCK SET
CLOCK SET
10:00111.JAN.2004
D/M/Y
SELECT![]() SET
SET![]() EXIT MENU
EXIT MENU
REVIEW
•Close the menu by pressing the [MENU] button 2 times after finishing the setting.
ªDate Printing
¬Suggestions/Tips ¬
•You can set the year from 2000 to 2099. The
•After the fully charged battery has been inserted for more than 24 hours, the clock setting is stored (in the camera) for max. 3 months after the battery was removed, in accordance with the elapsed time after the battery is inserted. (The time may be shorter if the battery is not charged sufficiently.) If more than 3 months has passed, the clock setting will be lost. In this case, set the clock again.
•You can set the date printing in DPOF print setting on this camera. (P83)
•Using the supplied software, [SD Viewer for DSC], it is possible to have the date imprinted on the picture. For details, please read the supplied operating instructions for PC connection.
•When you ask photo studios for printing, be sure to order the printing of the date. For further information, ask a photo studio. Depending on the store, it may not be printed.
21