Editing | DVD |
|
|
|
|
|
|
|
11 Divide Title | 11 Erase Chapter |
|
[RAM] | [RAM] (Multiple editing l 31) |
|
≥Follow steps 1 to 3 of “Edit”. | ≥Follow steps 1 to 5 of “Chapter View”. |
|
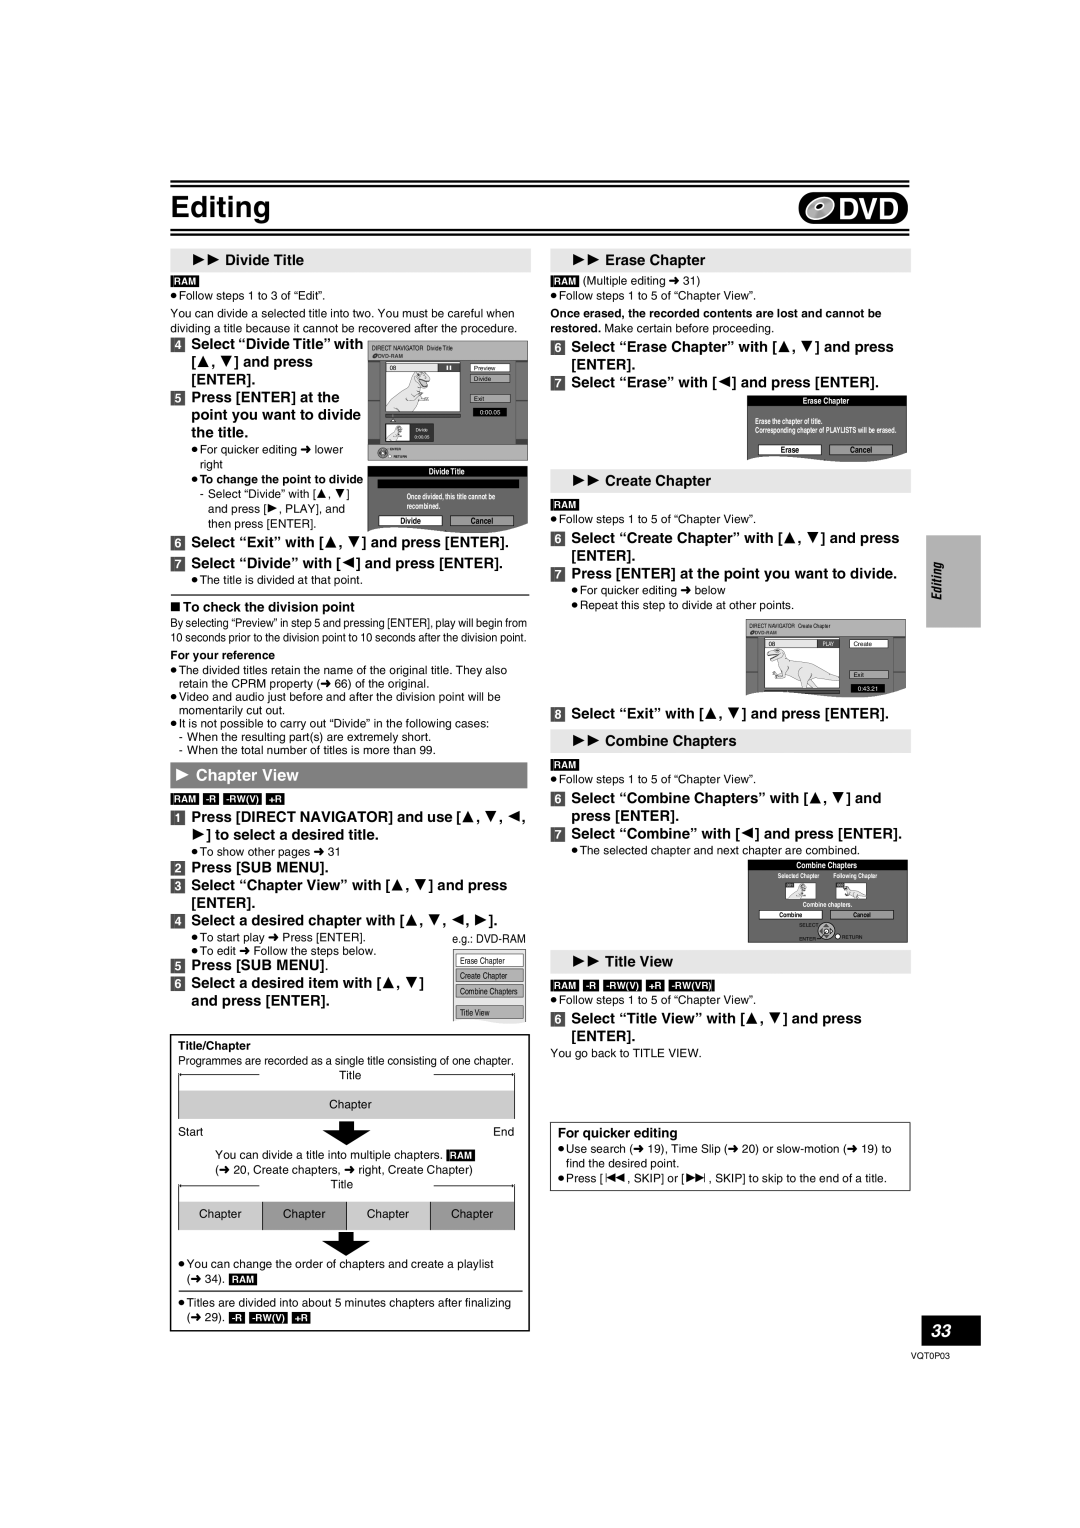
You can divide a selected title into two. You must be careful when | Once erased, the recorded contents are lost and cannot be |
|
dividing a title because it cannot be recovered after the procedure. | restored. Make certain before proceeding. |
|
[4] | Select “Divide Title” with | DIRECT NAVIGATOR Divide Title |
| |
| [3, 4] and press |
|
| |
| 08 | ; | Preview | |
| [ENTER]. |
|
| Divide |
[5] | Press [ENTER] at the |
|
| Exit |
| point you want to divide |
|
| 0:00.05 |
| the title. |
| 0:00.05 |
|
|
|
| Divide |
|
| ≥For quicker editing l lower | RETURN |
|
|
|
| ENTER |
|
|
right |
|
|
|
|
|
|
|
≥To change the point to divide |
|
| Divide Title |
|
| ||
|
|
|
|
|
|
| |
- Select “Divide” with [3, 4] |
| Once divided, this title cannot be | |||||
and press [1, PLAY], and |
| recombined. |
|
| |||
|
|
|
|
|
| ||
then press [ENTER]. |
| Divide |
|
| Cancel |
| |
|
|
|
|
|
|
|
|
[6]Select “Exit” with [3, 4] and press [ENTER].
[7]Select “Divide” with [2] and press [ENTER].
≥The title is divided at that point.
∫To check the division point
By selecting “Preview” in step 5 and pressing [ENTER], play will begin from 10 seconds prior to the division point to 10 seconds after the division point.
For your reference
≥The divided titles retain the name of the original title. They also retain the CPRM property (l 66) of the original.
≥Video and audio just before and after the division point will be momentarily cut out.
≥It is not possible to carry out “Divide” in the following cases:
-When the resulting part(s) are extremely short.
-When the total number of titles is more than 99.
1Chapter View
[RAM]
[1]Press [DIRECT NAVIGATOR] and use [3, 4, 2,
1] to select a desired title.
≥To show other pages l 31
[2]Press [SUB MENU].
[3]Select “Chapter View” with [3, 4] and press [ENTER].
[4]Select a desired chapter with [3, 4, 2, 1].
| ≥To start play l Press [ENTER]. | e.g.: |
|
| ≥To edit l Follow the steps below. |
|
|
|
|
| |
[5] | Press [SUB MENU]. | Erase Chapter |
|
Create Chapter |
| ||
[6] | Select a desired item with [3, 4] |
| |
Combine Chapters |
| ||
| and press [ENTER]. |
| |
|
|
| |
|
| Title View |
|
|
|
|
|
Title/Chapter
Programmes are recorded as a single title consisting of one chapter. ![]() Title
Title
Chapter
Start |
| End |
You can divide a title into multiple chapters. [RAM] (l 20, Create chapters, l right, Create Chapter)
|
| Title |
|
Chapter | Chapter | Chapter | Chapter |
≥You can change the order of chapters and create a playlist (l 34). [RAM]
≥Titles are divided into about 5 minutes chapters after finalizing (l 29).
[6]Select “Erase Chapter” with [3, 4] and press [ENTER].
[7]Select “Erase” with [2] and press [ENTER].
Erase Chapter
Erase the chapter of title.
Corresponding chapter of PLAYLISTS will be erased.
Erase |
| Cancel |
11Create Chapter
[RAM]
≥Follow steps 1 to 5 of “Chapter View”.
[6]Select “Create Chapter” with [3, 4] and press [ENTER].
[7]Press [ENTER] at the point you want to divide.
≥For quicker editing l below
≥Repeat this step to divide at other points.
DIRECT NAVIGATOR Create Chapter
![]() DVD-RAM
DVD-RAM
08 | PLAY | Create |
|
| Exit |
|
| 0:43.21 |
[8]Select “Exit” with [3, 4] and press [ENTER].
11Combine Chapters
[RAM]
≥Follow steps 1 to 5 of “Chapter View”.
[6]Select “Combine Chapters” with [3, 4] and press [ENTER].
[7]Select “Combine” with [2] and press [ENTER].
≥The selected chapter and next chapter are combined.
Combine Chapters
Selected Chapter | Following Chapter |
001 | 002 |
Combine chapters.
Combine |
| Cancel |
SELECT
ENTER![]()
![]() RETURN
RETURN
11Title View
[RAM]
≥Follow steps 1 to 5 of “Chapter View”.
[6]Select “Title View” with [3, 4] and press
[ENTER].
You go back to TITLE VIEW.
For quicker editing
≥Use search (l 19), Time Slip (l 20) or
≥Press [:, SKIP] or [9, SKIP] to skip to the end of a title.
Editing
33
VQT0P03
