Recording | VHS |
|
|
∫Manual programming
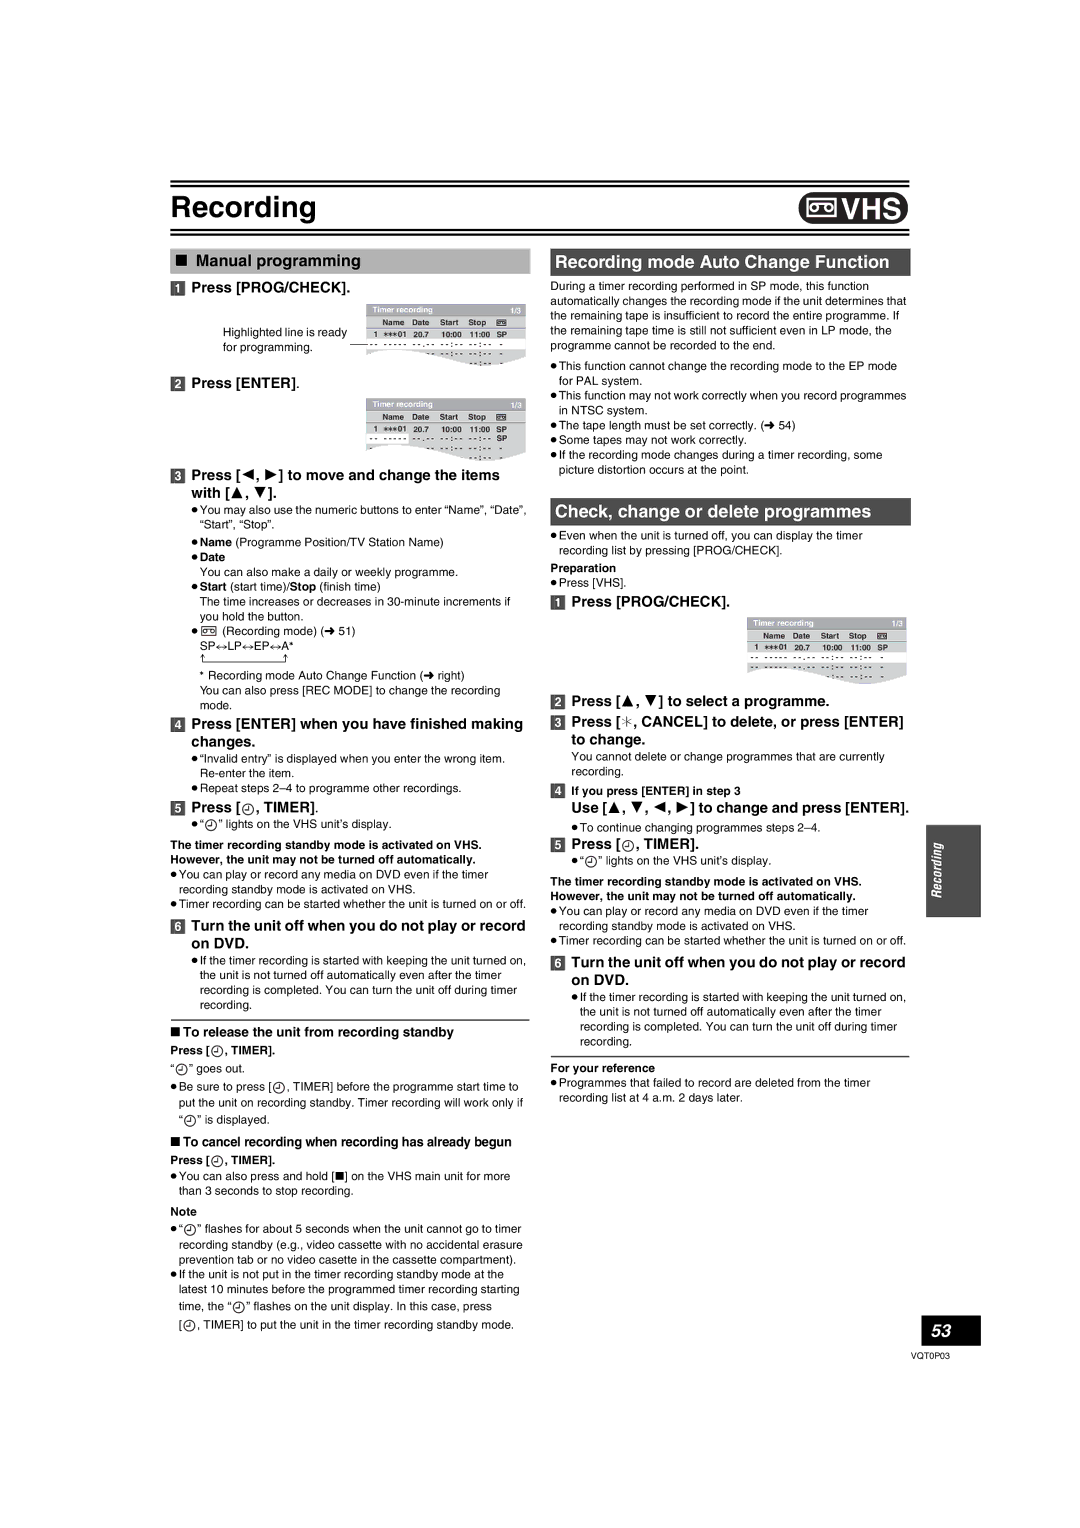
[1]Press [PROG/CHECK].
|
| Timer recording |
|
| 1/3 | ||
Highlighted line is ready |
|
| Name | Date | Start | Stop |
|
1 | 01 | 20.7 | 10:00 | 11:00 | SP | ||
for programming. |
| - - | - - - - - | - | - | - | - |
|
|
| |||||
|
|
| - | - | - | - | |
|
| - - | - - - - - | ||||
|
| - - | - - - - - | - | - | - | - - - - |
[2]Press [ENTER].
Timer recording |
|
| 1/3 | ||
| Name | Date | Start | Stop |
|
1 | 01 | 20.7 | 10:00 | 11:00 | SP |
- - | - - - - - | - - - | - - - | - - - | SP |
- - | - - - - - | - - - | - - - | - - - | - |
- - | - - - - - | - | - | - | - - - - |
[3]Press [2, 1] to move and change the items with [3, 4].
Recording mode Auto Change Function
During a timer recording performed in SP mode, this function automatically changes the recording mode if the unit determines that the remaining tape is insufficient to record the entire programme. If the remaining tape time is still not sufficient even in LP mode, the programme cannot be recorded to the end.
≥This function cannot change the recording mode to the EP mode for PAL system.
≥This function may not work correctly when you record programmes in NTSC system.
≥The tape length must be set correctly. (l 54) ≥Some tapes may not work correctly.
≥If the recording mode changes during a timer recording, some picture distortion occurs at the point.
≥You may also use the numeric buttons to enter “Name”, “Date”, “Start”, “Stop”.
≥Name (Programme Position/TV Station Name) ≥Date
You can also make a daily or weekly programme.
≥Start (start time)/Stop (finish time)
The time increases or decreases in
≥![]() (Recording mode) (l 51) SP,.LP,.EP,.A°
(Recording mode) (l 51) SP,.LP,.EP,.A°
° Recording mode Auto Change Function (l right)
You can also press [REC MODE] to change the recording mode.
[4]Press [ENTER] when you have finished making changes.
≥“Invalid entry” is displayed when you enter the wrong item.
≥Repeat steps
[5]Press [ , TIMER].
≥“  ” lights on the VHS unit’s display.
The timer recording standby mode is activated on VHS. However, the unit may not be turned off automatically. ≥You can play or record any media on DVD even if the timer
recording standby mode is activated on VHS.
≥Timer recording can be started whether the unit is turned on or off.
[6]Turn the unit off when you do not play or record on DVD.
≥If the timer recording is started with keeping the unit turned on, the unit is not turned off automatically even after the timer recording is completed. You can turn the unit off during timer recording.
∫To release the unit from recording standby
Press [ , TIMER].
“![]() ” goes out.
” goes out.
≥Be sure to press [![]() , TIMER] before the programme start time to put the unit on recording standby. Timer recording will work only if “
, TIMER] before the programme start time to put the unit on recording standby. Timer recording will work only if “![]() ” is displayed.
” is displayed.
Check, change or delete programmes
≥Even when the unit is turned off, you can display the timer recording list by pressing [PROG/CHECK].
Preparation
≥Press [VHS].
[1]Press [PROG/CHECK].
Timer recording |
|
| 1/3 | ||
| Name | Date | Start | Stop |
|
1 | 01 | 20.7 | 10:00 | 11:00 | SP |
- - | - - - - - | - | - | - | - |
- - | - - - - - | - | - | - | - |
- - | - - - - - | - | - | - | - |
|
| / |
|
|
|
[2]Press [3, 4] to select a programme.
[3]Press [¢, CANCEL] to delete, or press [ENTER]
to change.
You cannot delete or change programmes that are currently recording.
[4]If you press [ENTER] in step 3
Use [3, 4, 2, 1] to change and press [ENTER].
≥To continue changing programmes steps
[5]Press [ , TIMER].
≥“ ” lights on the VHS unit’s display.
The timer recording standby mode is activated on VHS. However, the unit may not be turned off automatically. ≥You can play or record any media on DVD even if the timer
recording standby mode is activated on VHS.
≥Timer recording can be started whether the unit is turned on or off.
[6]Turn the unit off when you do not play or record on DVD.
≥If the timer recording is started with keeping the unit turned on, the unit is not turned off automatically even after the timer recording is completed. You can turn the unit off during timer recording.
For your reference
≥Programmes that failed to record are deleted from the timer recording list at 4 a.m. 2 days later.
Recording
∫To cancel recording when recording has already begun
Press [ , TIMER].
≥You can also press and hold [∫] on the VHS main unit for more than 3 seconds to stop recording.
Note
≥“![]() ” flashes for about 5 seconds when the unit cannot go to timer recording standby (e.g., video cassette with no accidental erasure
” flashes for about 5 seconds when the unit cannot go to timer recording standby (e.g., video cassette with no accidental erasure
prevention tab or no video casette in the cassette compartment). ≥If the unit is not put in the timer recording standby mode at the
latest 10 minutes before the programmed timer recording starting time, the “ ![]() ” flashes on the unit display. In this case, press
” flashes on the unit display. In this case, press
[![]() , TIMER] to put the unit in the timer recording standby mode.
, TIMER] to put the unit in the timer recording standby mode.
53
VQT0P03