Before using
Inserting/removing a card
Before inserting/removing a card, be sure to turn the power [OFF].
≥If the card is inserted or removed with the power turned on, this Camcorder may malfunction or
the data recorded on the card may be lost.
1Open the LCD monitor and then open the card slot cover.
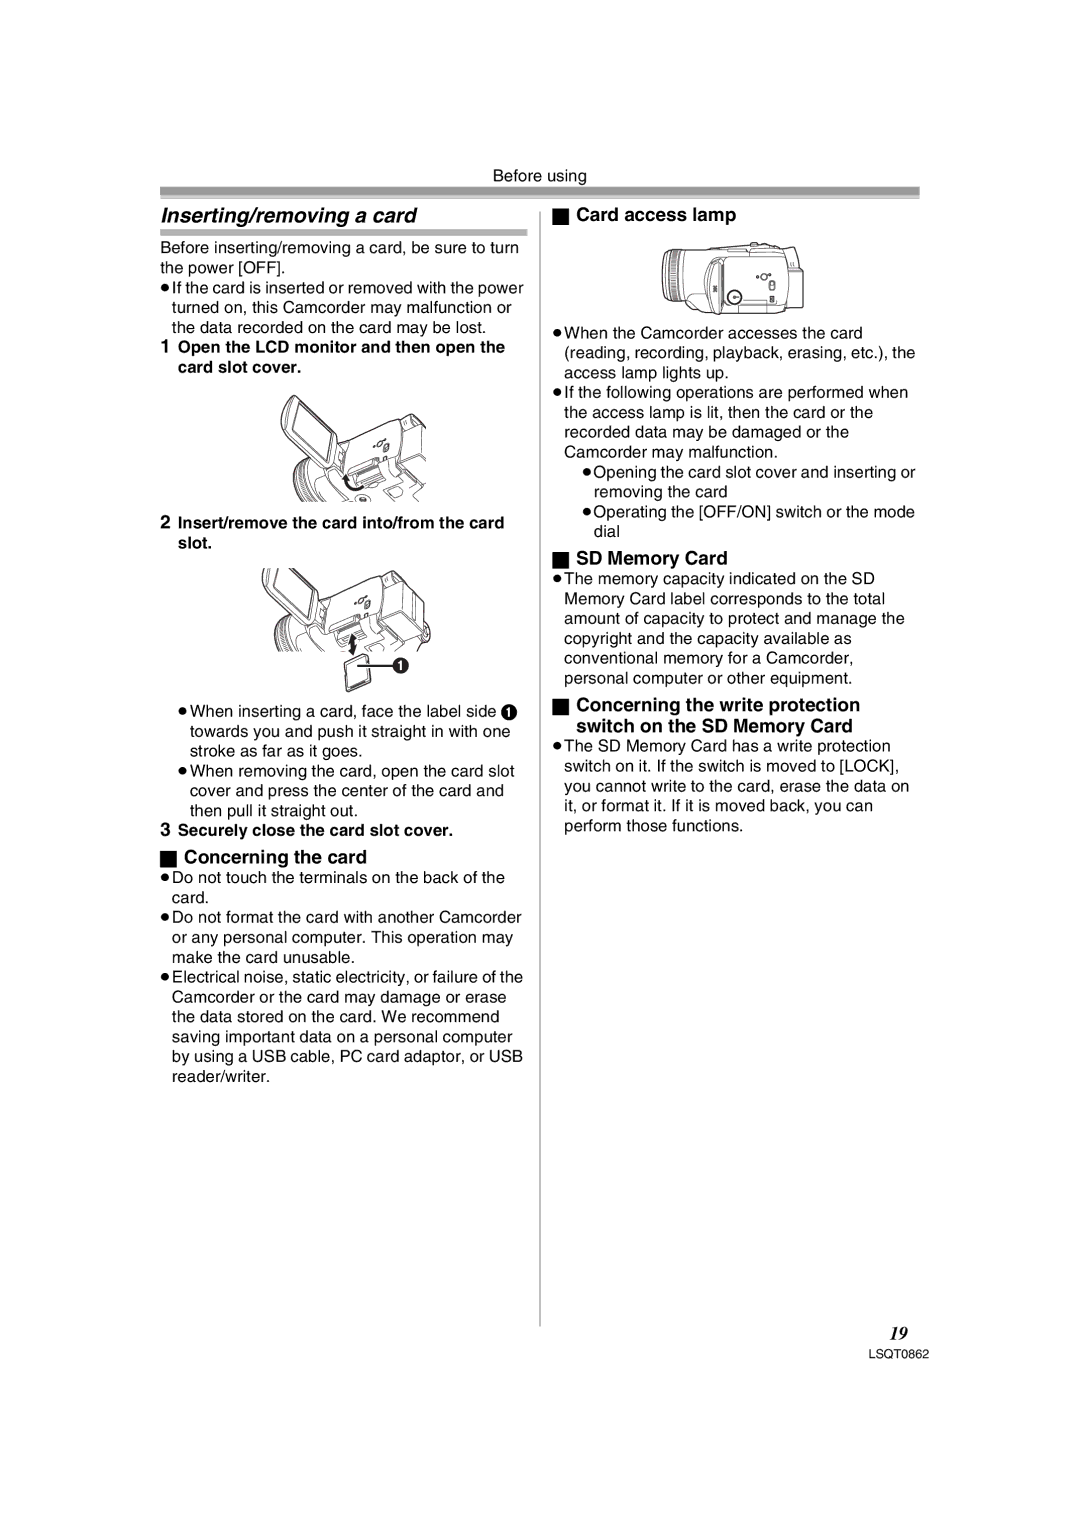
2Insert/remove the card into/from the card slot.
1
≥When inserting a card, face the label side 1 towards you and push it straight in with one stroke as far as it goes.
≥When removing the card, open the card slot cover and press the center of the card and then pull it straight out.
3Securely close the card slot cover.
ªConcerning the card
≥Do not touch the terminals on the back of the card.
≥Do not format the card with another Camcorder or any personal computer. This operation may make the card unusable.
≥Electrical noise, static electricity, or failure of the Camcorder or the card may damage or erase the data stored on the card. We recommend saving important data on a personal computer by using a USB cable, PC card adaptor, or USB reader/writer.
ªCard access lamp
≥When the Camcorder accesses the card (reading, recording, playback, erasing, etc.), the access lamp lights up.
≥If the following operations are performed when the access lamp is lit, then the card or the recorded data may be damaged or the Camcorder may malfunction.
≥Opening the card slot cover and inserting or removing the card
≥Operating the [OFF/ON] switch or the mode dial
ªSD Memory Card
≥The memory capacity indicated on the SD Memory Card label corresponds to the total amount of capacity to protect and manage the copyright and the capacity available as conventional memory for a Camcorder, personal computer or other equipment.
ªConcerning the write protection
switch on the SD Memory Card
≥The SD Memory Card has a write protection switch on it. If the switch is moved to [LOCK], you cannot write to the card, erase the data on it, or format it. If it is moved back, you can perform those functions.
19