Menu
ª [CARD RECORDING MENU]
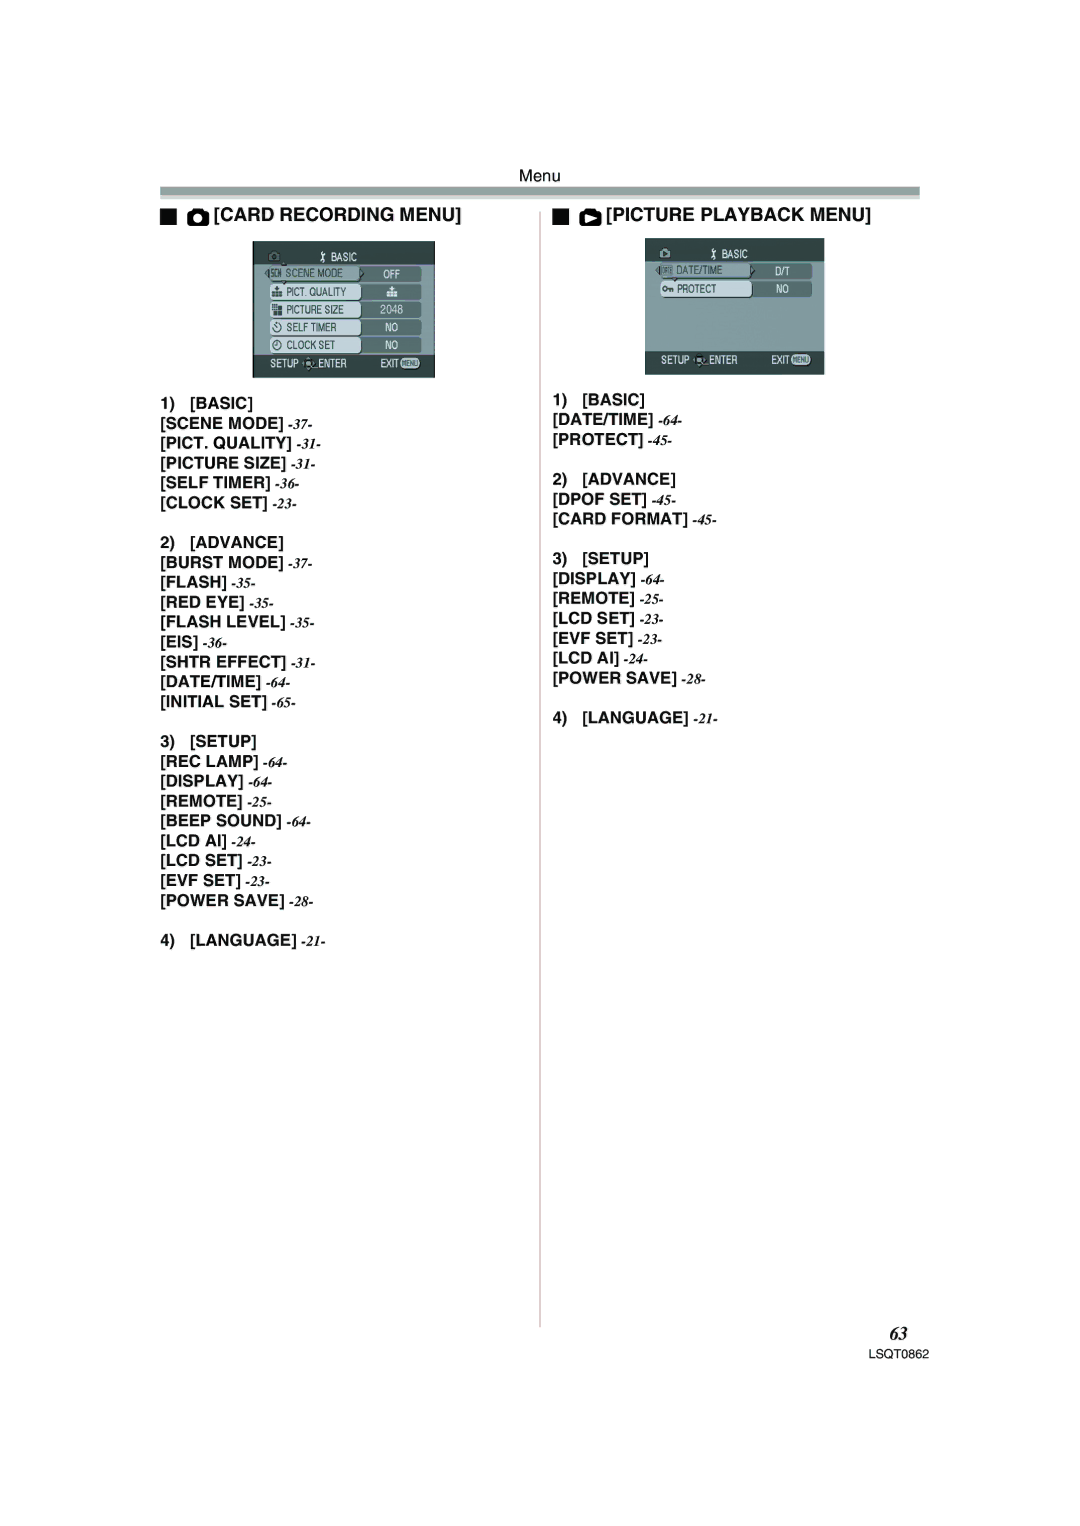
2048
1)[BASIC] [SCENE MODE]
2)[ADVANCE]
[BURST MODE]
[SHTR EFFECT] -31- [DATE/TIME] -64- [INITIAL SET] -65-
3)[SETUP]
[REC LAMP]
4) [LANGUAGE] -21-
ª [PICTURE PLAYBACK MENU]
1)[BASIC] [DATE/TIME] -64- [PROTECT] -45-
2)[ADVANCE] [DPOF SET] -45- [CARD FORMAT] -45-
3)[SETUP] [DISPLAY] -64- [REMOTE] -25-
[LCD SET]
4)[LANGUAGE] -21-
63