ON: Select this mode when the cameras are gen- locked to the system.
OFF: Select this mode when asynchronous cameras are used in the system.
The default setting is OFF.
Note: Confirm camera synchronization in the system. The incorrect setting will cause improper recording.
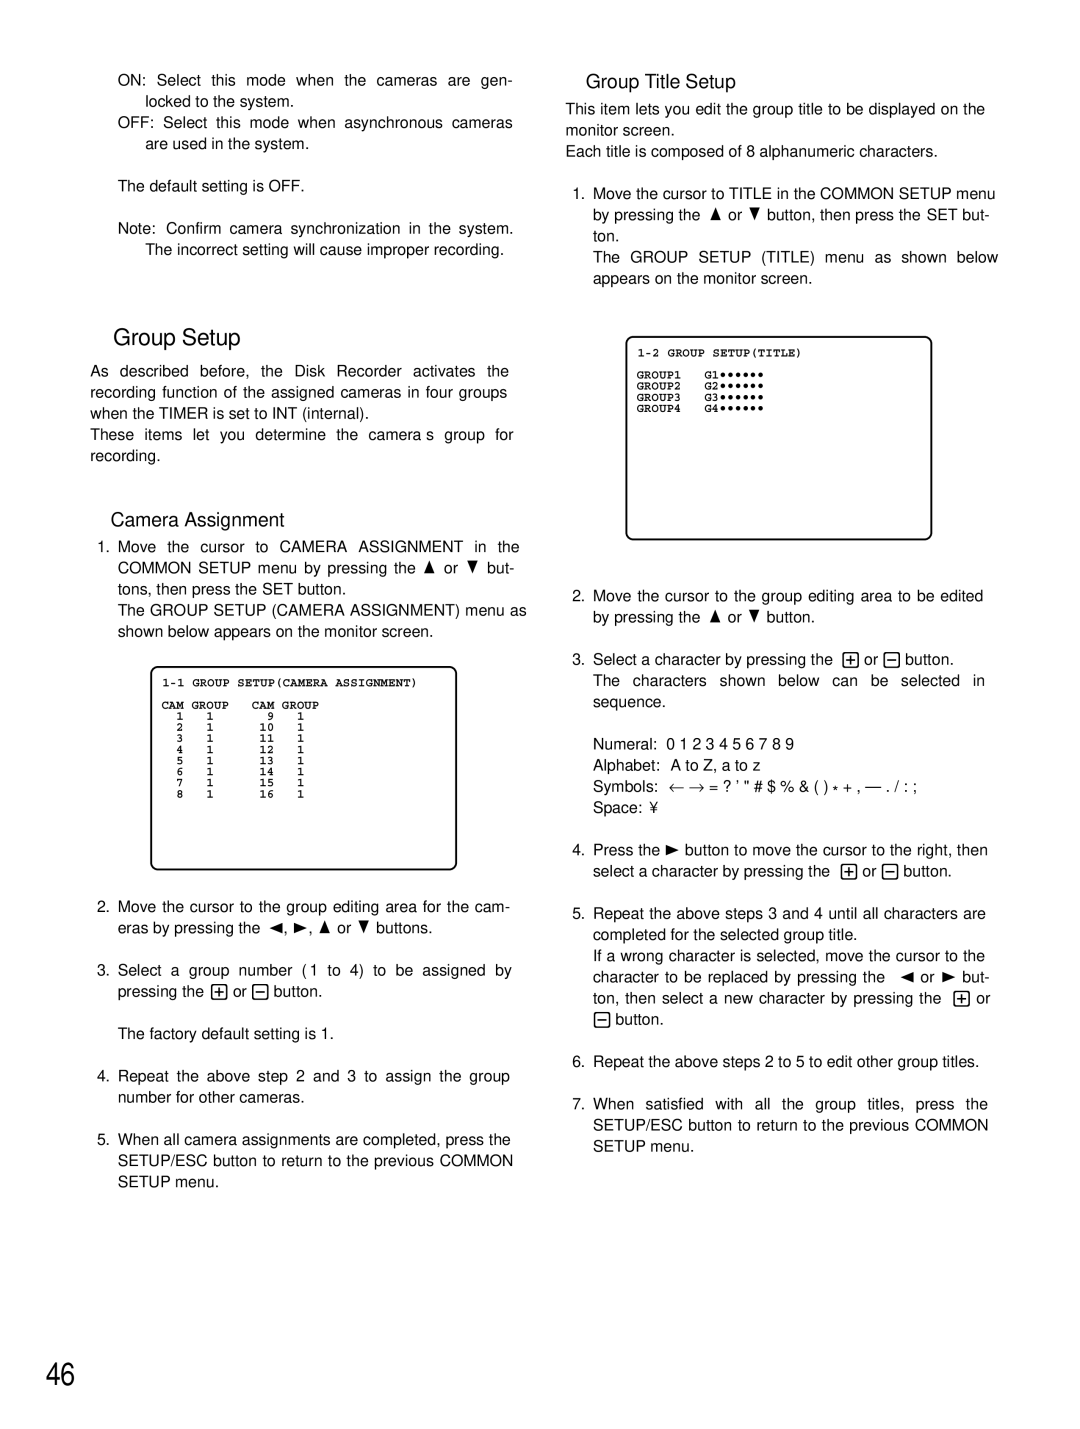
●Group Title Setup
This item lets you edit the group title to be displayed on the monitor screen.
Each title is composed of 8 alphanumeric characters.
1.Move the cursor to TITLE in the COMMON SETUP menu by pressing the D or C button, then press the SET but- ton.
The GROUP SETUP (TITLE) menu as shown below appears on the monitor screen.
■Group Setup
As described before, the Disk Recorder activates the recording function of the assigned cameras in four groups when the TIMER is set to INT (internal).
These items let you determine the camera’s group for recording.
GROUP1 | G1•••••• |
GROUP2 | G2•••••• |
GROUP3 | G3•••••• |
GROUP4 | G4•••••• |
●Camera Assignment
1.Move the cursor to CAMERA ASSIGNMENT in the COMMON SETUP menu by pressing the D or C but- tons, then press the SET button.
The GROUP SETUP (CAMERA ASSIGNMENT) menu as shown below appears on the monitor screen.
CAM GROUP | CAM GROUP | ||
1 | 1 | 9 | 1 |
2 | 1 | 10 | 1 |
3 | 1 | 11 | 1 |
4 | 1 | 12 | 1 |
5 | 1 | 13 | 1 |
6 | 1 | 14 | 1 |
7 | 1 | 15 | 1 |
8 | 1 | 16 | 1 |
2.Move the cursor to the group editing area for the cam- eras by pressing the A, B, D or C buttons.
3.Select a group number (1 to 4) to be assigned by pressing the + or - button.
The factory default setting is 1.
4.Repeat the above step 2 and 3 to assign the group number for other cameras.
5.When all camera assignments are completed, press the SETUP/ESC button to return to the previous COMMON SETUP menu.
2.Move the cursor to the group editing area to be edited by pressing the D or C button.
3.Select a character by pressing the + or - button.
The characters shown below can be selected in sequence.
Numeral: 0 1 2 3 4 5 6 7 8 9
Alphabet: A to Z, a to z
Symbols: ← → = ? ' " # $ % & ( ) * + ,
Space: •
4.Press the B button to move the cursor to the right, then select a character by pressing the + or - button.
5.Repeat the above steps 3 and 4 until all characters are completed for the selected group title.
If a wrong character is selected, move the cursor to the character to be replaced by pressing the A or B but- ton, then select a new character by pressing the + or - button.
6.Repeat the above steps 2 to 5 to edit other group titles.
7.When satisfied with all the group titles, press the SETUP/ESC button to return to the previous COMMON SETUP menu.
46