POWER UP PROCEDURE
Before operating the Disk Recorder, confirm that the cam- eras and peripherals are connected correctly and securely and all system components are turned on.
1.Turn on the Disk recorder by pressing the POWER switch located on the rear of the Disk Recorder. Make sure that the OPERATE indicator on the front panel is illuminated.
2.After you completed the start, the Disk Recorder will run through a series of instructions for the system on the Multiscreen Monitor.
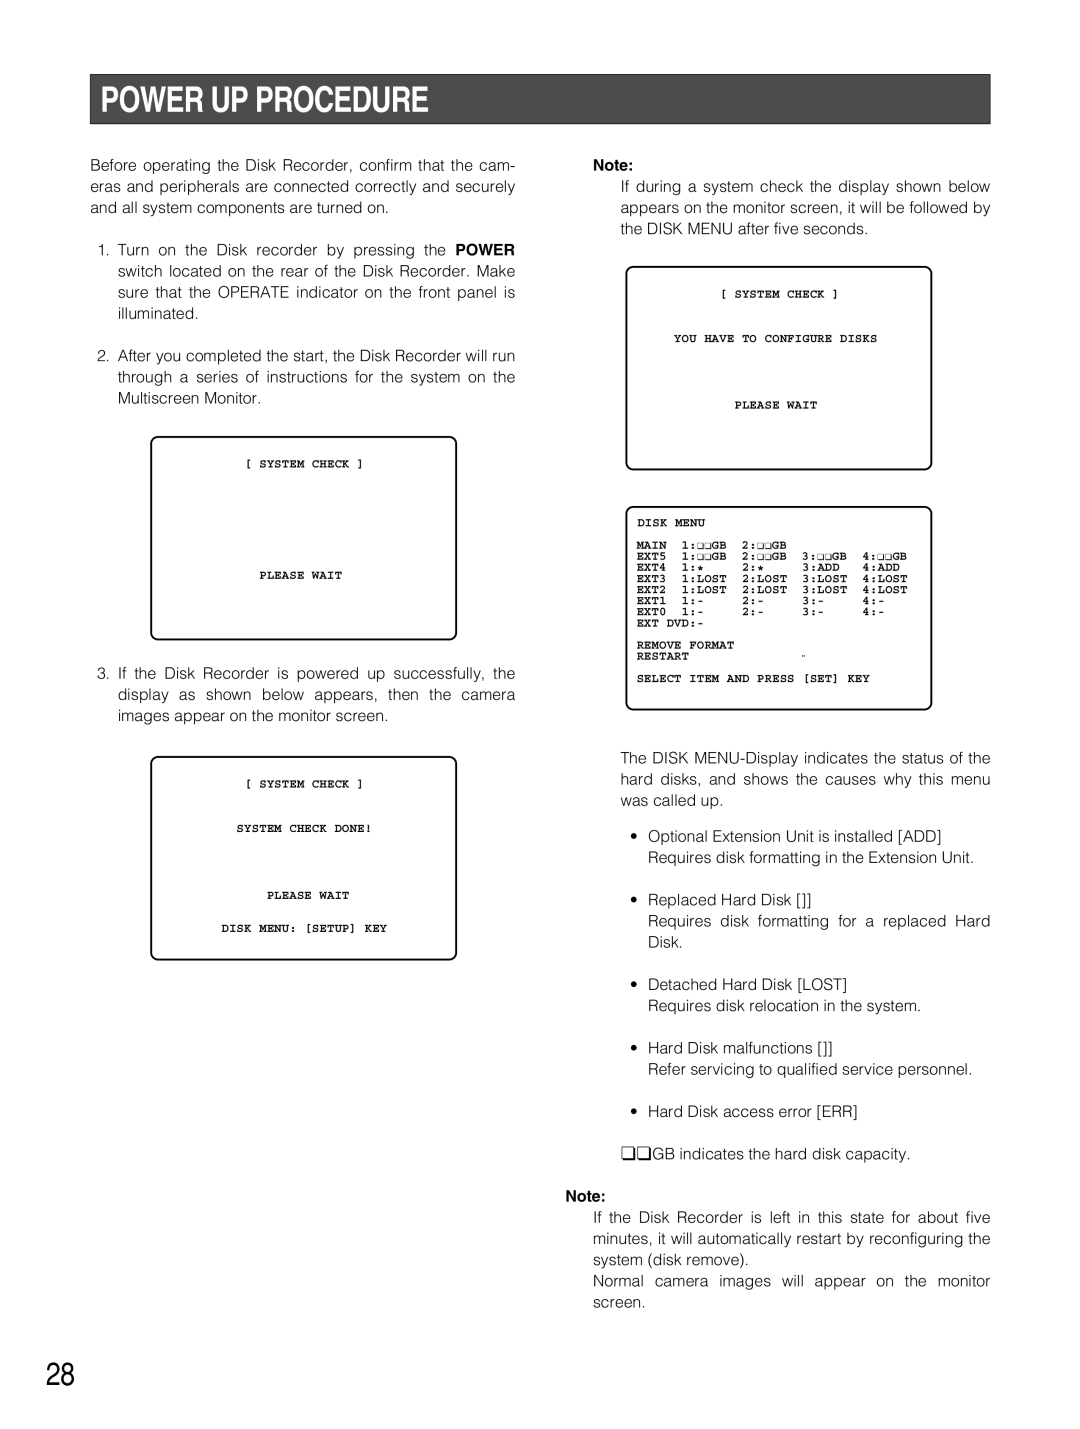
[ SYSTEM CHECK ]
PLEASE WAIT
3.If the Disk Recorder is powered up successfully, the display as shown below appears, then the camera images appear on the monitor screen.
[ SYSTEM CHECK ]
SYSTEM CHECK DONE!
PLEASE WAIT
DISK MENU: [SETUP] KEY
Note:
If during a system check the display shown below appears on the monitor screen, it will be followed by the DISK MENU after five seconds.
[ SYSTEM CHECK ]
YOU HAVE TO CONFIGURE DISKS
PLEASE WAIT
DISK MENU |
|
|
| |
MAIN 1:¢¢GB 2:¢¢GB |
|
| ||
EXT5 1:¢¢GB 2:¢¢GB | 3:¢¢GB 4:¢¢GB | |||
EXT4 | 1:* | 2:* | 3:ADD | 4:ADD |
EXT3 | 1:LOST | 2:LOST | 3:LOST | 4:LOST |
EXT2 | 1:LOST | 2:LOST | 3:LOST | 4:LOST |
EXT1 | 1:- | 2:- | 3:- | 4:- |
EXT0 | 1:- | 2:- | 3:- | 4:- |
EXT DVD:-
REMOVE FORMAT
RESTART
SELECT ITEM AND PRESS [SET] KEY
The DISK
•Optional Extension Unit is installed [ADD] Requires disk formatting in the Extension Unit.
•Replaced Hard Disk []]
Requires disk formatting for a replaced Hard Disk.
•Detached Hard Disk [LOST]
Requires disk relocation in the system.
•Hard Disk malfunctions []]
Refer servicing to qualified service personnel.
•Hard Disk access error [ERR]
¢¢GB indicates the hard disk capacity.
Note:
If the Disk Recorder is left in this state for about five minutes, it will automatically restart by reconfiguring the system (disk remove).
Normal camera images will appear on the monitor screen.
28